- Reset the Unit — Sometimes a power blip or surge gets the detector’s processor stuck in a bad mood. A full reset can clear it out. Here’s the sequence:
- Turn off the circuit breaker for the smoke alarms.
- Unmount the detector and unplug the wiring harness.
- Remove the backup battery.
- With no power source connected, press and hold the test button for 30 seconds. This drains any leftover charge from the capacitors.
Electrical · Panel or service upgrade
| Project category | Electrical |
|---|---|
| Problem type | Panel or service upgrade |
| Trade required | Electrical |
| Urgency | Planned project |
| Safety risk | High safety risk |
| DIY suitability | Licensed pro only |
| Cost category | High cost |
| Typical timeline | Permit plus utility scheduling, commonly 2–6 weeks |
| Contractor type | Licensed electrician |
Repair option
Add a subpanel when the main service is adequate.
Replacement option
Full service upgrade with utility coordination and permits.
Common causes
- Obsolete or recalled panel brands
- Service capacity too small for added loads
- No room for required AFCI/GFCI breakers
Relevant tools:project cost estimatorcompare quotes
Published October 7, 2026Last updated October 7, 2026
Tools & materials you'll need
Affiliate linksAs an Amazon Associate FixlyGuide earns from qualifying purchases — at no extra cost to you. Prices and availability are accurate as of publication and subject to change.
Quick Answer
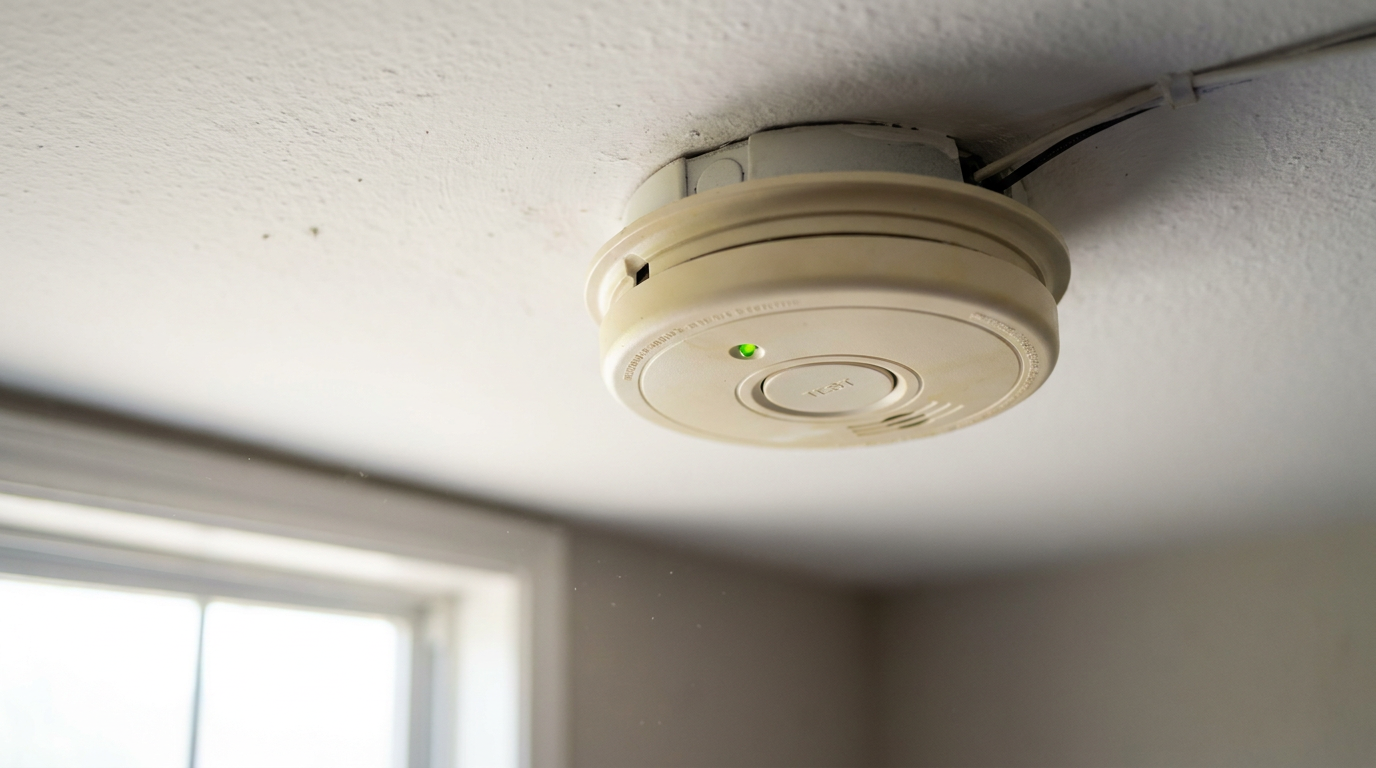
If your smoke detector’s got a solid green light but it won’t pass the weekly test, that means it’s getting AC power but something inside has gone sideways. Could be a bad test button, a dead backup battery that’s blocking the test, a dirty or failed sensor, or the detector’s simply hit its 10-year end of life.
The Problem
You press the "Test" button on your smoke detector. You hold it down. You wait for the ear-splitting BEEP... and you get nothing. Silence. Yet, the little green light is on, staring back at you, acting like all’s well.
That’s confusing, and it’s not something to shrug off. That green LED only tells you one thing: the detector’s getting hardwired AC power. It doesn’t tell you the parts that actually save your skin—the sensor, the alarm horn, the internal logic—are doing their job. A silent test is a failed test. Plain and simple. That’s your warning that the unit can’t be trusted to holler in a real fire.
How It Works
Think of a hardwired smoke detector like it’s got two brains in there. First up is the power side. Most modern homes run 120-volt AC power straight to a wiring harness in the ceiling or wall. Once the detector’s plugged into that harness, it powers the unit and lights up that constant green LED. Nice and steady. No guesswork.
The other side is the “smart” side: the sensors and the alarm logic. That’s the photoelectric or ionization sensor sniffing the air for smoke, the integrated circuit deciding whether that smoke means trouble, and the 85-decibel horn that starts screaming when it’s time to get out. It also includes the backup battery, and that little battery matters more than folks think. It’s there for one job: keep the detector fully functional if the power goes out. When you press the test button, you’re not just checking power. You’re manually kicking off the whole alarm sequence. The button tells the circuit, “Simulate a fire.” Then the circuit checks itself, makes sure the sensor’s awake, and sends power to the horn. If any link in that chain is broken—a dead backup battery, a fried circuit, a disconnected horn, or a failed sensor—the test will fail even with that green AC light glowing like nothing’s wrong.
Step-by-Step Fix
Here’s how I’d troubleshoot a detector that’s got power but won’t pass a test.
-
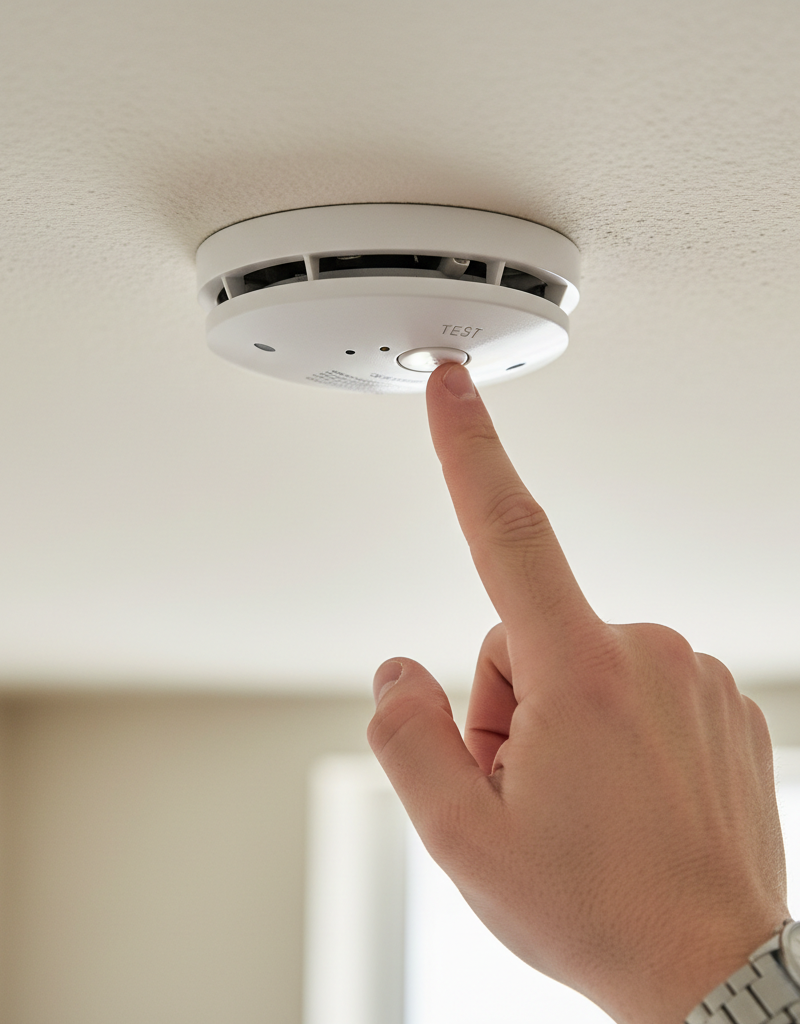
Press and Hold Correctly — Sounds too basic, I know, but this trips people up all the time. A quick jab won’t cut it. You need to press the test button and hold it firmly for up to 20 seconds. The unit needs a little time to run its check. If you’ve just been tapping it like it owes you money, try a long, steady press first. If it’s still dead quiet, keep moving.
-
Check the Circuit Breaker — The green light says it’s powered, but a breaker that’s halfway tripped can still cause some weird nonsense. Go to your electrical panel. Find the breaker that feeds the smoke alarms—it ought to be labeled. Flip it fully OFF, then back ON. That resets power to the whole circuit. Head back over and test it again.
-
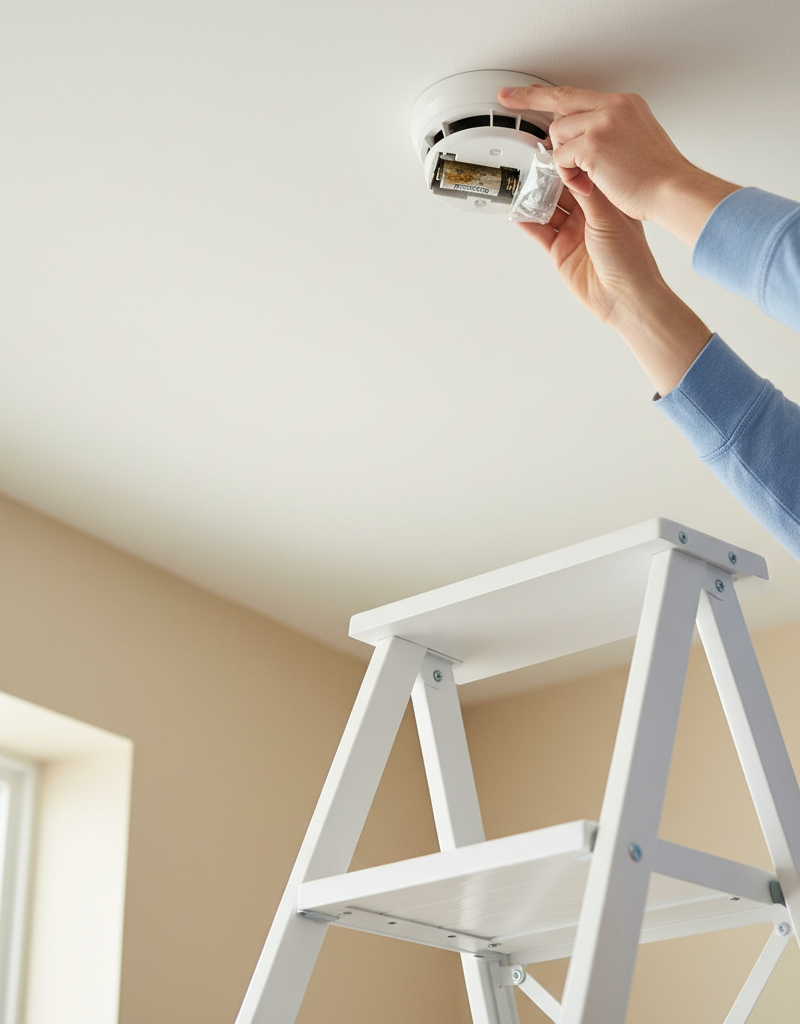
Replace the Backup Battery — A dead or missing backup battery is a big one. Even on hardwired units, some models won’t test right or may chirp if the 9-volt backup is toast. Twist the detector off the ceiling bracket. The power harness’ll still be attached. Find the battery door, pop it open, and put in a fresh 9-volt alkaline or lithium battery. Don’t use a rechargeable one. Make sure it clicks in snug, then hit the test button again before you remount the thing.
-
Clean the Detector Thoroughly — Dust, cobwebs, and even tiny bugs can get inside the sensing chamber and mess with the sensor. A clogged sensor can fail a self-test. With the detector unmounted, use a can of compressed air to blow through the vents and openings for 15-20 seconds. Then grab the soft brush attachment on your vacuum and lightly clean the outside housing. Don’t spray it with cleaners; those chemicals can wreck the sensor.
-
Reset the Unit — Sometimes a power blip or surge gets the detector’s processor stuck in a bad mood. A full reset can clear it out. Here’s the sequence:
- Turn off the circuit breaker for the smoke alarms.
- Unmount the detector and unplug the wiring harness.
- Remove the backup battery.
- With no power source connected, press and hold the test button for 30 seconds. This drains any leftover charge from the capacitors.
- Put the new battery back in, plug the wiring harness back in, and remount the unit.
- Turn the circuit breaker back on. The detector may beep or chirp once as it wakes up. Give it a minute, then try the test button.
-
Verify the Date of Manufacture — If it still won’t test, this is the big one. Unmount the detector and look at the sticker on the back. You’ll see a "Date of Manufacture" or a "Replace By" date. Smoke and CO detectors have a hard 10-year lifespan (sometimes 7 for older models). The radioactive material in ionization sensors breaks down, and the parts in photoelectric sensors wear out. After 10 years, they’re no longer reliable. If it’s past that date, it’s done. No amount of fiddling will save it. Replace it right away.
-
Test With Another Detector — If you’ve got other identical detectors in the house, a quick swap can tell you a lot. Take the one that’s failing the test and swap it with a known-good unit from another room. If the “bad” detector still won’t test in the new spot, you’ve confirmed the detector itself is the problem. If the “good” detector now fails in the “bad” location, you may have a wiring or power supply issue at that junction box, and that’s pro territory.
-
Purchase a Replacement — If you’ve confirmed the unit is dead or expired, go ahead and buy a new one. Take the old detector with you to the store or snap a picture of the back. You’ll want a new detector with the same type of wiring harness so the swap stays plug-and-play. If you can’t find the exact model, you may need to replace the wiring pigtail. Simple job, but you do need to shut the power off first.
Common Causes
A green light with a failed test usually points to one of these five culprits. It’s almost never the AC power itself—it’s the detector’s guts acting up.
- Expired Unit: This is the #1 most common cause. Smoke detectors have a hard 10-year life limit from their date of manufacture. After a decade, the sensors just aren’t trustworthy anymore.
- Failed Internal Component: The test button itself can break, or a solder joint on the circuit board can fail. The internal horn might be disconnected or fried. In that case, the detector’s got power, but the test signal runs straight into a wall.
- Dead/Weak Backup Battery: A lot of models tie the backup battery into the test circuit. If the battery’s too weak to power the horn, the test may fail even though AC power is fine. That’s a built-in safety check.
- Dirty Sensing Chamber: A thick layer of dust or a little spider setting up shop inside the unit can block the sensor and make the internal diagnostic fail when you hit the test button.
- Faulty Test Button Mechanism: The button itself is a moving part. It can stick, lose conductivity, or break loose from the circuit board, which means your press never really starts the test sequence.
Common Mistakes
Don’t make these mistakes while you’re trying to sort it out.
- Only Trusting the Green Light: Green doesn’t mean “safe.” It just means “powered.” You’ve still got to test it every week. That’s the only way to know the sensor and alarm are actually ready.
- Using Old Batteries: When you replace the backup battery, use a fresh one straight out of the package. Don’t fish one out of the junk drawer. A new, brand-name 9-volt battery costs less than $5 and gives you a full year of backup protection.
- Painting Over the Detector: Never, ever get paint on a smoke detector. It can clog the vents, coat the sensor, and make the unit useless. If a room’s been painted, check whether the detector got covered. If it did, replace it.
- Ignoring the Expiration Date: That 10-year replacement date isn’t a suggestion. It’s a hard safety deadline based on how long the sensing parts actually last. Keeping a 12-year-old detector is about as bad as having none at all.
- Mismatching Brands on an Interconnected System: If your alarms are wired together, you’ve got to replace a failed unit with a compatible model from the same brand. Mixing brands can keep the whole system from sounding right, or set off constant false alarms.
Cost & Time Breakdown
For one bad detector, this is usually a quick, cheap fix. Half the time it’s just a battery and a little elbow grease.
| Task | DIY Cost | Pro Cost | Time |
|---|---|---|---|
| Pressing the test button | $0 | N/A | 1 minute |
| Replacing the backup battery | $2–$8 | $100–$150 (trip charge) | 5 minutes |
| Cleaning the detector | $0 | N/A | 10 minutes |
| Resetting the unit | $0 | N/A | 15 minutes |
| Replacing an expired detector | $20–$70 | $120–$250 | 15-20 minutes |
| Troubleshooting faulty wiring | N/A | $150–$350+ | 1-2 hours |
Tips & Prevention
A little upkeep goes a long way with these things. Keep after them.
- Test Weekly, No Excuses: Make it a habit. Pick a day—maybe when you take out the trash—and press the test button on every detector. Takes less than two minutes.
- Replace All Batteries at Once: Swap the backup batteries in all your detectors every year, even if they seem fine. A good time is when you change your clocks for daylight saving time.
- Write the Install Date on Them: When you put in a new detector, use a permanent marker and write the month and year on the back. Saves you from guessing 10 years down the road.
- Vacuum Them Monthly: When you’re cleaning, run the soft brush attachment of your vacuum over the vents on each detector. That quick pass keeps dust from building up and causing most sensor errors.
- Replace All at the 10-Year Mark: Detectors age at the same rate. If one’s expired, the others are probably close behind. Replace them all together so you’ve got one clean replacement date to remember.
When to Call a Professional
You can handle most smoke detector problems yourself. But there are a few times you need to call a licensed electrician.
If you replace a detector and it still doesn’t work, and a known-good detector also fails in that same spot, the problem’s probably in your home’s wiring. Don’t try to diagnose 120-volt wiring issues yourself. An electrician can safely test the junction box, check for a loose neutral wire or a bad connection in the ceiling, and make sure the whole interconnected circuit is working the way it should. Also, if your breaker keeps tripping after you reset it, that’s a pretty clear sign of a short circuit somewhere, and that’s a job for a pro. I pulled a smoke alarm loop in Frisco last month that looked fine at the ceiling, but one loose neutral in the box was killing the whole string — no dice until we opened it up.
Related Articles
Keep troubleshooting with these hand-picked guides from FixlyGuide:
- The Real Reason Your Smoke Alarm Chirps Every 30 Seconds (It's Not Always the Battery) — Don't just swap batteries; a smoke detector chirping every 30 seconds can signal various issues, from dust to improper installation, demand…
- Why Your Smoke Alarm Won't Stop Blaring (When There's No Fire!) — False alarms from your smoke detector are more than just annoying; they can make you ignore real emergencies. Learn why they happen and how…
- New Smoke Detector Won't Stop Chirping? Why It Happens and How to Fix It Fast — Just installed a new smoke detector and it's already chirping every 30-60 seconds? Here's why that brand-new alarm is making noise and the…
- Smoke Detector Blinking Red? 4 Patterns Explained (And What to Do) — A blinking red light on your smoke detector isn't always a fire alarm; it can signal a low battery, a memory alert after an event, or an en…
- The 30-Second Chirp: Why Most Homeowners Misdiagnose Their Smoke Detector (And The Real Fix) — A smoke detector chirping every 30 seconds almost always means a dying battery, but it can also signal an expired unit or a buildup of dust.
- Thermostat Won't Connect to Wi-Fi? 9 Reasons and What to Check First — A smart thermostat that can't connect to Wi-Fi is just a thermostat. Here are the 9 most common reasons yours keeps dropping offline and th…
What should this project cost?
Enter your project details for a realistic cost range before you call anyone.
Outlet and switch work usually $150–$400; panel upgrades commonly $1,800–$4,200.
- Regional adjustment
- National average
- Labor share (typical)
- ~$709
- Quotes to collect
- 3 written estimates
Educational estimate based on national averages — not a binding quote. Always confirm with written local estimates.
Get the print-ready PDF of this guide
A clean, ad-free, printable version you can keep on your phone or pin to the workshop wall. Free with a FixlyGuide account.
- Print-optimized layout
- Tools, materials & every step included
- Saved to your account
Frequently asked questions
Why is the green light on my smoke detector but not the red one?+
The solid green light indicates the unit is receiving AC power from your home's wiring. The red light usually flashes intermittently (e.g., once a minute) to show it's monitoring and ready. The red light only stays on solid or flashes rapidly during an actual alarm or a test, so not seeing it is normal.
Can a smoke detector work without a battery if it's hardwired?+
It will have power from the AC line, but it may not function correctly. Many models require a working backup battery to pass the self-test or even to sound the alarm. Crucially, without a battery, it will offer zero protection during a power outage.
How do I know if my smoke detector sensor is bad?+
The most reliable sign is if the unit is past its 10-year expiration date. Other signs include frequent false alarms (with no smoke) or failing the test button check even after cleaning it and replacing the battery. If it fails the test, assume the sensor is bad and replace the unit.
What does it mean if I press the test button and it makes a weak, quiet chirp?+
A weak or abbreviated sound during a test almost always means the backup battery is critically low. While the AC power is on, the test function often draws from the battery to verify its own health. Replace the 9-volt battery and the test alarm should sound at its full 85-decibel volume.
Is it normal to have to hold the test button down for a long time?+
Yes, this is perfectly normal. A quick press often does nothing. You typically need to hold the button for at least 5-10 seconds, and sometimes up to 20, for the internal diagnostic test to initiate and the alarm to sound.
Do I need to replace all my smoke detectors at the same time?+
It's strongly recommended. Since they were likely all installed at the same time, they will all reach their 10-year expiration date around the same time. Replacing them all at once ensures you don't have any 'duds' and creates a single, easy-to-remember replacement date for the future.
Can I mix and match different smoke detector brands?+
No, not if they are hardwired and interconnected. You must use compatible models from the same manufacturer. Using different brands can result in the interconnect feature failing, meaning a fire in the basement might not trigger the alarm in the bedroom.
My detector is only 2 years old and has a new battery. Why won't it test?+
First, double-check that the battery tab was pulled and it's installed correctly. Clean it with compressed air to remove any potential debris from the sensor. Then, perform a full reset (power off, battery out, hold test button). If it still fails, the unit is likely defective and should be covered under the manufacturer's warranty for a free replacement.

Discussion
Loading comments…