- Why Only Half Your Outlet Works (And The Simple Fix Most Homeowners Miss) — Discover why one-half of an electrical outlet might stop working, often due to a simple wiring issue or tripped breaker, and how to safely…
- Why Only Half Your Outlet Works (And The Simple Fix Most Homeowners Miss) — Discover the surprisingly common reason why only one part of your electrical outlet is working and how a simple investigation can restore f…
- Why Only Half Your Outlet Works (And The Simple Fix Most Homeowners Miss) — Discover the surprisingly common reason behind a partially dead electrical outlet and the straightforward steps you can take to restore ful…
- The Real Reason Your Smoke Alarm Chirps Every 30 Seconds (It's Not Always the Battery) — Don't just swap batteries; a smoke detector chirping every 30 seconds can signal various issues, from dust to improper installation, demand…
- Why Your Smoke Alarm Won't Stop Blaring (When There's No Fire!) — False alarms from your smoke detector are more than just annoying; they can make you ignore real emergencies. Learn why they happen and how…
Electrical · Panel or service upgrade
| Project category | Electrical |
|---|---|
| Problem type | Panel or service upgrade |
| Trade required | Electrical |
| Urgency | Planned project |
| Safety risk | High safety risk |
| DIY suitability | Licensed pro only |
| Cost category | High cost |
| Typical timeline | Permit plus utility scheduling, commonly 2–6 weeks |
| Contractor type | Licensed electrician |
Repair option
Add a subpanel when the main service is adequate.
Replacement option
Full service upgrade with utility coordination and permits.
Common causes
- Obsolete or recalled panel brands
- Service capacity too small for added loads
- No room for required AFCI/GFCI breakers
Relevant tools:project cost estimatorcompare quotes
Published September 20, 2026Last updated September 20, 2026
Tools & materials you'll need
Affiliate linksAs an Amazon Associate FixlyGuide earns from qualifying purchases — at no extra cost to you. Prices and availability are accurate as of publication and subject to change.
Quick Answer
When your smoke alarm won’t test, it’s usually one of a few things: a dead battery, a battery that’s in wrong, a tripped breaker on hardwired units, or a test button that’s flat-out failed. Don’t blow it off. If it won’t test, it’s not really working, and that puts your family at risk. Check the batteries, reset that breaker, and see if the unit’s hit its ten-year expiration date.
The Problem
Alright, let’s talk smoke alarms. You press that little test button and... nothing. No chirp. No beep. Not even a tired little click. That’s frustrating, sure, but it’s also a little alarming — and for good reason. You depend on those things to wake you up if smoke or CO starts building in the house, and if they can’t pass a simple test, why would you trust ’em in a real emergency? I’ve had plenty of homeowners shrug it off and say, “It’s probably fine.” No dice. That’s a mistake you don’t want to make. A smoke alarm that won’t test is basically a plastic ornament on the ceiling, and that thing’s toast.
How It Works
Knowing how these things work helps you figure out why they don’t work. Most modern homes have two kinds of smoke alarms: photoelectric and ionization. A lot of them also include carbon monoxide (CO) detection, usually in a combo unit. Both types have a chamber that keeps an eye on the air all the time.
Ionization alarms use a tiny bit of radioactive material to ionize the air between two electrically charged plates. When smoke particles get into that chamber, they mess with the ion flow and set the alarm off. These are usually better at catching fast-flaming fires.
Photoelectric alarms have a light source and a sensor set at an angle. In normal conditions, the beam misses the sensor. When smoke enters, it scatters the light and sends some of it onto the sensor, which trips the alarm. These are generally better for slow, smoldering fires.
Carbon Monoxide (CO) alarms work a different way. They use an electrochemical sensor that reacts with CO gas. When CO’s present, it triggers a chemical reaction that creates an electrical current. The sensor reads that current, and if it crosses a certain threshold for a certain length of time, the alarm sounds. For example, most CO alarms will sound within 60-240 minutes at 70 ppm (parts per million) CO, but within 10-50 minutes at 150 ppm, and within 4-15 minutes at 400 ppm. That time-weighted average matters a lot, because low levels for a long stretch can be just as dangerous as a big hit over a short one.
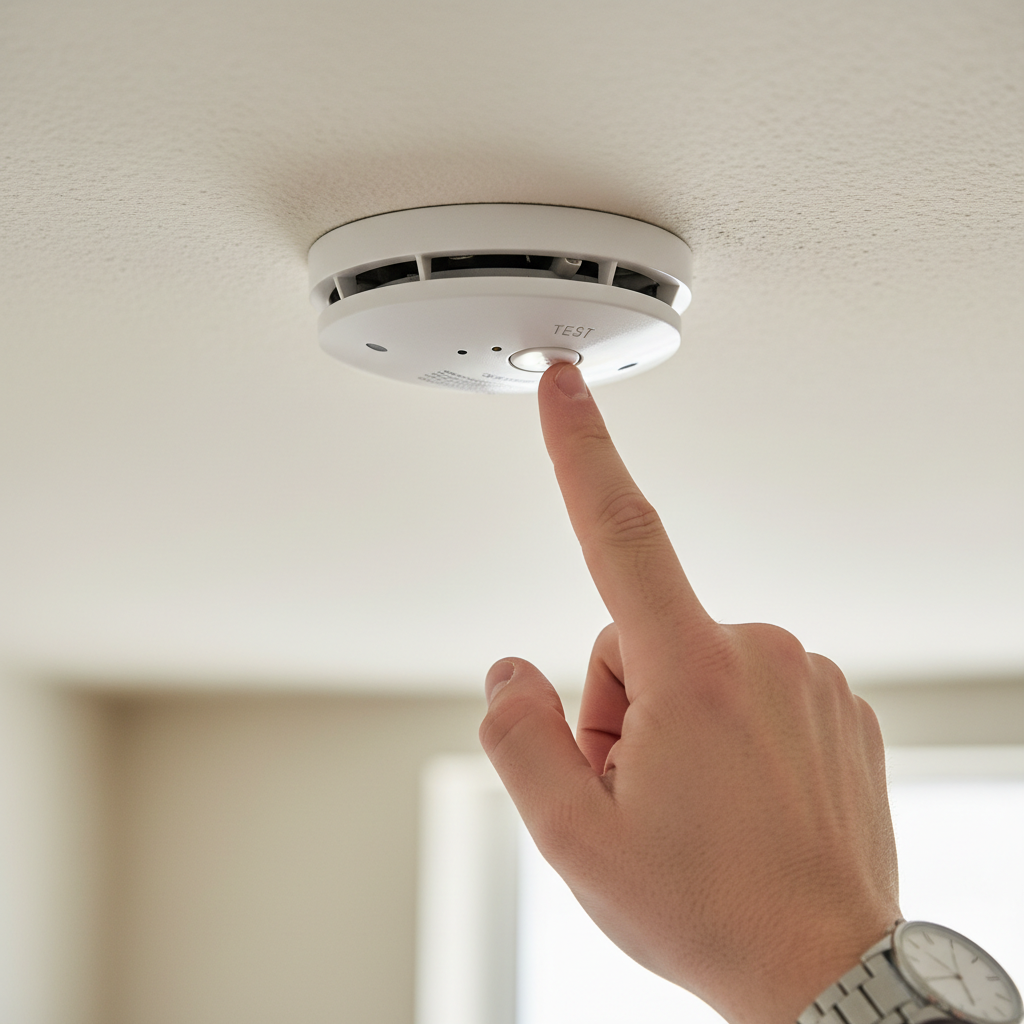
Most alarms, battery-powered or hardwired, have a test button. That button simulates smoke (or CO for combo units) getting into the chamber, or it runs a self-check. On battery-only units, it’s a basic circuit test. On hardwired units, it also checks the connection to your home’s electrical system and often the interconnectivity to other alarms in the house. When you push that button, you’re basically saying, “Alright, run through your paces.” If nothing happens, something in that chain — power, sensor, or internal circuitry — is broken somewhere.
Step-by-Step Fix
Here’s how I handle a smoke alarm that won’t test. Don’t start guessing. Work it in order.
-
Check the Power Source — Start with the easy stuff. That’s where I always begin.
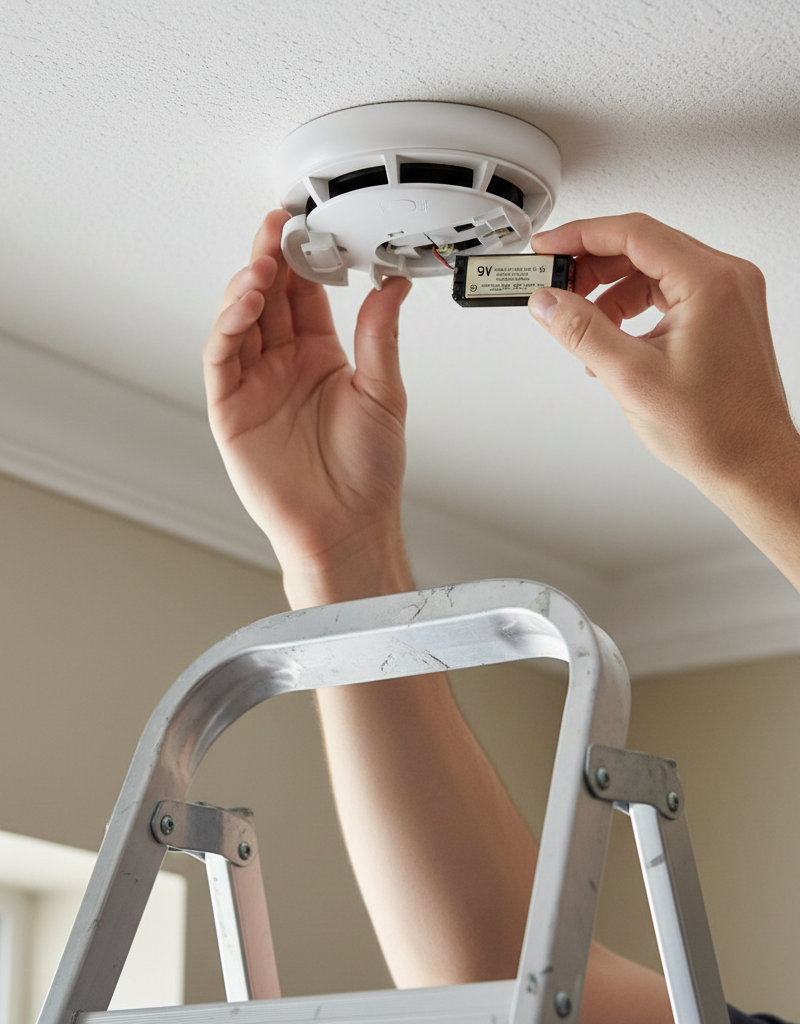
- Battery-powered unit: Pop it open. Are the batteries in right? Are they old? Even if they’re not chirping, they still might not have enough juice for a full test. Put in fresh alkaline or lithium batteries. I always tell folks to write the install date on the battery with a Sharpie. Makes it easy to keep track.
- Hardwired unit with battery backup: Same deal — check the backup battery first. Then look at the electrical panel. Did a breaker trip? Sometimes, especially in older homes, the circuit for the smoke detectors trips without anything else looking wrong. Flip it off, then back on. I pulled a smoke alarm in Glendale last month that had exactly this problem, and the breaker was hidden behind a pile of moving boxes in the basement. Took me twenty minutes just to find the panel.
- Hardwired unit (no battery backup): That’s rare these days, but if you’ve got one, you’re almost certainly looking at a tripped breaker or a wiring issue. Go straight to the panel.
-
Clean the Unit Thoroughly — Dust will wreck your day.
- Safety first: If it’s hardwired, shut off the power at the breaker before you touch it. No exceptions. You’re dealing with household current here, usually 120 volts. Don’t get cute with it.
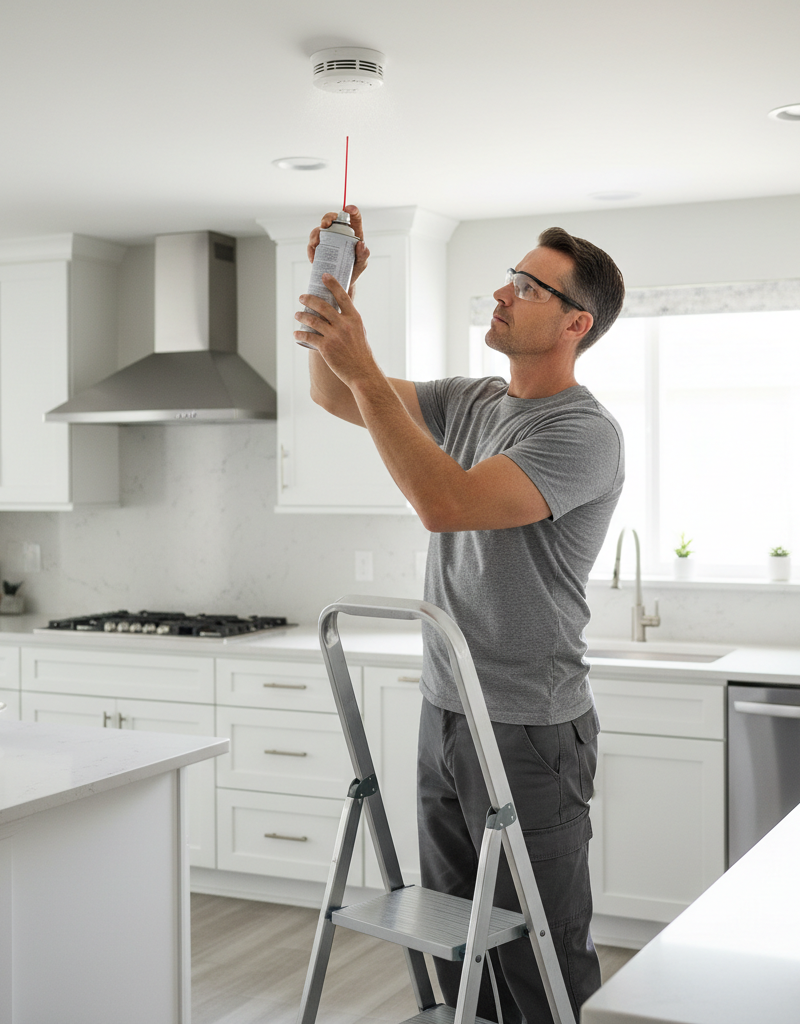
- Dust buildup: Over time, dust, cobwebs, and even little bugs can collect inside the sensing chamber. That can block the smoke entry points or mess with the sensor. Grab a can of compressed air and give the vents a good blast. Don’t hold it too close or spray like you’re trying to sandblast the thing — delicate parts inside don’t take kindly to that. A vacuum with a brush attachment works well for the outside openings too.
-
Inspect for Damage or Obstructions — Give it a close look.
- Visual check: Look for cracks, discoloration, or impact marks. Is anything blocking the vents? Sometimes kids toss stuff at ’em, or a sloppy paint job gums up the openings if somebody wasn’t careful. Make sure the unit’s locked down tight on its base.
- Reset button: A lot of units have a small reset button, sometimes recessed. If you’ve changed batteries or had a power outage, holding that button for 10-15 seconds can clear out a glitch.
-
Confirm Unit Age — They don’t live forever.
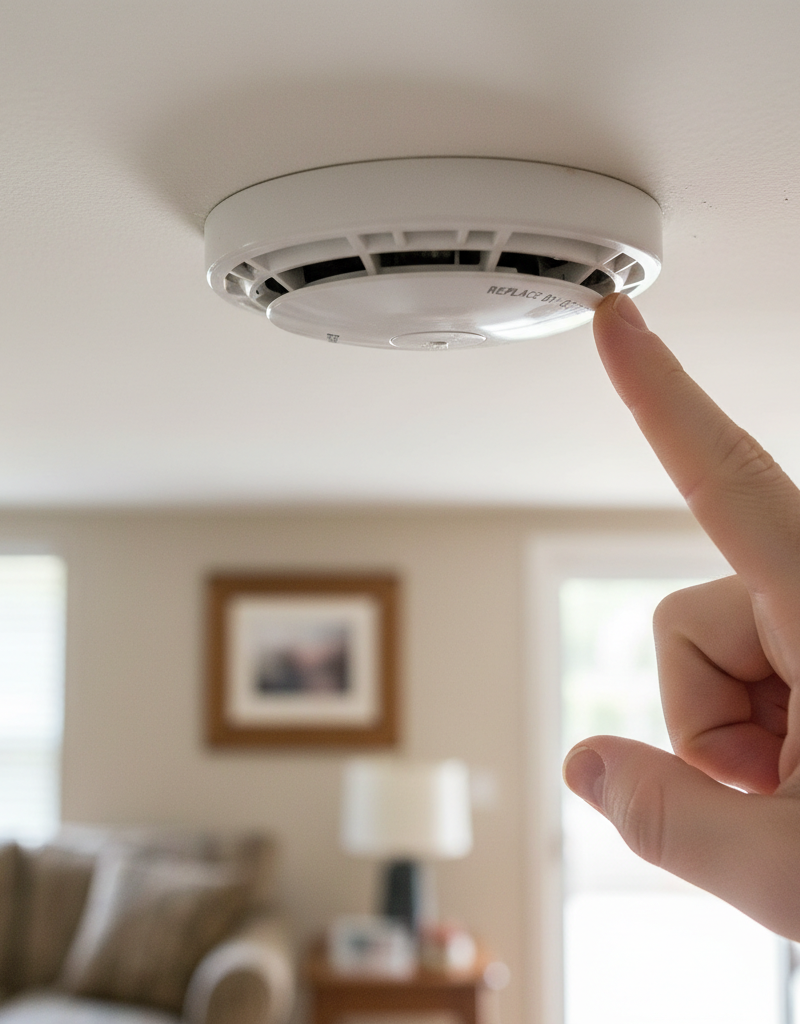
- Expiration date: Every smoke alarm and CO alarm has a manufacturing date and usually an expiration date printed on the back or inside the battery compartment. Smoke alarms usually last about 10 years from the date of manufacture, and CO alarms often last 5-7 years. If yours is past that date, it’s done. Time to replace it. Even if it still tests, the sensors wear out over time and don’t stay trustworthy.
-
Check Interconnected Alarms — If one’s acting up, the others might be too.
- Hardwired interconnectivity: If you’ve got interconnected hardwired alarms, where hitting one test button trips them all, and only one unit won’t test, check the wiring connections at the base of that specific alarm. Make sure they’re snug. If all the alarms stay silent when you test one, you might be dealing with a bigger wiring problem, but start with the one that’s completely dead.
-
Test Button Malfunction — Sometimes it
Related Articles
Keep troubleshooting with these hand-picked guides from FixlyGuide:
- Why Only Half Your Outlet Works (And The Simple Fix Most Homeowners Miss) — Discover why one-half of an electrical outlet might stop working, often due to a simple wiring issue or tripped breaker, and how to safely…
- Why Only Half Your Outlet Works (And The Simple Fix Most Homeowners Miss) — Discover the surprisingly common reason why only one part of your electrical outlet is working and how a simple investigation can restore f…
- Why Only Half Your Outlet Works (And The Simple Fix Most Homeowners Miss) — Discover the surprisingly common reason behind a partially dead electrical outlet and the straightforward steps you can take to restore ful…
- The Real Reason Your Smoke Alarm Chirps Every 30 Seconds (It's Not Always the Battery) — Don't just swap batteries; a smoke detector chirping every 30 seconds can signal various issues, from dust to improper installation, demand…
- Why Your Smoke Alarm Won't Stop Blaring (When There's No Fire!) — False alarms from your smoke detector are more than just annoying; they can make you ignore real emergencies. Learn why they happen and how…
- The #1 Gutter Mistake That Causes Overflow (It's Not Clogs!) — Discover the often-overlooked culprit behind overflowing gutters during heavy rain and learn the surprising, easy fix most homeowners miss.
Should you do this yourself?
Answer five quick questions before you start. Safety outranks savings every time.
Your experience with work like this
How high do you have to work?
Does the job involve any of these?
Will it need a permit?
Specialty tools
Free and instant. Educational guidance only — not a quote, inspection, or professional diagnosis.
What should this project cost?
Enter your project details for a realistic cost range before you call anyone.
Outlet and switch work usually $150–$400; panel upgrades commonly $1,800–$4,200.
- Regional adjustment
- National average
- Labor share (typical)
- ~$709
- Quotes to collect
- 3 written estimates
Educational estimate based on national averages — not a binding quote. Always confirm with written local estimates.
Fixly Project Decision Box
- DIY difficulty
- Professional Recommended
- Estimated time
- Diagnosis 1–2 hours
- Cost level
- Moderate
Main tools / materials
- Non-contact voltage tester
- Outlet tester
- Flashlight
When to stop and call a pro
- Burning smell, scorch marks, or a warm outlet or switch plate
- A breaker that trips again right after being reset
- Any work inside the service panel
- Aluminum wiring or cloth-insulated wiring
Need professional help?
Talk to a Licensed ElectricianGet the print-ready PDF of this guide
A clean, ad-free, printable version you can keep on your phone or pin to the workshop wall. Free with a FixlyGuide account.
- Print-optimized layout
- Tools, materials & every step included
- Saved to your account
Frequently asked questions
How often should I test my smoke alarms?+
You should test all your smoke alarms at least once a month by pressing the test button. This ensures the batteries and electronic components are functioning correctly.
What if my smoke alarm chirps after changing the battery?+
A chirp after a battery change usually means the battery isn't fully seated, it's a low-quality battery, or the unit needs a reset. Try removing the battery, holding the test button for 15-20 seconds to drain residual power, then reinserting a fresh, high-quality battery.
Why would a hardwired smoke alarm not test?+
For hardwired alarms, a failure to test often points to a tripped circuit breaker, loose wiring connections at the base, or a dead backup battery. Always check the breaker first and then the battery.
Do smoke alarms expire?+
Yes, smoke alarms have an expiration date, typically 10 years from the date of manufacture for smoke alarms and 5-7 years for CO alarms. The sensors degrade over time, making them less reliable, even if they appear to be working.
Can dust prevent a smoke alarm from working?+
Absolutely. Dust, cobwebs, and debris can accumulate in the sensing chamber, blocking smoke entry or interfering with the sensor. Cleaning your alarms regularly with compressed air or a vacuum is important maintenance.
Is it okay to paint over a smoke alarm?+
No, you should never paint over a smoke alarm. Paint can clog the sensing chamber openings, interfering with the alarm's ability to detect smoke, rendering it ineffective.
What's the difference between ionization and photoelectric smoke alarms?+
Ionization alarms are better at detecting fast-flaming fires, while photoelectric alarms are more responsive to slow, smoldering fires. Many modern alarms combine both technologies for comprehensive protection.
When should I call a professional for smoke alarm issues?+
If you've tried all troubleshooting steps and your hardwired alarms still aren't working, or if you suspect a significant electrical issue, it's time to call a licensed electrician. Don't DIY complex electrical problems.
How do I know if my CO detector is working?+
Like smoke alarms, CO detectors have a test button. Press and hold it until the alarm sounds. If it doesn't, follow the same troubleshooting steps: check batteries, power, and expiration date.
Can I mix different brands of interconnected smoke alarms?+
Generally, it's best not to mix brands for interconnected systems. While some newer models might be compatible, older ones often aren't, which can lead to system malfunctions or some alarms not sounding when others do.
Discussion
Loading comments…