- How to Check: Use your hand to pull back a section of grass. If the layer of dead organic material between the green blades and the soil is more than 0.5 inches thick, dethatching is beneficial.
- Methods: For small lawns, a dethatching rake works well. For larger areas, consider renting a power dethatcher or verticutter.
- Safety Note: Always wear sturdy gloves and eye protection when using power equipment. Follow the manufacturer's instructions carefully.
Landscaping · Deck or fence project
| Project category | Landscaping |
|---|---|
| Problem type | Deck or fence project |
| Trade required | Landscaping |
| Urgency | Planned project |
| Safety risk | Moderate safety risk |
| DIY suitability | DIY for experienced homeowners |
| Cost category | High cost |
| Typical timeline | Most builds 3–10 days depending on size |
| Contractor type | Landscaping contractor |
Repair option
Replace failed boards, posts, and hardware; reseal the surface.
Replacement option
Rebuild when framing or the ledger connection is unsafe.
Common causes
- Rot at posts and ledger
- Storm damage
- Adding outdoor living space
Relevant tools:home improvement material pricesproject cost estimator
Published May 28, 2026Last updated August 17, 2026
Tools & materials you'll need
Affiliate links- AmazonLawnmowerWith a bagger
- AmazonDethatching rake or power dethatcherRent power dethatcher for large lawns
- AmazonCore aeratorRent for best results
- AmazonBroadcast spreader or hand-held spreader
- AmazonGarden hose with gentle sprayer or oscillating sprinklerFor consistent, light watering
- AmazonWork gloves
As an Amazon Associate FixlyGuide earns from qualifying purchases — at no extra cost to you. Prices and availability are accurate as of publication and subject to change.
Quick Answer
Many homeowners struggle with thin lawns despite regular watering and feeding, often because they overlook the critical step of proper soil preparation before overseeding. The quickest path to a dense, green lawn is to aerate the soil, dethatch if necessary, test and adjust soil pH, choose the right grass seed for your specific climate and sunlight conditions, and apply it correctly, followed by consistent, light watering.
The Problem
That patchy, thin lawn isn't just an eyesore; it's an open invitation for weeds, diseases, and pests to take hold. A sparse lawn also signals underlying issues with your soil's health or your current lawn care regimen. You might be fertilizing, watering, and mowing, yet your grass still looks weak and unhealthy. The common assumption is to just throw down more seed, but without addressing the root causes – compacted soil, nutrient deficiencies, or incorrect grass types – you'll be stuck in a frustrating cycle of disappointment. This article will guide you through understanding why your lawn is thin and provide a detailed, actionable plan to transform it into a thick, vibrant carpet of green.
How It Works
Overseeding is the process of spreading new grass seed over an existing lawn to improve its density and color. It's especially important as individual grass plants naturally age and produce fewer new blades, leading to thinning over time. For the new seeds to thrive, they need direct contact with the soil, adequate moisture, and specific nutrients. Compacted soil prevents roots from penetrating deeply and restricts water and nutrient uptake. A thick layer of thatch – dead grass material between the blades and the soil surface – can also block new seeds from reaching the soil. Soil pH (a measure of acidity or alkalinity) dictates nutrient availability; grass typically prefers a slightly acidic to neutral range (6.0–7.0). When these conditions aren't met, seeds either won't germinate efficiently or the seedlings will struggle to establish, eventually dying off. Understanding these factors is key to creating an environment where your new grass seeds can successfully sprout and mature, blending seamlessly with your existing lawn and increasing its overall health and resilience.
Step-by-Step Fix
Step 1: Assess Your Lawn and Timing – Conduct a thorough inspection and choose the right time.
- Walk your lawn and identify areas that are particularly thin, bare, or show signs of excessive weeds. This helps you prioritize your efforts.
- Optimal Timing: The best time for overseeding cool-season grasses (like fescue, rye, bluegrass) is late summer to early fall (August to October), when soil temperatures are still warm enough for germination but air temperatures are cooler, reducing stress on new seedlings. For warm-season grasses (like Bermuda, zoysia, St. Augustine), late spring to early summer (April to June) is ideal.
- Why Timing Matters: Seeding too early in spring can lead to competition with actively growing weeds, while seeding too late in fall may not allow seedlings enough time to establish before winter dormancy.
Step 2: Mow Your Lawn Low – Prepare the existing turf for better seed-to-soil contact.
- Set your mower to its lowest acceptable setting, typically 1.5 to 2 inches. This exposes the soil surface and allows sunlight to reach new seedlings.
- Bag your clippings to remove any debris that could smother new seeds. Ensure the lawn is dry before mowing to prevent clumping.
Step 3: Dethatch (If Necessary) – Remove excess thatch to improve seed contact.
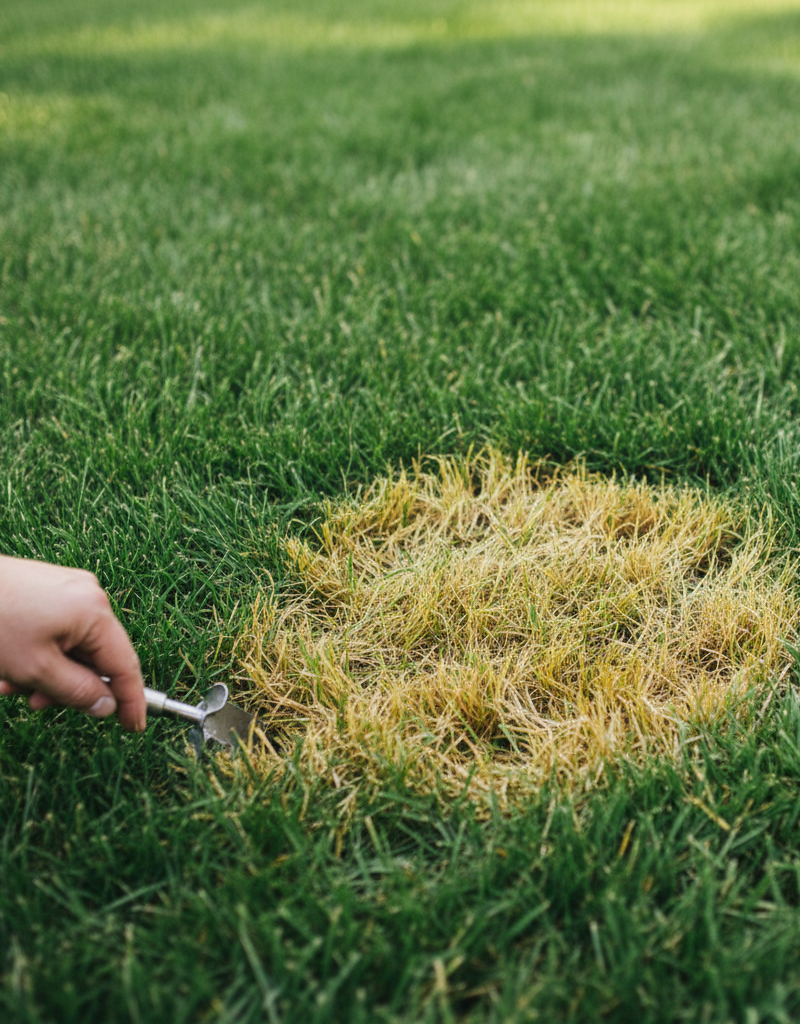
- How to Check: Use your hand to pull back a section of grass. If the layer of dead organic material between the green blades and the soil is more than 0.5 inches thick, dethatching is beneficial.
- Methods: For small lawns, a dethatching rake works well. For larger areas, consider renting a power dethatcher or verticutter.
- Safety Note: Always wear sturdy gloves and eye protection when using power equipment. Follow the manufacturer's instructions carefully.
Step 4: Aerate Your Soil – Relieve compaction and create pathways for roots.
- Importance: Aeration is crucial for breaking up compacted soil, allowing air, water, and nutrients to reach the grass roots more effectively. It also creates small holes perfect for seed germination.
- Methods: Rent a core aerator for best results. This machine pulls out small plugs of soil, leaving them on the surface to break down naturally. For very small patches, a manual core aerator can be used.
- When to Aerate: It's generally best to aerate immediately before overseeding during the optimal seeding window. Leave the soil plugs on the lawn; they will decompose and return nutrients to the soil.
Step 5: Test and Amend Soil – Ensure your soil has the right pH and nutrients.
- Soil Test: Purchase a home soil test kit from a garden center or send a sample to your local university extension office for a more comprehensive analysis.
- pH Adjustment: Most grasses prefer a soil pH between 6.0 and 7.0. If your soil is too acidic (low pH), apply lime according to test recommendations. If it's too alkaline (high pH), apply elemental sulfur.
- Nutrient Boost: Based on your soil test, apply a starter fertilizer designed for new grass, which is typically higher in phosphorus to promote root development. Follow product instructions precisely.
Step 6: Select the Right Grass Seed – Choose a variety suited to your conditions.
- Climate Zone: Select grass seed appropriate for your USDA hardiness zone (cool-season or warm-season).
- Sunlight: Consider the amount of sunlight your lawn receives. Choose sun-tolerant varieties for sunny areas and shade-tolerant mixes for shady spots.
- Quality: Look for high-quality seed with a low percentage of weed seeds and inert matter. Consider blends that offer disease resistance and drought tolerance for your region.
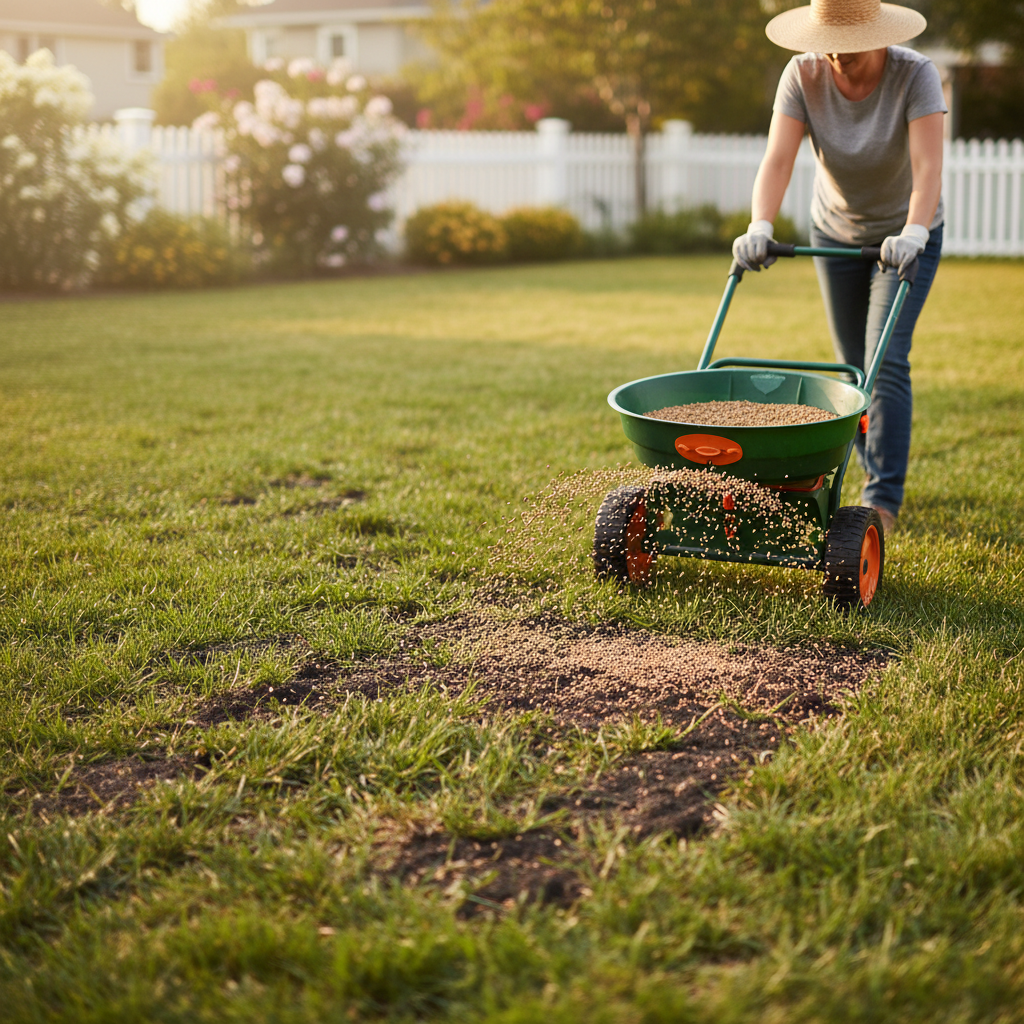
Step 7: Spread the Grass Seed – Apply the seed evenly and at the correct rate.
- Application Rate: Consult your seed packaging for the recommended overseeding rate (usually in lbs per 1,000 sq ft). Divide your lawn into sections for even application.
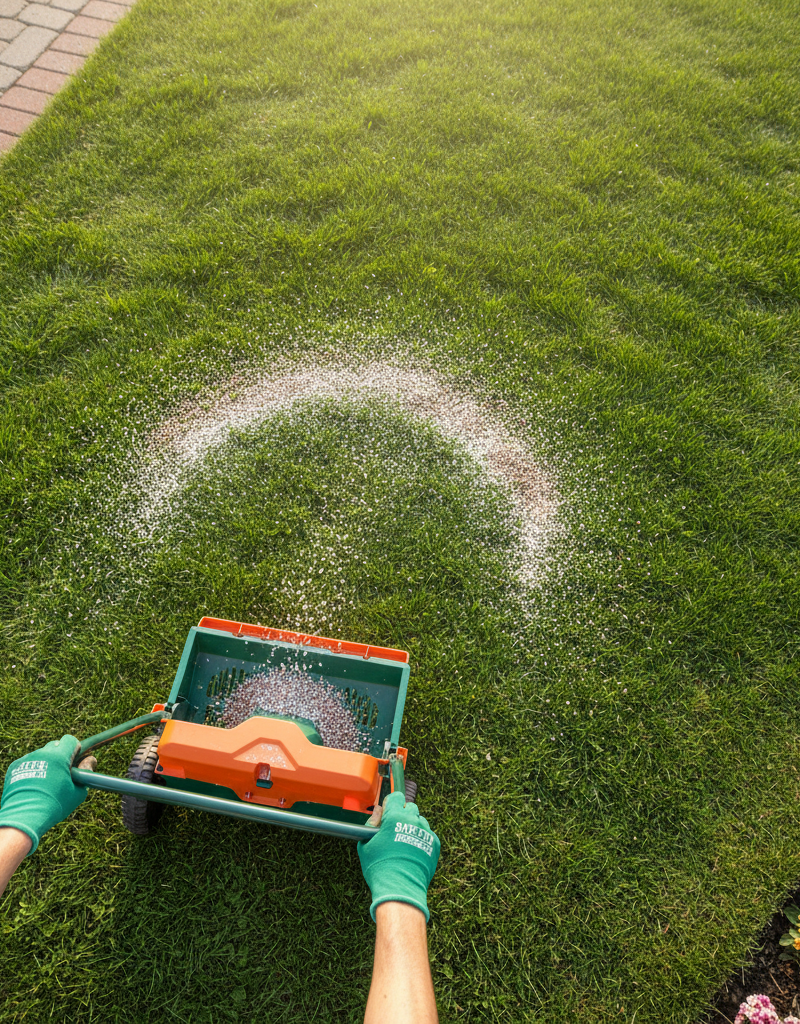
- Methods: Use a broadcast spreader for larger areas or a hand-held spreader for smaller or irregular patches. Apply half the seed walking in one direction, then the other half walking perpendicularly to ensure even coverage.
- Seed-to-Soil Contact: After spreading, lightly rake the seeded areas, or run a cultipacker or lawn roller (lightly weighted) over the lawn to ensure good seed-to-soil contact. This is crucial for germination.
Step 8: Water, Water, Water (Lightly and Frequently) – Keep the soil consistently moist.
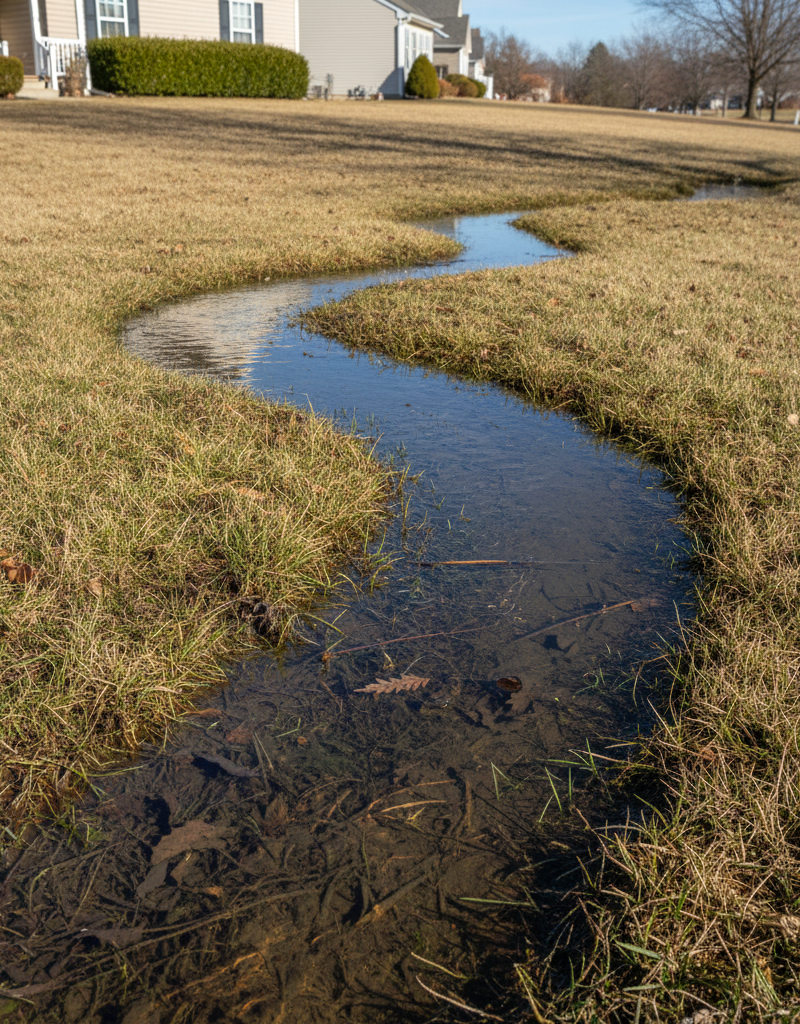
- Initial Watering: Immediately after seeding, water gently but thoroughly to moisten the top inch of soil without washing away seeds. Avoid creating puddles.
- Ongoing Watering: For the first 2-3 weeks (or until new seedlings are well-established), water lightly two to three times a day for 5-10 minutes each time. The goal is to keep the top inch of soil consistently damp, not saturated. This is the most critical stage for germination.
- Gradual Reduction: Once seedlings are 2-3 inches tall, gradually reduce watering frequency and increase duration to encourage deeper root growth. Aim for once a day, then every other day, until you're back to your regular watering schedule.
Step 9: First Mowing and Fertilization – Care for your new grass as it establishes.
- First Mow: Wait until new seedlings are about 3-4 inches tall before their first mow. Set your mower to a higher setting (e.g., 3-4 inches) to avoid stressing the young grass. Ensure the blades are sharp.
- Post-Germination Fertilizer: About 4-6 weeks after seeding, you can apply a slow-release granular lawn fertilizer to support ongoing growth. Avoid weed-and-feed products for at least two months after seeding, as herbicides can harm young grass.
Common Causes
- Compacted Soil: Heavy foot traffic, equipment use, or naturally dense clay soils can compact the ground, stifling root growth and preventing new seeds from taking hold.
- Excessive Thatch: A thick layer of dead grass and organic matter can act as a barrier, preventing water, nutrients, and new grass seeds from reaching the soil.
- Insufficient Sunlight: Many grass types require a minimum amount of sun (typically 6-8 hours for full-sun varieties). Trees, shrubs, or buildings can cast too much shade, leading to thin, weak growth.
- Nutrient Deficiencies or Imbalances: Lack of essential nutrients (nitrogen, phosphorus, potassium) or an incorrect soil pH can hinder grass health and density.
- Improper Watering: Shallow, frequent watering encourages shallow root systems, making grass more susceptible to drought and stress. Infrequent, deep watering promotes stronger roots.
- Pests and Diseases: Grubs, fungal diseases, and other pests can cause thinning patches and overall turf decline if not addressed promptly.
- Aging Turf: Even healthy grass has a lifespan. Over time, individual grass plants become less vigorous, and the lawn naturally thins out. Overseeding rejuvenates the turf.
Common Mistakes
- Skipping Soil Preparation: Not aerating or dethatching before seeding is the most common error. Seeds need direct contact with soil to germinate; simply broadcasting them over dense thatch or compacted earth is largely ineffective.
- Using the Wrong Seed: Choosing grass seed that isn't suited for your climate, sunlight conditions, or existing grass type will lead to poor establishment and continued thinning.
- Improper Watering Post-Seeding: Either overwatering (washing away seeds, promoting disease) or underwatering (allowing seeds to dry out and die) can completely derail your overseeding efforts. Consistent, light moisture is key.
- Applying Weed Killer Too Soon: Many weed control products contain herbicides that can kill or severely damage young grass seedlings. Always read labels carefully and wait the recommended period before applying.
- Not Protecting New Seeds: Birds, squirrels, and heavy rain can feast on or wash away newly spread seeds. While difficult to eliminate completely, ensuring good seed-to-soil contact helps.
- Mowing Too Low or Too Soon: Mowing new seedlings too short or too early puts immense stress on them, potentially undoing all your hard work. Always wait for sufficient height and use a high setting.
Cost & Time Breakdown
| Task | DIY cost | Pro cost | Time |
|---|---|---|---|
| Soil Test Kit | $15–$50 | Included | 10 min |
| Grass Seed (1,000 sq ft) | $30–$70 | Included | - |
| Starter Fertilizer | $20–$40 | Included | - |
| Aerator Rental (half-day) | $80–$120 | Included | 2–4 hours |
| Dethatcher Rental (half-day) | $70–$100 | Included | 2–4 hours |
| Hand Spreader (optional) | $20–$40 | Included | - |
| Total (DIY) | $165–$370 | $400–$800+ | 4–8 hours |
Tips & Prevention
- Annual Overseeding: Consider overseeding annually or biennially, especially for high-traffic lawns, to maintain density and introduce new, stronger grass varieties.
- Regular Soil Tests: Perform a soil test every 2-3 years to monitor pH and nutrient levels, adjusting as needed to keep your grass healthy.
- Deep and Infrequent Watering: Once established, water deeply (6-8 inches of penetration) and less frequently to encourage deep root growth, making the lawn more drought-resistant.
- Mow High: Set your mower to a higher blade setting (typically 2.5–3.5 inches) during regular mowing. Taller grass shades the soil, reduces water evaporation, and crowds out weeds.
- Proper Fertilizer Schedule: Use a balanced fertilizer program tailored to your grass type and climate, typically in spring and fall. Avoid over-fertilizing, which can harm the lawn and pollute waterways.
- Manage Thatch: Incorporate regular dethatching into your lawn care schedule if thatch build-up is an ongoing issue, typically every 1-2 years.
When to Call a Professional
While overseeding is a manageable DIY project, consider calling a professional lawn care service if your lawn's thinning is severe, covers a very large area (over 10,000 sq ft), or is accompanied by persistent pest or disease issues you can't identify. Professionals have access to commercial-grade equipment like stand-on aerators and slit seeders, which provide superior soil preparation and seed distribution, especially for extensive lawns or those with challenging terrain. They can also accurately diagnose underlying soil problems, apply commercial-grade amendments, and provide a comprehensive treatment plan that includes weed control and fertilization, saving you significant time and potential frustration from trying to troubleshoot complex lawn issues on your own. If you suspect grubs or a specific fungal disease, a pro can offer targeted, effective solutions that might not be available to the average homeowner.
Related Articles
Keep troubleshooting with these hand-picked guides from FixlyGuide:
- The #1 Mistake Killing Your Lawn's Thickness (and How to Fix It for $50) — Overseeding can transform a thin, patchy lawn into a lush, vibrant carpet, but many homeowners miss a critical step, hindering success.
- The #1 Mistake Killing Your Thin Lawn (and How to Fix It in a Weekend) — Overseeding a thin lawn is crucial for a lush yard, but a common mistake can ruin your efforts before they even begin. Learn how to diagnos…
- The #1 Mistake Killing Your Lawn's Thickness (and How to Fix It in a Weekend) — Overseeding a thin lawn is essential for a lush green carpet, but many homeowners make a crucial mistake that hinders success. Learn the ri…
- The #1 Mistake Killing Your Thin Lawn (And How to Fix It in a Weekend) — Overseeding your lawn can transform it from thin and patchy to lush, but many homeowners make a crucial mistake that hinders success. Learn…
- The #1 Mistake Killing Your Lawn's Thickness (and 5 Steps to a Lush Comeback) — Discover the crucial error most homeowners make when trying to thicken a thin lawn and follow five simple steps to revive it.
- The 3 Hidden Mistakes That Make Your Deck Sealer Fail (And How to Fix Them) — Resealing your wood deck protects it from weather and extends its life. Learn how to avoid common mistakes for a long-lasting finish and vi…
Should you do this yourself?
Answer five quick questions before you start. Safety outranks savings every time.
Your experience with work like this
How high do you have to work?
Does the job involve any of these?
Will it need a permit?
Specialty tools
Free and instant. Educational guidance only — not a quote, inspection, or professional diagnosis.
What should this project cost?
Enter your project details for a realistic cost range before you call anyone.
Cost depends heavily on which system turns out to be the source.
- Regional adjustment
- National average
- Labor share (typical)
- ~$1,620
- Quotes to collect
- 3 written estimates
Educational estimate based on national averages — not a binding quote. Always confirm with written local estimates.
Before you start
Check the difficulty, permits, and safety risk — then decide whether to call a pro.
- Estimate this projectGet a cost range for your scope and ZIP before you call anyone.Open
- Get local estimatesSend one request and compare written estimates from vetted pros.Open
Free, no signup required. Estimates are educational guidance, not a quote or an inspection.
Frequently asked questions
How long does it take for new grass seed to grow when overseeding?+
Most grass seeds will show signs of germination within 5-10 days, but it can take 2-3 weeks for a significant amount of new grass to appear, and several months for the grass to fully mature and integrate into your existing lawn. Consistent watering is critical during this period.
Can I just sprinkle grass seed on my existing lawn?+
While you can sprinkle seed, simply broadcasting it over an un-prepped lawn is a common mistake and often leads to very poor results. For successful overseeding, you must ensure good seed-to-soil contact by first mowing low, dethatching, and ideally aerating. Otherwise, most of your new seed will not germinate or establish properly.
How often should I water after overseeding?+
For the first 2-3 weeks after overseeding, you should water lightly two to three times a day, keeping the top inch of soil consistently moist. Avoid heavy watering that can wash away seeds or create puddles. As seedlings grow, gradually reduce the frequency and increase the duration of watering to encourage deeper root development.
Should I fertilize when overseeding?+
Yes, it's highly recommended to apply a 'starter fertilizer' with a higher phosphorus content immediately before or after overseeding. This nutrient promotes strong root development in new seedlings. Avoid 'weed and feed' products, as the herbicides can harm young grass. You can apply a general slow-release fertilizer about 4-6 weeks after germination.
What's the best time of year to overseed cool-season grass?+
For cool-season grasses like fescue, rye, and bluegrass, the best time to overseed is late summer to early fall (typically August to October). This allows the seeds to germinate and establish strong root systems before the stress of summer heat or winter cold, with fewer competing weeds.
Discussion
Loading comments…