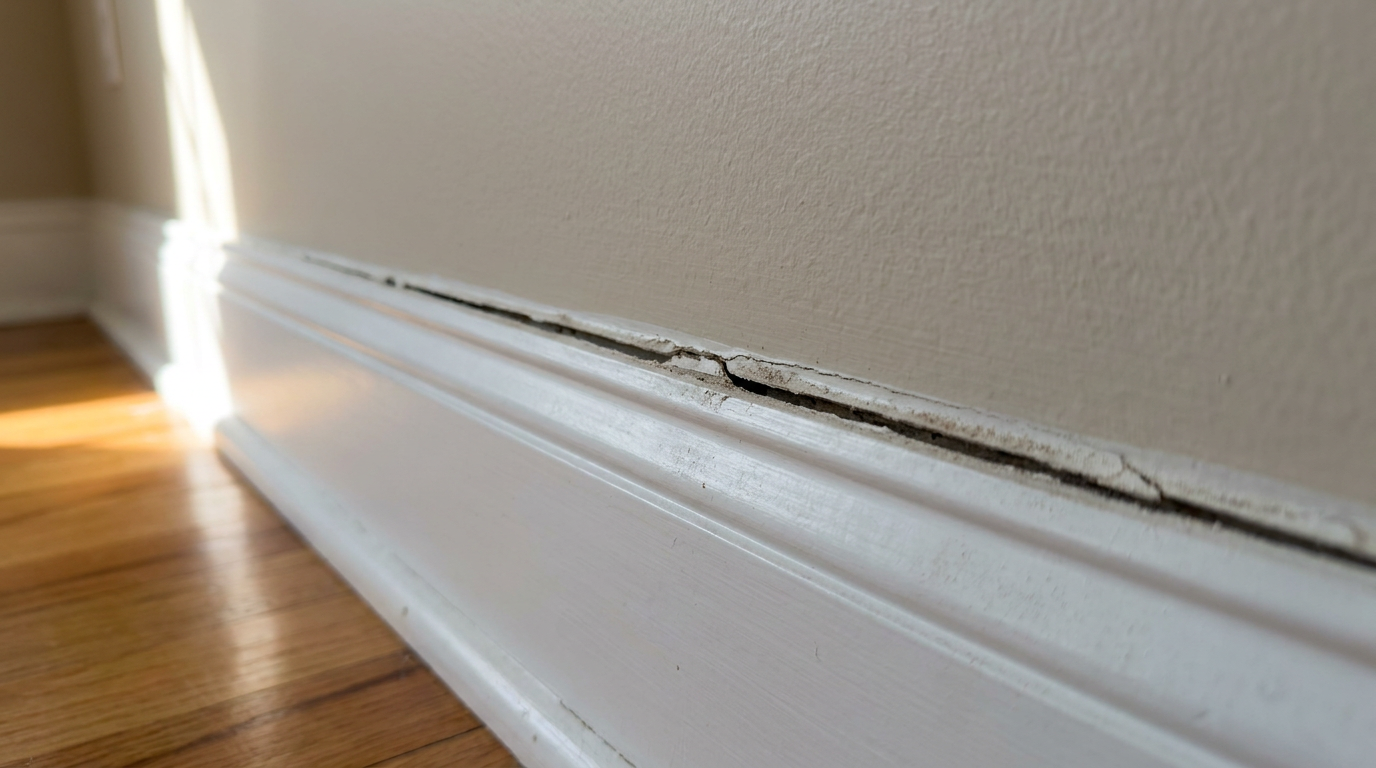
- Probe the gap for existing nail failure — Use a thin putty knife to check behind the loose baseboard trim. Feel for bent, sheared, or missed finish nails that are stuck out into open air rather than anchored in lumber.
- If old nails are bent and holding the baseboard off the wall like rigid kickstands, slip an oscillating multi-tool blade behind the trim and cut the nails flush.
- Avoid prying the trim aggressively off the wall unless you plan to remove the entire section; excessive prying snaps delicate mitered joints and MDF baseboard.
General remodeling · Renovation planning
| Project category | General remodeling |
|---|---|
| Problem type | Renovation planning |
| Trade required | General contracting |
| Urgency | Planned project |
| Safety risk | Low safety risk |
| DIY suitability | Pro recommended |
| Cost category | Major investment |
| Typical timeline | Design and permitting often 2–4 months before work starts |
| Contractor type | General contractor |
Repair option
Phase the work and fix the building envelope first.
Replacement option
Full renovation with permits, design, and a general contractor.
Common causes
- Space no longer fits how the household lives
- Resale preparation
- Deferred maintenance stacking up
Relevant tools:project cost estimatorcompare quoteshome improvement material prices
Published October 28, 2026Last updated October 28, 2026
Tools & materials you'll need
Affiliate linksAs an Amazon Associate FixlyGuide earns from qualifying purchases — at no extra cost to you. Prices and availability are accurate as of publication and subject to change.
Quick Answer
Baseboards pulling away from the wall usually stem from warped framing lumber, missing backing studs, or extreme seasonal shifting in clay soils. While simple seasonal gaps under 1/8 inch take five minutes to seal with acrylic latex caulk, larger gaps require mechanical re-securing with 2-1/2-inch finish nails driven straight into wall studs, or shimming behind the trim before patching.
The Problem
You glance down at the corner of your hallway or the long run behind the couch, and there it is: a dark gap yawning between your baseboard and the drywall. Sometimes it's just a hairline crack in the painter's caulk. Other times, the gap is wide enough to lose a ballpoint pen inside—a quarter-inch or more of void letting drafts, insects, and floor-level dust seep through.
Homeowners usually try the obvious band-aid first: they grab a caulk gun, pump half a tube of latex into the abyss, wipe it down, and call it good. Three months later, the caulk snaps like a dry rubber band, tearing loose and leaving an even uglier mess of ragged silicone and dried paint.
A separating baseboard isn't just an eyesore. It is a sign of movement. The trim is losing its mechanical connection to the framing, or the framing itself is bowing away from the interior plane of the room. To fix it permanently, you have to understand whether you're dealing with poor initial nailing, twisted 2x4s, heavy drywall compound buildup near the floor, or seasonal soil movement flexing the bottom plate of the wall.
How It Works
Wood trim relies on two things to stay flat against a vertical wall: mechanical fasteners (finish nails driven under tension) and rigid dimensional lumber backing (the sole plate and wall studs).
Your wall consists of vertical 2x4 or 2x6 studs spaced 16 or 24 inches on center. Across the floor sits the sole plate (a horizontal 2x4 laid flat). Standard drywall stops roughly 1/2 inch above the subfloor so it doesn't wick up floor moisture or spillover. That leaves a 1-1/2-inch-tall target of solid wood at the bottom plate, plus the faces of the vertical studs.
   [ Drywall Sheet ]
          |
          |  <-- Void / Gap from bowed stud or tape buildup
          |
   [ Baseboard ] ======> [ Driven 2-1/2" 15-ga / 16-ga Nail ]
          |                           |
   +------+------+                    v
   | Sole Plate  | ==========> [ Stud Framing ]
   +-------------+
When trim carpenters install baseboards, they fire two nails at every stud location: one angled low into the sole plate, and one higher up (depending on trim height) into the vertical stud.
However, solid wood framing shrinks and swells across its grain as indoor relative humidity fluctuates between 30% in winter and 60% in summer. A 2x4 can cup, bow, or twist up to 1/4 inch across an eight-foot span. When a stud bows inward (away from the room), the drywall follows it, creating a hollow belly. The rigid baseboard wants to stay straight, pulling free from the drywall face. Alternatively, if nails were driven merely into drywall without catching framing meat, the natural tension of the wood pops them right out of the gypsum board over time.
Step-by-Step Fix
Here is how to secure, flatten, and seal a pulled-away baseboard so it stays put through multiple seasons.
-
Locate and mark every wall stud — Don't guess where the framing sits. Run an electronic stud finder along the wall roughly 6 to 12 inches above the top of the baseboard, and mark stud centers with light pencil strokes or blue painter's tape.
- Use a magnetic stud finder as a backup to locate drywall screws if your electronic sensor struggles with textured walls.
- Verify that studs follow a standard 16-inch on-center layout.
-
Probe the gap for existing nail failure — Use a thin putty knife to check behind the loose baseboard trim. Feel for bent, sheared, or missed finish nails that are stuck out into open air rather than anchored in lumber.
- If old nails are bent and holding the baseboard off the wall like rigid kickstands, slip an oscillating multi-tool blade behind the trim and cut the nails flush.
- Avoid prying the trim aggressively off the wall unless you plan to remove the entire section; excessive prying snaps delicate mitered joints and MDF baseboard.
-
Check the baseboard material — Determine if your baseboard is solid pine, oak, or medium-density fiberboard (MDF).
- Solid wood has natural internal tension and bends stiffly; it requires heavy holding power from 15-gauge finish nails.
- MDF is brittle and prone to "mushrooming" when nailed; keep pneumatic nailer pressures around 80–90 PSI to prevent blowout.
-
Carve out old, failed caulk cleanly — Take a sharp utility knife held at a 45-degree angle to score along the joint between the top edge of the baseboard and the drywall surface.
- Peel the ragged caulk bead out using a stiff painter's 5-in-1 tool.
- Sand the top shoulder of the trim lightly with 120-grit sandpaper to remove stubborn silicone or latex buildup. Fresh caulk will not stick to old residue.
-
Apply firm pressure and assess the bow — Push the baseboard hard against the wall with your foot or flat palm directly over a marked stud location.
- If the baseboard easily contacts the drywall and sits flush, simple re-nailing will solve the problem.
- If pressing the board tight causes the floor to pinch or cracks the inside corner miter, stop. The stud is severely bowed, and you will need to feather the gap with shims or setting-type joint compound rather than forcing it flat.
-
Drive fresh 2-1/2-inch finish nails at opposing angles — Using a 16-gauge or 15-gauge finish nailer, fire two nails through the baseboard into the solid stud.
- Angle the top nail slightly downward (about 15 degrees) and the bottom nail slightly upward (about 15 degrees). This creates an "X" or dovetailed mechanical lock inside the wood stud that resists pulling out when the framing shifts.
- If working by hand, pre-drill with a 1/16-inch bit to avoid splitting hardwood or brittle pine, drive 8d finish nails, and sink them 1/16-inch below the surface using a nail set.
-
Shim lingering hollows behind the trim — If the gap spans 3/16 inch or wider even after nailing, the wall itself is cupped behind the board.
- Slide tapered cedar or composite shims down behind the top lip of the baseboard until they fit snug without forcing the board farther forward.
- Score the shims flush with the top edge of the trim using a razor blade, snap off the excess, and push the remaining tip just below the trim edge so it's hidden.
-
Wipe away dust and vacuum the joint — Clear all sawdust, loose drywall dust, and debris out of the seam using a shop vac equipped with a narrow brush nozzle.
- Dirt acts as a bond breaker; caulk laid over dusty drywall paper will peel off within weeks.
- Wipe the top surface of the trim down with a damp microfiber cloth and let it dry completely (5–10 minutes).
-
Apply a smooth bead of elastomeric or high-flex caulk — Cut the caulk tube nozzle at a 45-degree angle with a tiny opening (roughly 1/8 inch wide).
- Lay a continuous, steady bead along the gap, moving the gun toward you at an even speed.
- Use a premium elastomeric caulk rated for at least 25% to 50% total joint movement (such as Sashco Big Stretch or DAP Dynaflex 230). Never use standard painter's caulk on an active gap.
-
Tool the bead and let it cure before painting — Tool the caulk immediately with a damp finger, a caulk tool, or a damp rag, pressing the compound deep into the joint rather than smearing it flat against the wall.
- Wipe excess off the wall face so you leave a clean, crisp, concave seam.
- Wait the full dry time listed on the cartridge—typically 24 to 48 hours for high-movement formulations—before cutting in your wall paint or trim enamel.
Common Causes
- Missed stud anchoring during initial build: Production trim carpenters work fast. If a nailer fired into the 1/2-inch drywall without biting a 2x4 stud or bottom plate, the nail works loose after footsteps and door slams vibrate the wall.
- Bowed wall studs: Dimensional lumber rarely stays straight. When a stud twists inward 1/4 inch during summer-to-winter moisture swings, the drywall pulls back with it, leaving the rigid baseboard floating out in space.
- Drywall mud accumulation at the bottom seam: Tapers build up thick mud over the tapered factory seam roughly 4 to 8 inches off the floor. This creates a "bump" on the lower wall that levers the top edge of a tall baseboard outward.
- Soil-driven foundation shifting: In areas with heavy clay soils (especially expansive soils across Texas and the Midwest), seasonal foundation movement drops or lifts floor joists relative to interior partition walls, breaking baseboard seams.
- Unacclimated trim lumber: Installing pine or oak baseboards immediately after delivery from a damp lumberyard causes rapid shrinkage once modern HVAC dries the wood to 6–8% moisture content inside the home.
Common Mistakes
- Pumping 100% silicone into baseboard gaps: Silicone repels water, but it also repels latex paint completely. If you run pure silicone along your baseboard, your trim paint will "fish-eye" and bead off, leaving an unfixable, greasy-looking mess.
- Nailing blind without stud verification: Firing nails randomly every 12 inches into hollow drywall won't hold the board. You are simply adding tiny metal holes that loosen within weeks. Always map your studs first.
- Forcing a heavily bowed board with excessive nail tension: If a wall has a severe 3/8-inch hollow, trying to force a thick, rigid baseboard tight against the drywall with five heavy nails will often pull the drywall paper off the studs, crack the drywall joint compound, or snap the miter joint in the adjacent corner. Shim and caulk deep voids instead of over-stressing the wood.
- Using cheap, brittle painter's caulk: Dollar-bin painter's caulk hardens into rigid chalk within six months. When seasonal framing movement kicks in during winter, the caulk shears right in half. Spend the extra four dollars on high-stretch elastomeric acrylic.
- Skipping old caulk removal: Layering fresh caulk over an existing, failed bead creates a messy, fat joint that won't adhere to the underlying drywall. You must clean the joint back down to bare wood and painted drywall paper before resealing.
Cost & Time Breakdown
| Task | DIY Cost | Pro Cost | Time |
|---|---|---|---|
| Stud verification & basic re-nailing | $0–$15 (nails/hand tools) | $150–$250 | 30–45 mins |
| Caulk removal and elastomeric re-caulking | $10–$25 (materials) | $120–$200 | 45–60 mins |
| Shimming and mechanical reset of long runs (15+ ft) | $20–$40 | $250–$450 | 2–3 hours |
| Full trim removal, planing, and reinstall | $30–$60 | $400–$750 | 4–6 hours |
Tips & Prevention
- Maintain indoor relative humidity between 35% and 50%: Extreme swings dry out framing lumber and baseboards in winter, then swell them in summer. A steady indoor environment prevents the dimensional changes that yank nails loose.
- Acclimate all new trim lumber for at least 72 hours: If you are installing replacement baseboards, stack them inside the conditioned room with spacer sticks between boards so they reach indoor equilibrium before being nailed to the wall.
- Inspect baseboards twice a year during heating and cooling transitions: Catching a hairline seam failure in autumn lets you re-secure the board before it pulls far enough out of position to snap corner copes or damage flooring edges.
- Look for backing blocks in non-standard corners: If an inside corner pulls wide, builders often missed the corner nailer. If a stud isn't there, angle your nails heavily downward into the horizontal bottom plate rather than straight into the hollow drywall corner.
When to Call a Professional
Most pulled baseboards are routine cosmetic fixes that yield to a finish nailer and flexible caulk. But if the separation measures 1/2 inch or wider, stretches along an entire exterior wall, or shows up alongside sudden diagonal cracks spreading from the corners of doorframes, you are likely looking at foundation settlement or framing failure rather than a warped baseboard.
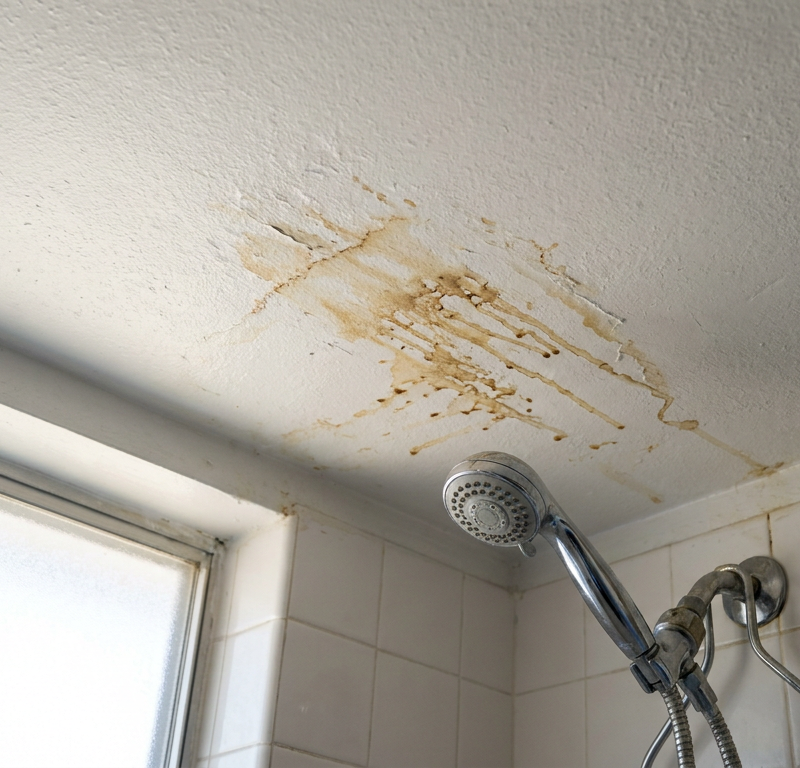
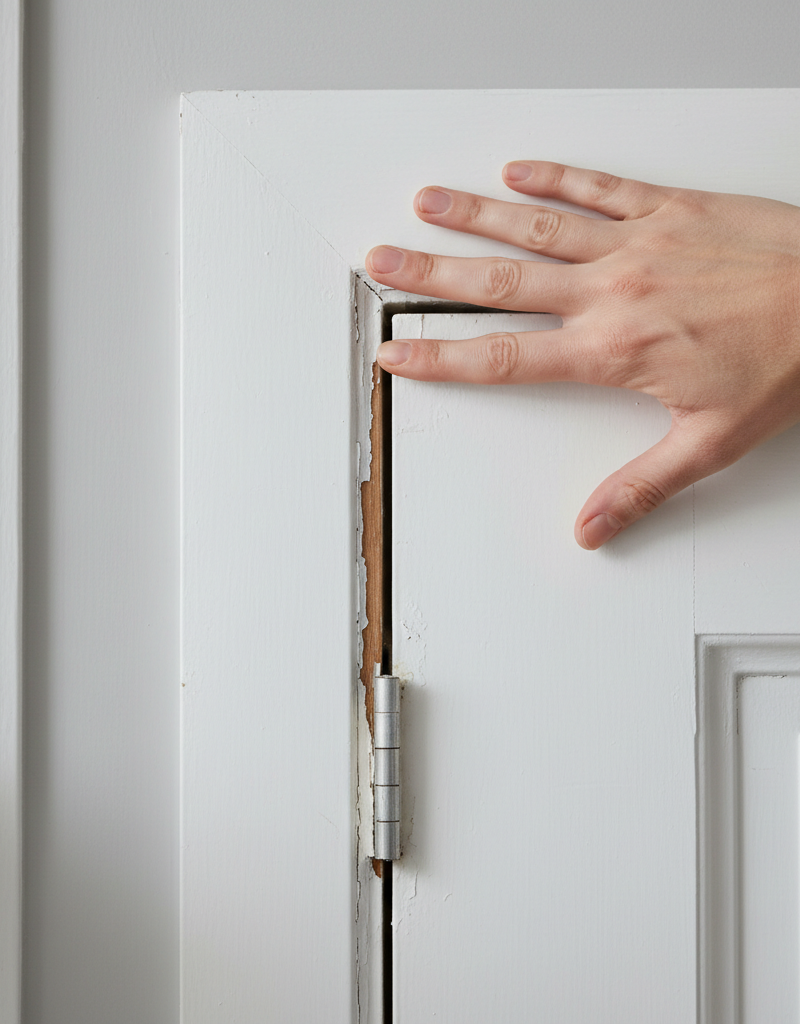
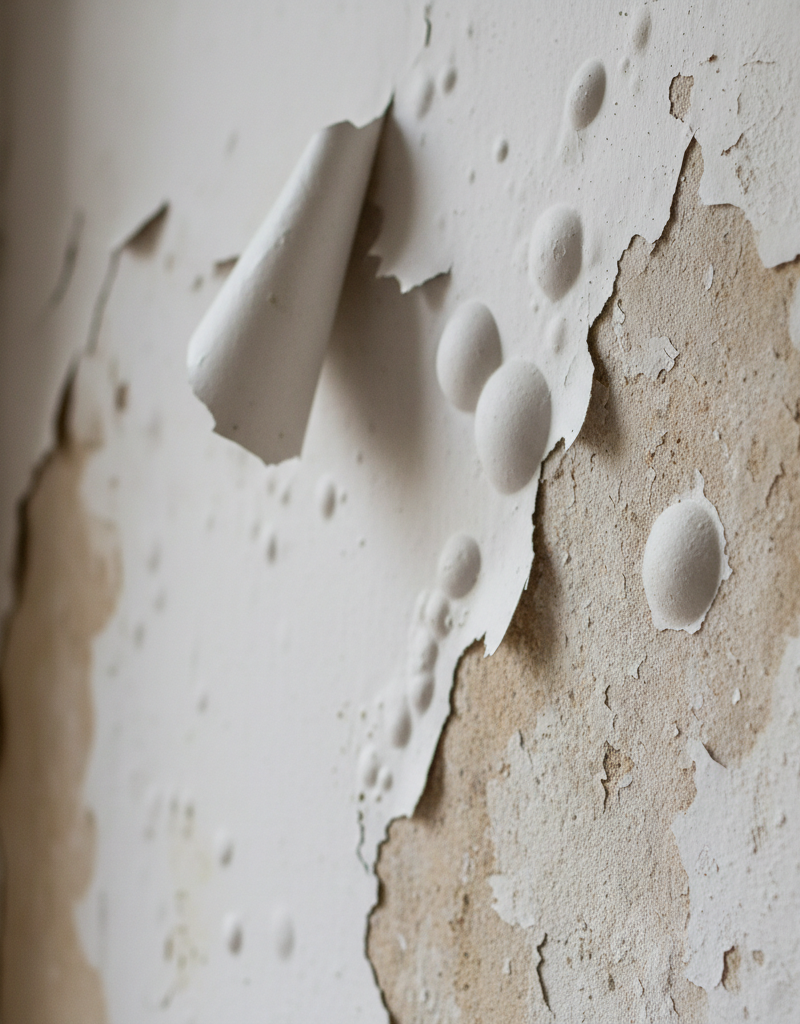
Call a licensed general contractor or structural engineer if your floors visibly slope toward the separating baseboard, or if interior doors suddenly stick and refuse to latch. Additionally, if the bottom edge of the drywall behind the pulled baseboard feels soft, crumbly, or shows dark discoloration, stop nailing immediately: water is leaking behind the wall cavity, degrading the bottom plate lumber. An experienced carpenter or remediator will need to open the wall, trace the plumbing or flashing leak, and replace rotted structural framing before any cosmetic trim work can take place.
Related Articles
Keep troubleshooting with these hand-picked guides from FixlyGuide:
- Why Your Baseboard is Gapping (and How to Fix It for Good) — Seeing a gap between your baseboard and wall? Learn why this happens, from seasonal wood movement to installation errors, and get the lasti…
- Why Does My Trim Look Like a Snake Ate It? (The Hidden Culprit) — That wavy, crooked trim isn't just shoddy workmanship—it's often a sign of underlying issues. Learn what causes your trim to warp and how t…
- Vinyl Plank Flooring Gaps? 5 Reasons Seams Separate—and the Quick DIY Fix — Fix separated vinyl plank floor seams in 15 minutes without pulling baseboards using the simple traction block method and rubber mallet.
- That Ceiling Stain Isn't a Leak: 5 Hidden Causes — A mysterious ceiling stain can be alarming, especially when there's no active leak. The real culprits are often hidden issues like attic co…
- Window Frame Cracked? 5 Causes and How to Fix Each Type — A cracked window frame isn't just ugly—it can lead to leaks, drafts, and even bigger structural problems if you don't fix it right.
- The #1 Reason Your Baseboards Are Pulling Away (It's Not What You Think) — Discover why your baseboards are separating from the wall, often due to humidity changes, and learn how to fix them securely with common to…
Should you do this yourself?
Answer five quick questions before you start. Safety outranks savings every time.
Your experience with work like this
How high do you have to work?
Does the job involve any of these?
Will it need a permit?
Specialty tools
Free and instant. Educational guidance only — not a quote, inspection, or professional diagnosis.
What should this project cost?
Enter your project details for a realistic cost range before you call anyone.
Cost depends heavily on which system turns out to be the source.
- Regional adjustment
- National average
- Labor share (typical)
- ~$1,620
- Quotes to collect
- 3 written estimates
Educational estimate based on national averages — not a binding quote. Always confirm with written local estimates.
Fixly Project Decision Box
- DIY difficulty
- Professional Recommended
- Estimated time
- Monitoring over 60–90 days · engineer visit 1–2 hours
- Cost level
- Major Project
Main tools / materials
- Crack monitor or pencil marks with dates
- Tape measure
- Marble or level for floor slope
When to stop and call a pro
- A crack wider than 1/4 inch or growing month over month
- Doors and windows that suddenly stick or will not latch
- Stair-step cracks in brick or block
- Separation between walls and ceilings or floors
Need professional help?
Get a Foundation EvaluationGet the print-ready PDF of this guide
A clean, ad-free, printable version you can keep on your phone or pin to the workshop wall. Free with a FixlyGuide account.
- Print-optimized layout
- Tools, materials & every step included
- Saved to your account
Recommended for DIYers & woodworkers
Sponsored
The Top 20 Tools for Workshops of Any Budget
No stationary machines or power tools required — plus 3 fundamental tools that can't be bought at any price.
Get the free guide
Ted's Woodworking — The #1 Woodworking Resource
Detailed instructions, dimensioned drawings, materials & cutting lists, and 3D schematics for every skill level.
See the plansSponsored: links above are affiliate links. FixlyGuide may earn a commission on qualifying purchases — at no extra cost to you.
Frequently asked questions
Why does my caulk crack along the baseboard every winter?+
Standard painters caulk cures into a relatively rigid acrylic bead that only handles 5% to 10% joint movement. When indoor humidity drops and framing lumber shrinks, the rigid caulk tears apart. To fix this permanently, scrape away the old caulk and apply an elastomeric or high-stretch acrylic caulk rated for 25% or greater joint movement.
Can I use screws instead of finish nails to pull the baseboard tight?+
Yes, but only if you use finish screws (such as GRK Trim Head screws) that have tiny heads designed to sink beneath the wood surface. Standard drywall or wood screws will crush and split baseboard trim, leaving massive holes that are difficult to patch flush. For most trim, 15-gauge or 16-gauge finish nails remain the best option.
What if my finish nails wont grab and just slide back out?+
First, verify whether you are hitting a stud. Standard baseboard nails should be 2-1/2 inches long to penetrate 1/2-inch drywall and seat at least 1-1/2 inches into solid wood. If the nail still pulls out under tension, your wall stud may be deeply bowed or soft from moisture. In that case, use shims behind the trim or secure the board at a severe downward angle into the bottom plate.
Is a separating baseboard a sign of foundation damage?+
If the baseboard pulls away from the wall along with a horizontal gap above the floor, your floor joists are likely deflecting downward or foundation soil is settling. If the baseboard stays firmly attached to the wall while the floor drops out beneath it, the issue is floor settling or subfloor shrinkage rather than trim detachment.
Do I have to remove the baseboard completely to fix the gap?+
If the gap is under 3/16 inch, you do not need to pull the trim. You can re-nail the board directly through the face into the wall studs and seal the remaining hairline seam with elastomeric caulk. Only pull the trim if the wood is severely twisted, cracked, or needs deep shimming along the entire wall length.
How do I secure baseboard if there is no vertical stud where it is bowing?+
Angle your finish nails downward at roughly a 45-degree angle right at the lower edge of the baseboard. This directs the nail through the drywall and into the 1-1/2-inch-tall sole plate (the horizontal 2x4 resting on the subfloor), which runs continuously along the entire length of the wall.
Is MDF baseboard or solid wood more prone to pulling off the wall?+
MDF (medium-density fiberboard) is manufactured flat and has no natural grain bow, so MDF gaps are almost always caused by bowed wall framing or drywall compound bumps. Solid pine or oak, on the other hand, can warp, cup, or twist entirely on its own as it loses moisture, exerting significant physical force against the drywall.
What gauge nail is best for pulling baseboards tight?+
Use 15-gauge finish nails for thick (3/4-inch) solid hardwood or heavy pine trim, as they offer the mechanical holding power needed to keep stiff wood pinned flat. For lighter 1/2-inch profiles, finger-jointed pine, or MDF trim, 16-gauge finish nails are ideal because they hold securely without blowing out the wood fibers.
Discussion
Loading comments…