- Tools needed: Microfiber cloth, warm water, soft-bristled brush.
- Clear out baked-on grease, calcium crust, or a utensil handle that’s pinning the cylinder up.
- If the cylinder sticks at the top of its stroke, pop the dome off its stem, clean out the grease build-up, and snap it back down.
Plumbing · Clog
| Project category | Plumbing |
|---|---|
| Problem type | Clog |
| Trade required | Plumbing |
| Urgency | Soon — within weeks |
| Safety risk | Low safety risk |
| DIY suitability | DIY friendly |
| Cost category | Low cost |
| Typical timeline | Same-day DIY attempt; pro visit within a day or two |
| Contractor type | Licensed plumber |
Repair option
Plunger, hand auger, or trap cleanout before chemicals.
Replacement option
Line replacement when clogs return in the same spot repeatedly.
Common causes
- Hair and soap buildup in the trap
- Grease cooling in the branch line
- Flushed wipes or foreign objects
Relevant tools:diy difficultydiy or hire a pro
Published October 24, 2026Last updated October 24, 2026
Tools & materials you'll need
Affiliate linksAs an Amazon Associate FixlyGuide earns from qualifying purchases — at no extra cost to you. Prices and availability are accurate as of publication and subject to change.
Quick Answer
If your dishwasher won't fill with water, I’d bet the farm on a stuck overfill float switch, a clogged water inlet valve screen, or a dead 120-volt solenoid coil. Start with the plastic float inside the tub and make sure it moves freely and clicks like it should. If the float’s clear and your under-sink shutoff valve is open, test the water inlet valve behind the lower kickplate with a digital multimeter for 500 to 1,500 ohms of resistance.
The Problem
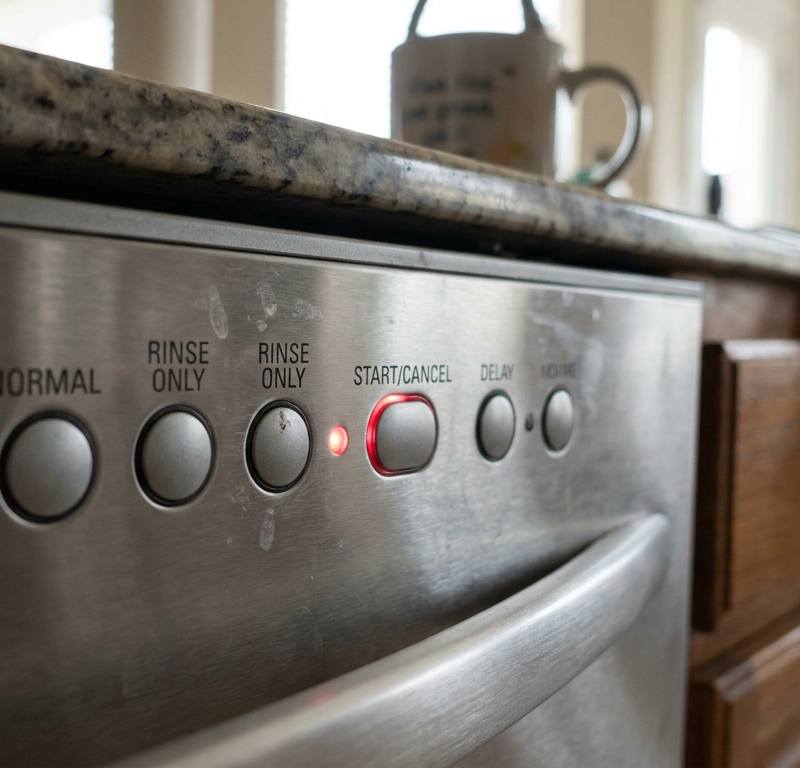
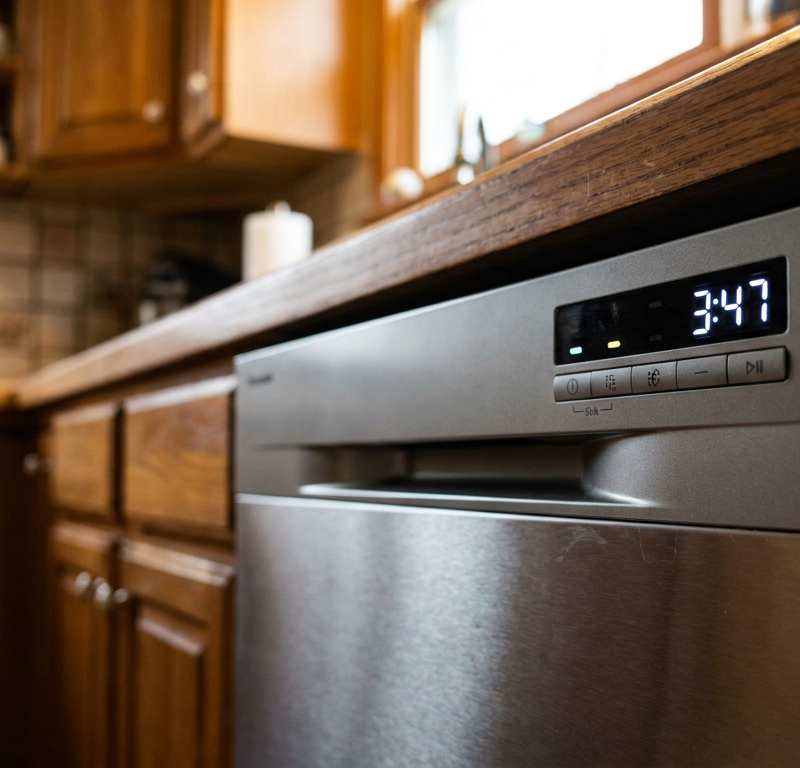
You hit Start, hear the drain pump run its little 30-to-60-second clearing cycle, and then you wait for that familiar rush of water into the stainless steel tub. Nothing. Instead, you get a faint hum, a soft click, or plain dead silence, then the timer starts counting down or an error code pops up on the control console.
When a dishwasher runs dry, the wash pump motor can cook itself fast with no liquid to move around and cool the seals. The heating element can also kick on in an empty tub, which is a great way to scorch plastic wash arms or trip thermal fuses. Figuring out why water isn’t getting into the basin keeps you from frying parts and piling up hand-washed dishes.
How It Works
Most residential dishwashers don’t pull water nonstop; they fill in measured bursts, timed by the control and controlled by an electric valve. When a cycle starts, the main control board sends 120 volts of alternating current (AC) to a dual- or single-solenoid water inlet valve behind the bottom access panel. That electromagnetic coil pulls a pilot plunger back, and then normal household water pressure (typically 30 to 80 PSI) pushes a rubber diaphragm open. Water shoots through a 3/8-inch braided line, runs through an air gap or side channel, and drops into the basin.
The machine watches water depth mostly through an overfill float assembly in the front corner of the floor. As water climbs to its normal operating depth—usually between 1/2 inch and 1 inch at the center sump—the plastic cylinder floats up. If the level gets too high, that float lifts a mechanical lever and trips a microswitch, which cuts power to the inlet valve before your kitchen turns into a mess. Most basic units don’t have flow meters; the control board just holds the valve open for about 90 to 120 seconds. If water pressure drops, the valve gets packed with mineral scale, or the float sticks up, the tub stays dry.
Step-by-Step Fix
Before you start digging into wire harnesses, work through this straight physical and electrical troubleshooting path.
-
Verify Water Supply to the Unit — Crawl under the kitchen sink with a flashlight and check the 3/8-inch hot water supply stop valve dedicated to the dishwasher. Turn the brass handle counterclockwise until it’s fully open; quarter-turn ball valves need to sit parallel with the braided stainless supply line.
- If the valve was partly closed or got bumped by cleaning supplies, open it all the way and run a test cycle.
- If the handle spins freely with no resistance, the internal stem has sheared, and that valve needs to be replaced.
-
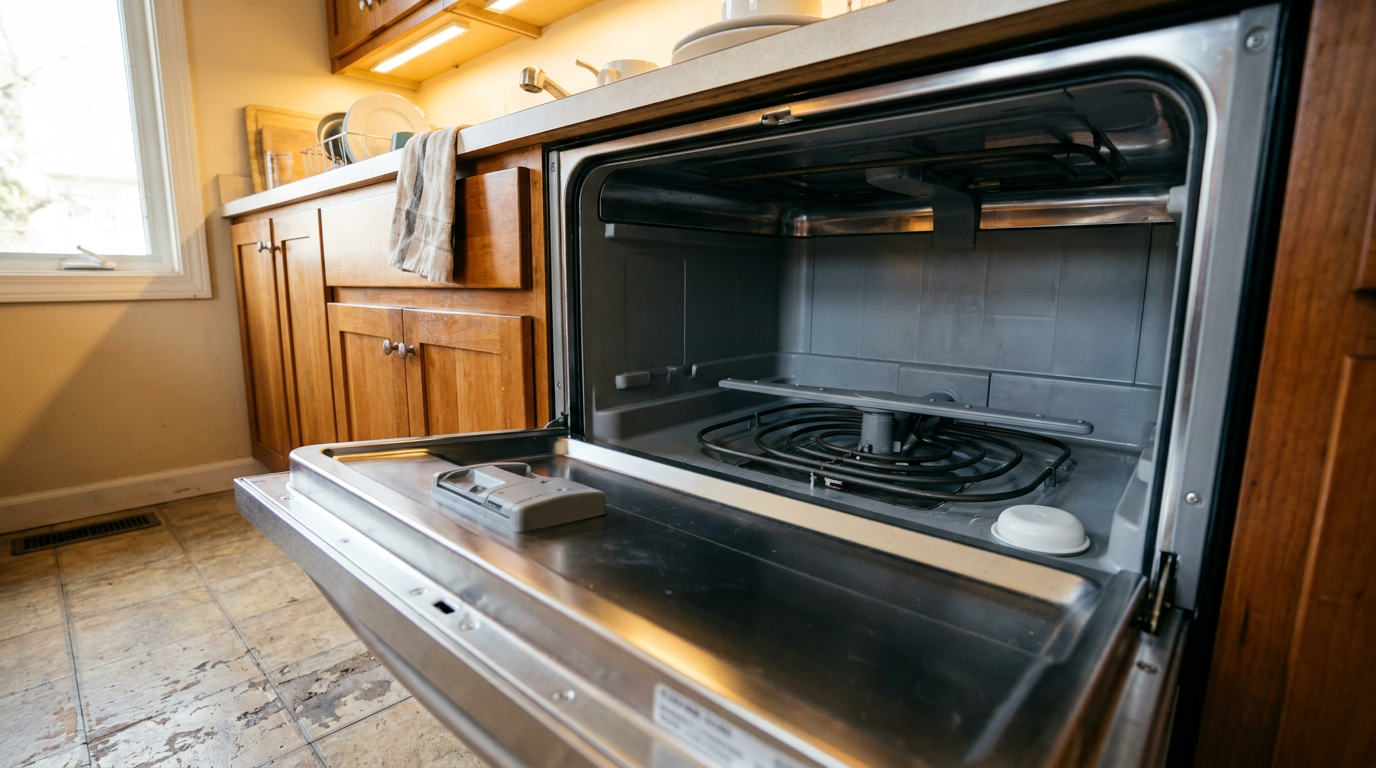
Inspect and Clean the Overfill Float — Open the dishwasher door, pull out the lower dish rack, and find the small plastic dome or cylinder in the front corner of the tub floor. Lift the float cap up and drop it a few times; it ought to move freely about 1/2 inch and snap down with an audible metallic click from the microswitch below.
- Tools needed: Microfiber cloth, warm water, soft-bristled brush.
- Clear out baked-on grease, calcium crust, or a utensil handle that’s pinning the cylinder up.
- If the cylinder sticks at the top of its stroke, pop the dome off its stem, clean out the grease build-up, and snap it back down.
-
Cut Electrical Power and Water Supply — Shut off the dedicated 15-amp or 20-amp dishwasher breaker at the main service panel, or unplug the power cord from the wall outlet under the sink. Then hand-tighten the hot water shutoff valve under the sink clockwise until it’s fully closed so you don’t get sprayed when you pull parts.
- Safety check: Press the dishwasher power button on the control console to make sure the display is dead before you remove any access covers.
-
Remove the Lower Kickplate Panels — Get down on the floor with a 1/4-inch or 5/16-inch nut driver and remove the two to four sheet metal screws holding the toe-kick panel and acoustic insulation pad. Pull the outer metal plate and inner sound baffle away from the bottom frame to expose the front leveling legs, motor harness, and brass plumbing fittings.
- Tools needed: 1/4-inch nut driver or magnetic Phillips screwdriver.
- Keep a shallow aluminum baking pan and dry shop rags under the brass fittings to catch leftover water.
-
Examine the Overfill Microswitch — Find the microswitch mounted right beneath the tub floor where the float stem comes through the frame. Check for broken plastic mounting tabs, corrosion, or insect debris jammed in the switch contact arm.
- Disconnect the two spade connectors from the switch terminals.
- Set your digital multimeter to Continuity or lowest Ohms (Ω).
- Put the meter probes on the two switch terminals; with the float down, you should get continuous continuity (0.0 to 0.4 ohms). Lift the float lever up by hand; the continuity has to break right away (reading OL or open loop). If it reads open circuit while the float sits fully down, replace the microswitch.
-
Access the Water Inlet Valve — Trace the braided stainless steel supply line forward from the back of the bay until it threads onto a 3/8-inch brass 90-degree elbow attached to the plastic water inlet valve. The valve assembly is screwed right into the lower front corner of the steel mounting frame.
- Tools needed: Channel-lock pliers, adjustable wrench, 1/4-inch nut driver.
- Remove the single mounting screw holding the valve bracket to the dishwasher chassis.
-
Inspect the Fine Sediment Screen — Unscrew the braided water line from the valve fitting with an adjustable crescent wrench while holding the brass elbow steady with channel-lock pliers. Look into the inlet port of the valve and inspect the ultra-fine stainless steel or mesh wire debris filter screen.
- Never pierce, puncture, or toss this screen; it keeps sediment from jamming the valve open and flooding the place.
- If North Texas calcium or well-water silt has coated the wire mesh, use dental picks and an old toothbrush soaked in white distilled vinegar to scrub off the crust. If the mesh won’t clean up, replace the whole valve assembly.
-
Test the Valve Solenoid Coils with a Multimeter — Pull the two slip-on electrical spade connectors off the valve solenoid coil terminals with needle-nose pliers. Set your multimeter to the resistance scale (Ohms, Ω) and place one probe on each brass terminal tab.
- A healthy 120V water inlet solenoid reads between 500 and 1,500 ohms of internal resistance.
- If your meter shows "OL" (infinite resistance) or zero ohms (direct short), the copper winding has burned out, which means the valve won’t energize. You’ll need an OEM replacement valve.
-
Install the Replacement Water Inlet Valve — Disconnect the rubber outlet fill hose held by a pinch clamp on the discharge side of the valve, and move the brass 90-degree elbow to the new valve assembly. Wrap the male threads of the elbow with three clockwise wraps of PTFE thread seal tape before tightening it into the new plastic body.
- Hand-thread the fitting into the new plastic valve port, then tighten exactly 1.5 to 2 full turns with a wrench—don’t overdo it, or you’ll crack the plastic housing.
- Slip the rubber internal hose onto the ribbed barb and secure the spring clamp firmly behind the barb head.
-
Reconnect Electrical and Water Lines — Push the wiring harness spade terminals firmly onto the new solenoid tabs until they’re seated, then re-anchor the metal valve bracket to the frame with your sheet-metal mounting screws. Thread the 3/8-inch braided hot supply line back onto the brass elbow and snug it down with an adjustable wrench.
- Make sure no electrical wires get pinched between the frame and the water lines.
-
Conduct a Live Pressurization and Cycle Test — Turn the under-sink hot water supply valve counterclockwise to pressurize the line before you put the kickplate back on. Inspect the brass compression elbow for sweating or drips over a 3-minute period, then flip the main breaker back on.
- Start a normal wash cycle while you watch under the tub with a shop light.
- Within 60 seconds, you should hear the solenoid open with a solid thunk and see water rush into the internal tub chamber. Cancel the cycle, confirm the drain pump pushes out the test water, and screw the kickplate back into place.
Common Causes
A machine that runs dry usually comes down to four things: water pressure, electrical signals, safety interlocks, and open passageways.
- Failed Water Inlet Valve Solenoid: After thousands of wash cycles, thermal wear burns through the fine magnetic wire inside the coil. Once that coil opens, the control board still sends 120 volts, but the magnetic field never shows up to lift the internal piston.
- Clogged Sediment Filter Screen: Municipal line flushes, sediment from the hot water tank, and hard-water scale break loose and catch on the tiny mesh screen at the valve entrance. The valve may open fine, but water just trickles through at a tiny fraction of a gallon per minute.
- Jammed Overfill Float Assembly: Thick food soil, grease splatter, or bent mounting guides hold the float stem permanently raised. The microswitch stays open, and the computer thinks the tub is flooding when it’s actually bone-dry.
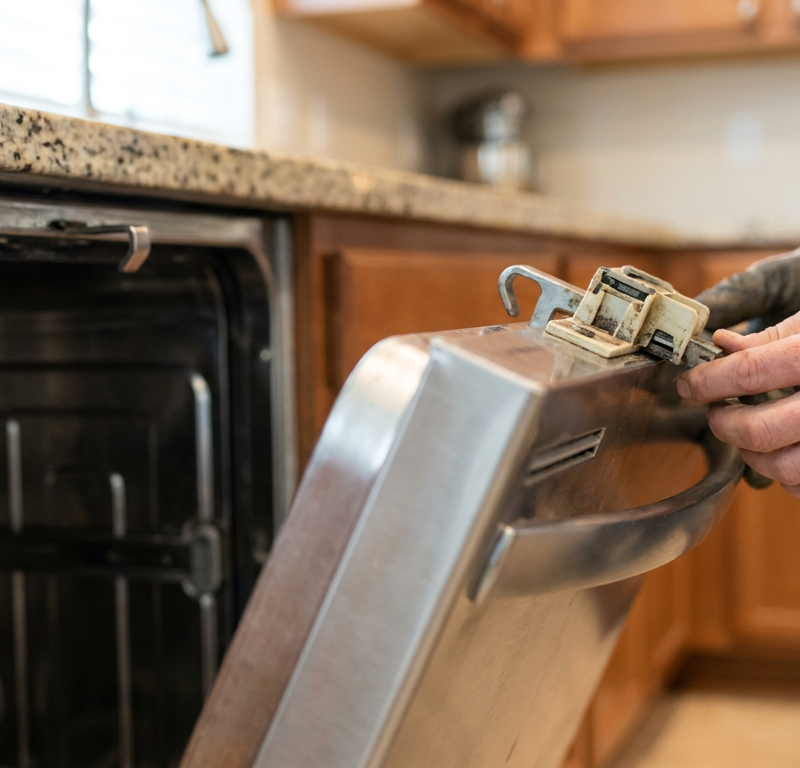
- Defective Door Latch or Interlock Switch: Most modern dishwashers run their drain cycle first, but they won’t send voltage to the fill valve if the door switches don’t confirm a solid mechanical latch. If the microswitch in the door header has loose terminal tabs or busted internal contact points, the unit just sits there.
- Faulty Main Control Board Relay: Power runs from the breaker panel through the main printed circuit board. If a soldered fill relay burns out on the board, line voltage never makes it out of the computer and down to the solenoid.
Common Mistakes
- Poking holes in the valve screen. When homeowners find a mesh screen packed with sand or lime, they’ll sometimes stab a screwdriver through it to “clear” the block. Don’t do that. Without that filter, tiny sand grains get trapped between the rubber valve diaphragm and brass seat, which can keep the valve from shutting off and flood the kitchen.
- Overtightening the brass 90-degree inlet fitting. Screwing a metal street elbow into a plastic valve body takes a little restraint. Folks muscle the brass fitting down until the plastic valve housing splits along the seam, and then you’ve got a nasty high-pressure leak behind the toe-kick panel.
- Skipping the multimeter test. Swapping parts on a hunch means you might buy a $60 valve when the real problem was a $9 microswitch or a free fix like freeing up a dirty float dome.
- Forgetting to check the hot water supply stop. Sounds obvious, sure, but family members knock the under-sink stop valve shut all the time while stuffing storage baskets or cleaning bottles into the cabinet, and the appliance gets starved for water.
- Ignoring the door latch continuity. Pulling apart the lower plumbing when the control panel simply thinks the door is open wastes time. Test the easy interlocks first.
Cost & Time Breakdown
| Task | DIY Cost | Pro Cost | Time |
|---|---|---|---|
| Float Switch Cleaning & Freeing | $0 | $120–$180 | 15–20 minutes |
| Overfill Microswitch Replacement | $8–$22 | $150–$220 | 30–45 minutes |
| Water Inlet Valve Replacement | $25–$65 | $180–$280 | 45–60 minutes |
| Door Latch Assembly Replacement | $30–$75 | $160–$250 | 30–40 minutes |
| Main Control Board Replacement | $110–$240 | $300–$450 | 45–60 minutes |
Tips & Prevention
- Descale the appliance quarterly. Run a cycle with two cups of white distilled vinegar in an upright mug on the upper rack to dissolve mineral build-up around the float stem before it binds the plastic guides.
- Flush the kitchen sink hot line first. Before starting the dishwasher, open the sink faucet until steaming hot water runs out (around 120°F). That helps stop cold water slugging into the machine and clears stagnant line debris straight down the sink drain.
- Inspect the under-sink braided supply line annually. Look for kinks, corrosion rings on the brass nuts, or rubber hardening along the outer stainless jacket. Replace standard rubber lines with burst-proof braided stainless steel hoses every 5 to 7 years.
- Clean the tub floor perimeter monthly. Wipe down the bottom rubber door gasket and the floor around the float cylinder with warm water so grease doesn’t turn into sticky adhesive.
- Install a whole-home sediment filter. If you live in an area with hard municipal water or well water carrying fine sand, a whole-house sediment cartridge will keep your appliance screens from loading up with grit.
When to Call a Professional
Swapping an accessible inlet valve or popping a dirty float loose is well within reach for most DIYers. But some problems call for a licensed appliance tech or plumber.
If your multimeter shows correct line voltage (120V) reaching the valve terminals during the fill phase, yet a brand-new OEM valve still won’t let water in, you may be dealing with a collapsed internal water feed tube, an air-break assembly failure, or software lockouts on newer smart boards. If you spot scorch marks, melted wire harnesses, or burned traces on the primary control board behind the door panel, stop right there; high-resistance shorts are a real house fire hazard.
If the hot water supply shutoff valve under the sink is seized, drips from the stem packing nut, or won’t shut off all the way, call a licensed plumber to replace the stop valve before you disconnect any appliance plumbing. I pulled a water heater in Frisco last month that had exactly this kind of crusty, half-failed valve, and no dice—the thing started leaking worse the minute I touched it.
Frequently Asked Questions
Why does my dishwasher make a humming noise but take in no water?
A low electrical hum usually comes from the water inlet valve solenoid coil energizing without opening the valve. That happens when the household water is shut off, the sediment screen is clogged, or the valve’s internal mechanical plunger is seized by scale. If the hum sounds louder and more guttural, it might be the drain pump fighting trapped glass before the fill cycle even starts.
Can low household water pressure stop a dishwasher from filling?
Yes. Dishwasher water inlet valves need a minimum line pressure—typically 20 to 30 PSI—to push the internal rubber diaphragm off its brass seat. If your pressure falls below that because of well pump issues or a bad pressure-reducing valve, the inlet valve won’t mechanically open even if the solenoid is working.
How full of water should a dishwasher be during a wash cycle?
A standard dishwasher doesn’t fill up to the door opening. Water should pool in the bottom center sump and sit roughly 1/2 inch to 1 inch deep across the basin floor, just below the heating element. If the level sits below the primary filter screen, the wash pump will suck air and you’ll hear a sputtering sound from the wash arms.
Where is the dishwasher overfill float switch located?
Open the door and look down at the interior floor pan. You’ll find a small plastic cylinder or dome—usually in the front-left or front-right corner—standing upright. Lifting that cylinder reveals the guide post, and the microswitch it controls sits directly beneath the floor pan behind the bottom exterior kickplate.
How do I know if the main control board is bad instead of the water valve?
Use a digital multimeter set to AC voltage to test the two wire leads attached to the valve solenoid during the first two minutes of a normal cycle. If the meter reads 120 volts, the control board is doing its job and sending power, which means the valve itself is mechanically dead. If the meter reads 0 volts while the door is latched and the float switch is closed, the control board relay or wiring harness has failed.
Can a faulty door latch prevent the dishwasher from filling with water?
Yes. Modern dishwashers run the initial 30-second drain pump routine, but the safety logic stops them from opening the water valve if the door switches don’t confirm the tub is shut. If the latch microswitch has worn internal contact pads or the door hinge is out of alignment, the machine pauses and refuses to take in water.
Why is my dishwasher not filling after installing a new garbage disposal?
This usually ties back to draining, but if your unit won’t move on to fill, make sure you didn’t knock the under-sink hot water supply valve shut while working in the cabinet. Also check that you didn’t trip the shared under-sink electrical outlet breaker or swap the switched power lead meant for the disposal with the unswitched circuit for the dishwasher.
How do I clear a hard water clog from the dishwasher inlet valve?
Disconnect the braided water line and use needle-nose pliers or a dental pick to hook the edge of the mesh filter screen inside the valve entrance. Soak the screen in warm distilled white vinegar for 30 minutes to dissolve calcium and scale deposits, then rinse it well. If the mesh screen is built in and can’t be cleared without tearing it up, replace the whole inlet valve assembly.
Will running a dishwasher without water damage the internal components?
Yes. Running dry can ruin the wash pump’s ceramic or graphite shaft seals, which depend on water for lubrication and cooling. And if the heating element turns on without water around it to soak up the heat, it can warp the tub basin, blister plastic filter covers, or blow its internal thermal cut-off fuse.
Related Articles
Keep troubleshooting with these hand-picked guides from FixlyGuide:
- The 30-Minute Trick When Your Dishwasher Won't Drain (Plumbers Keep Secret) — Discover the real reasons your dishwasher isn't draining and how to fix it in under an hour, without calling a plumber.
- The $5 Part That Stops Your Fridge From Leaking (And Why It Fails) — A leaking refrigerator can lead to serious floor damage and appliance issues. Often, the culprit is a clogged defrost drain, a simple fix m…
- The #1 Reason Your Fridge Ice Maker Stops—And the 20-Minute Fix — Uncover the most common culprit behind a non-producing ice maker and learn how to implement a quick, effective fix in about 20 minutes.
- The Surprising Reason Your Washer Won't Drain (It's Not Always the Pump) — Discover the common culprits behind a washing machine that won't drain, from simple clogs to electrical glitches, and how to fix them yours…
- The Washer Whispers: Why Your Machine Won't Fill (and the $0 Fix) — Frustrated by a washing machine that just won't fill with water? It's a common headache, but often a simple, free fix could be hiding in pl…
- Kitchen Faucet Low Pressure? 10 Steps to Restore Weak Flow — Kitchen pull-out faucet suddenly lost water pressure? Learn how to clear clogged aerator screens, flush internal check valves, and fix unde…
Should you do this yourself?
Answer five quick questions before you start. Safety outranks savings every time.
Your experience with work like this
How high do you have to work?
Does the job involve any of these?
Will it need a permit?
Specialty tools
Free and instant. Educational guidance only — not a quote, inspection, or professional diagnosis.
What should this project cost?
Enter your project details for a realistic cost range before you call anyone.
Cost depends heavily on which system turns out to be the source.
- Regional adjustment
- National average
- Labor share (typical)
- ~$1,620
- Quotes to collect
- 3 written estimates
Educational estimate based on national averages — not a binding quote. Always confirm with written local estimates.
Get the print-ready PDF of this guide
A clean, ad-free, printable version you can keep on your phone or pin to the workshop wall. Free with a FixlyGuide account.
- Print-optimized layout
- Tools, materials & every step included
- Saved to your account
Frequently asked questions
Why does my dishwasher make a humming noise but take in no water?+
A low electrical hum usually comes from the water inlet valve solenoid coil energizing without opening the valve. This occurs when household water is shut off, the sediment screen is clogged, or the valve's internal mechanical plunger is seized by scale. If the hum sounds louder and more guttural, it may be the drain pump struggling against trapped glass before the fill cycle even starts.
Can low household water pressure stop a dishwasher from filling?+
Yes. Dishwasher water inlet valves require a minimum line pressure—typically 20 to 30 PSI—to push the internal rubber diaphragm off its brass seat. If your pressure drops below that threshold due to well pump issues or a bad pressure-reducing valve, the inlet valve won't mechanically open even if its electrical solenoid functions.
How full of water should a dishwasher be during a wash cycle?+
A standard dishwasher does not fill up to the door opening. Water should pool in the bottom center sump and reach roughly 1/2 inch to 1 inch deep across the basin floor, resting just below the heating element. If the water level sits below the primary filter screen, the wash pump will suck air, causing a sputtering sound from the wash arms.
Where is the dishwasher overfill float switch located?+
Open the door and look down at the interior floor pan. You will find a small plastic cylinder or dome—usually in the front-left or front-right corner—sitting upright. Lifting this plastic cylinder reveals the guide post, while the sensitive microswitch it controls sits directly beneath the floor pan behind the bottom exterior kickplate.
How do I know if the main control board is bad instead of the water valve?+
Use a digital multimeter set to AC voltage to test the two wire leads attached to the valve solenoid during the first two minutes of a normal cycle. If the meter reads 120 volts, the control board is functioning correctly and sending power, proving the valve itself is mechanically dead. If the meter reads 0 volts while the door is latched and the float switch is closed, the control board relay or wiring harness has failed.
Can a faulty door latch prevent the dishwasher from filling with water?+
Yes. Modern dishwashers run the initial 30-second drain pump routine, but safety logic stops them from opening the water valve if the door switches do not confirm the tub is shut. If the latch microswitch has worn internal contact pads or the door hinge is misaligned, the machine pauses the cycle and refuses to take in water.
Why is my dishwasher not filling after installing a new garbage disposal?+
This issue usually relates to draining, but if your unit won't advance to fill, verify that you didn't knock the under-sink hot water supply valve shut while working in the cabinet. Also confirm you didn't trip the shared under-sink electrical outlet breaker or swap the switched power connection intended for the disposal with the unswitched circuit for the dishwasher.
How do I clear a hard water clog from the dishwasher inlet valve?+
Disconnect the braided water line and use needle-nose pliers or a dental pick to hook the edge of the mesh filter screen inside the valve entrance. Soak the screen in warm distilled white vinegar for 30 minutes to dissolve calcium and scale deposits, then rinse it thoroughly. If the mesh screen is permanently integrated and cannot be cleared without tearing the mesh, replace the entire inlet valve assembly.
Will running a dishwasher without water damage the internal components?+
Yes. Running through cycles dry can ruin the wash pump's ceramic or graphite shaft seals, which rely on water for lubrication and cooling. Additionally, if the heating element switches on without surrounding water to dissipate thermal energy, it can warp the tub basin, blister plastic filter covers, or blow its internal thermal cut-off fuse.
Discussion
Loading comments…