- Grease & Oils: Pouring grease or oily foods down the drain. This coats the disposal and drain pipes, trapping food particles and feeding bacterial growth.
- Fibrous Foods: Grinding fibrous foods like celery, corn husks, or onion skins. These can get tangled around the impellers and pile up, leading to decomposition.
- Non-Food Items: Accidentally grinding non-food items like coffee grounds (which are abrasive but can clump), eggshells (membrane can stick), or small bones. These can dull blades or leave behind stubborn residue.
- Infrequent Use: If you don't use your disposal often, stagnant water and trapped particles can become a prime breeding ground for odor-causing bacteria.
- Damaged Splash Guard: A torn or worn-out splash guard can harbor more grime and may not seal properly, allowing odors to escape more easily.
General remodeling · Renovation planning
| Project category | General remodeling |
|---|---|
| Problem type | Renovation planning |
| Trade required | General contracting |
| Urgency | Planned project |
| Safety risk | Low safety risk |
| DIY suitability | Pro recommended |
| Cost category | Major investment |
| Typical timeline | Design and permitting often 2–4 months before work starts |
| Contractor type | General contractor |
Repair option
Phase the work and fix the building envelope first.
Replacement option
Full renovation with permits, design, and a general contractor.
Common causes
- Space no longer fits how the household lives
- Resale preparation
- Deferred maintenance stacking up
Relevant tools:project cost estimatorcompare quoteshome improvement material prices
Published September 16, 2026Last updated September 16, 2026
Tools & materials you'll need
Affiliate linksAs an Amazon Associate FixlyGuide earns from qualifying purchases — at no extra cost to you. Prices and availability are accurate as of publication and subject to change.
Quick Answer
Look, I know the drill. You've tossed in lemon peels, poured down baking soda and vinegar, maybe even bought some fancy disposal cleaner, and that rotten, funky smell still punches you in the face every time you get near the sink. If your garbage disposal stinks even after you've "cleaned" it, it's not because you're doing it wrong. It's because the real culprits—grease, food particles, and nasty bacteria—are hiding in spots your usual methods just can't reach, like under the splash guard, deep within the grind chamber, or even in the drain lines. You need to hit those hidden spots directly if you want the stink gone for good.
The Problem
There's nothing worse than a kitchen that smells... well, off. And more often than not, the prime suspect is that little machine under your sink: the garbage disposal. Most folks think a quick flush or a couple of lemon rinds will do the trick, right? Wrong. That persistent, gag-inducing odor that hangs around even after you've tried everything isn't just sitting on the surface. It's deeper than that. You're dealing with decomposing food waste, grease, and microbial growth clinging to the places you can't reach with a casual rinse.
Think about it: every time you send food scraps down that drain, tiny bits get flung around and stick to the rubber splash guard, the grind plates, the impellers, and even the wall of the drain pipe itself. Over time, that organic junk breaks down, feeds bacteria, and starts putrefying, which is where those awful hydrogen sulfide and methane gases come from. Your kitchen isn't just smelling like old food; it's smelling like a microscopic decomposition party. No thanks. It isn't just unpleasant, either. It's unsanitary, and it's a pretty clear sign your disposal needs a real intervention, not a half-hearted rinse and a prayer.
How It Works
So, what exactly is going on in that noisy contraption under your sink? A garbage disposal isn't actually "grinding" food like a blender. Inside, there's a spinning plate with two impellers (small, swinging lugs) that use centrifugal force to slam food waste against a stationary grind ring. This ring has a rough, cheese-grater-like surface that pulverizes the food into tiny particles, which are then flushed down the drain with water. It works. Pretty well, too. But it's also a perfect breeding ground for stink.
The main spots are the grind chamber itself, where all the action happens, and the rubber splash guard sitting up top. That splash guard, with its flexible fins, keeps food from spraying back up, but it also catches grime on the underside. The impellers and grind ring can get caked with a bio-film of grease and microscopic food bits. And if that weren't enough, the P-trap right downstream from the disposal can build up sludge that adds to the odor, especially if you're not running enough water to flush everything through.
Water flow matters. A lot. If you're not running plenty of cold water before, during, and after you use the disposal, those food particles aren't getting fully washed away. They're just hanging around, rotting and stinking. A powerful 1/2 horsepower or 3/4 horsepower unit can handle more waste, sure, but even the biggest disposals need proper flushing. Without it, you're basically making a mini compost pile in your sink drain. I've pulled one in Frisco last month that smelled so sour I could tell what somebody had thrown in it before I even opened the cabinet.
Step-by-Step Fix
Alright, let's stop talking about the smell and actually fix it. This isn't rocket science, but it does take more than tossing in a lemon and calling it a day. We're doing a deep clean here.
-
Safety First — Disconnect Power – This is non-negotiable. Turn off the power to your disposal at the circuit breaker. Don't trust the wall switch; sometimes those are wired oddly. I've seen too many guys lose fingers because they thought "it's just a quick peek." Verify it's off by trying to turn the disposal on. Nothing should happen.
- Safety: Always kill the breaker before reaching into the disposal.
- Tools: Flashlight (optional, but helpful for inspection).
-
Visual Inspection & Manual Clean-Out – Get in there with your eyes, not your hands. Use a flashlight to peer down into the drain. Look for obvious chunks of food, silverware, or anything else that doesn't belong. Now, with the power OFF, use tongs or pliers—never your hand—to remove any large debris you can see. Pay special attention to the underside of the splash guard.
- Tools: Tongs or needle-nose pliers.
-
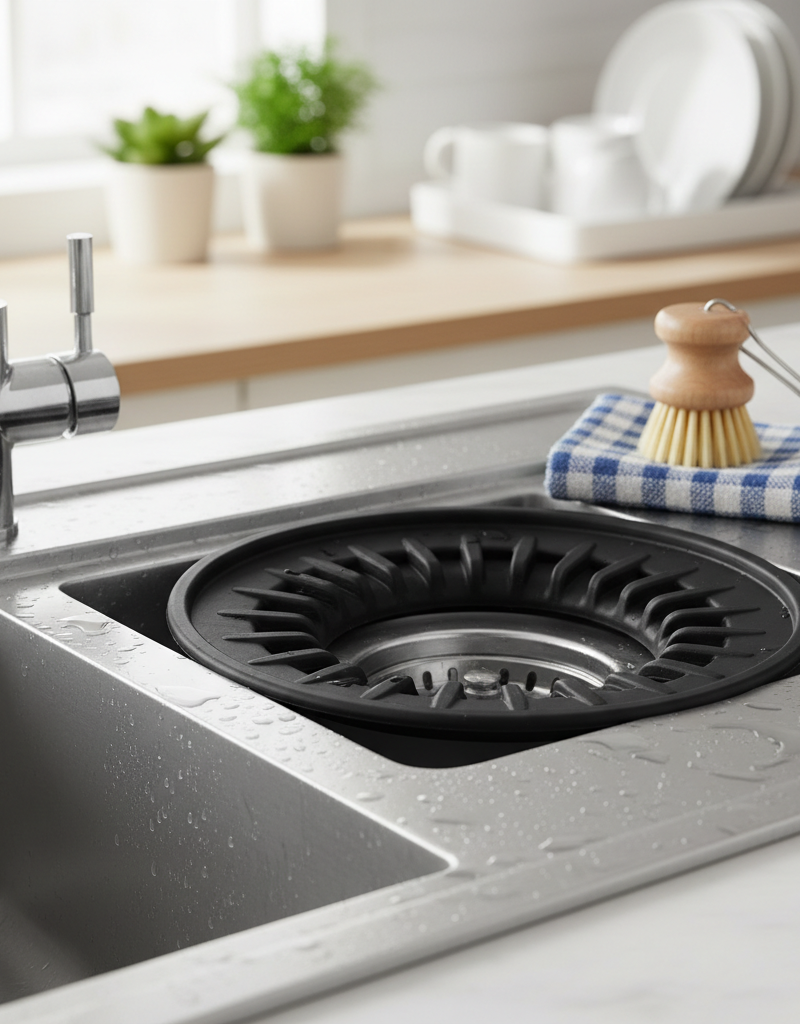
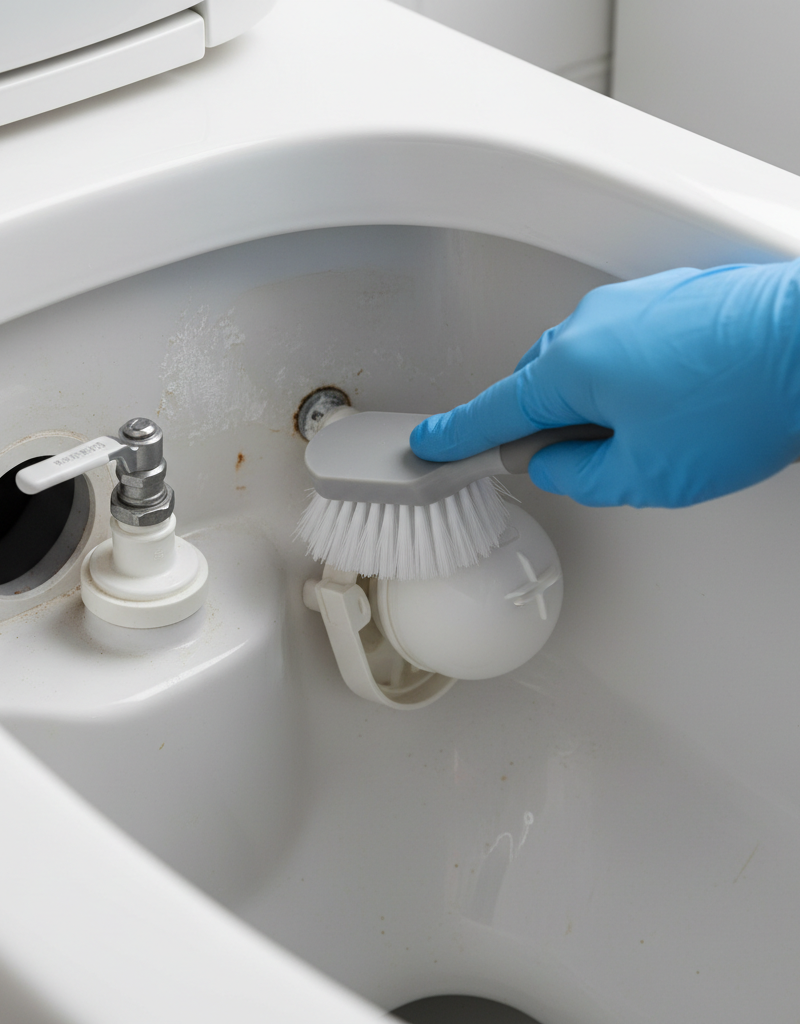
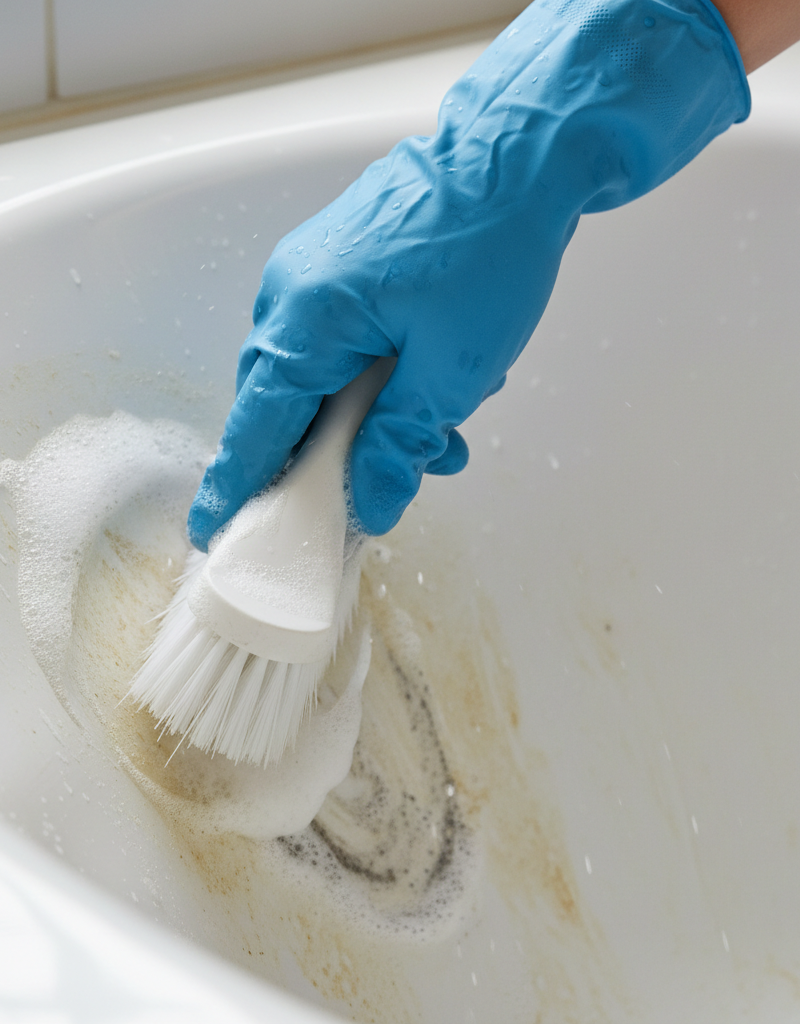
Splash Guard Scrub – This is where a lot of the stink hides. The rubber splash guard is a magnet for grease and food scum. Pull it up out of the sink opening as much as you can. Grab a scrub brush (an old toothbrush or bottle brush works great) and some dish soap. Scrub both the top and especially the underside of the splash guard. That underside is often the nastiest part in the whole setup. Rinse it well.
- Tools: Stiff-bristled brush or old toothbrush, dish soap, rags.
-
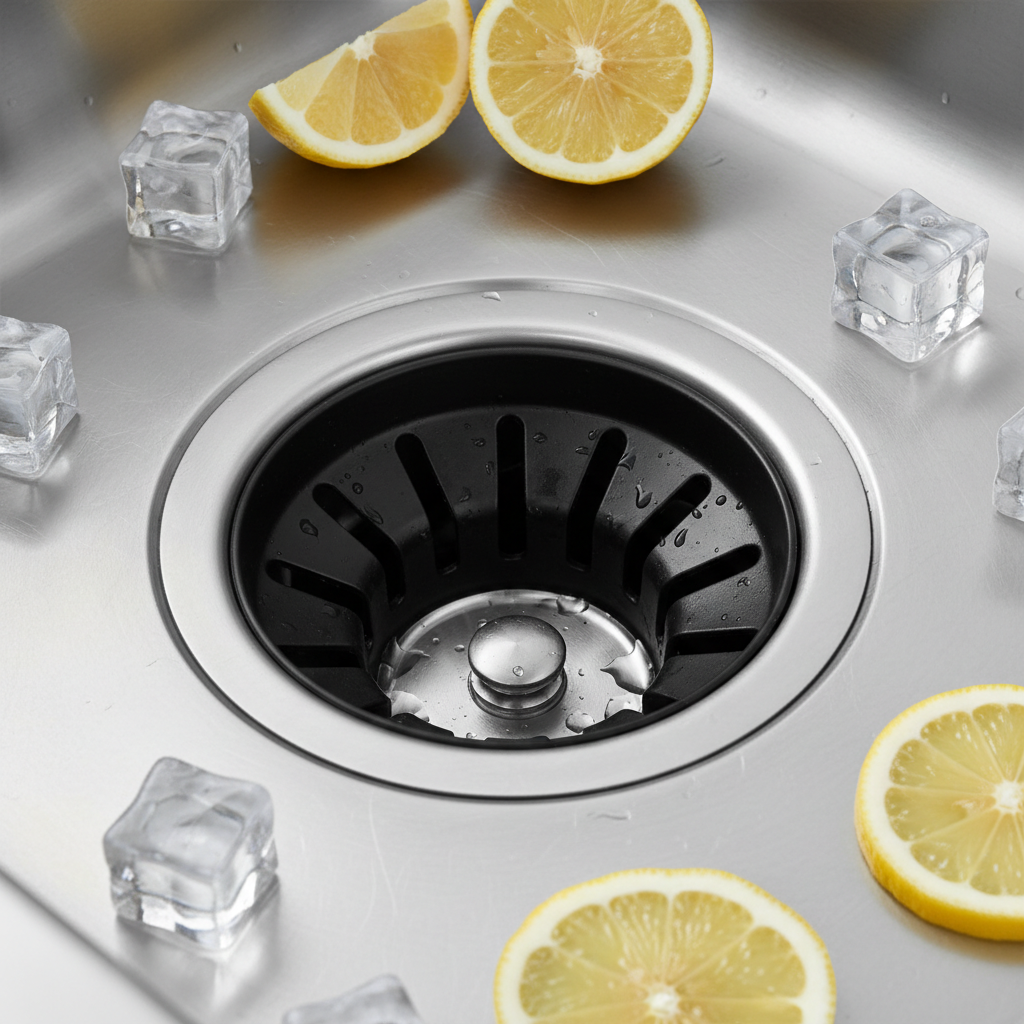
Ice and Rock Salt Attack – Blast the grind chamber clean. With the power still off, fill the disposal about three-quarters full with ice cubes. Add about a quarter cup of rock salt or coarse kosher salt. Turn the power back on and run cold water for about 30-60 seconds while the ice and salt are grinding. The ice acts as an abrasive, scrubbing the grind plates and impellers, while the salt helps scour away grime. The cold water solidifies grease, making it easier to grind away.
- Materials: 2-3 trays of ice cubes, 1/4 cup rock salt or coarse kosher salt.
- Tip: If you don't have rock salt, regular table salt works in a pinch, but coarse salt is better.
-
Citrus Power Flush – Deodorize and clean a little more. After the ice treatment, toss in a handful of citrus peels (lemon, lime, orange, grapefruit – pick your poison). Turn the disposal on with cold water running. Let it grind for about 30 seconds. The oils in the citrus peels help break down grease and leave a fresh scent, while the peels themselves give you one more mild abrasive scrub.
- Materials: Citrus peels (1-2 lemons' worth).
- Note: Don't overload it. A handful at a time is plenty.
-
Baking Soda & Vinegar Soak – Your classic fizzing action. With the power off, pour 1/2 cup of baking soda down the drain, followed by 1 cup of white vinegar. Let it fizz and sit for at least 15-20 minutes, or even a few hours if the smell is really bad. This concoction helps break down odors and loosen remaining grime. After soaking, flush with plenty of hot water (not cold this time – we want to melt away any lingering grease).
- Materials: 1/2 cup baking soda, 1 cup white vinegar.
- Important: Never run the disposal while the baking soda and vinegar are soaking; you want the chemicals to do their work undisturbed.
-
Deep Drain Line Flush – Don't forget the pipes. After the soak, run a strong stream of hot water for several minutes – I mean several. Like 3-5 minutes straight. This helps flush all the loosened gunk and baking soda/vinegar mixture out of the P-trap and further down the drain line. A common mistake is not running enough water, leaving residue to re-accumulate.
-
Probiotic Enzyme Cleaner (Optional, but Recommended for Stubborn Smells) – Bring in the specialized cavalry. For truly stubborn, deep-seated odors that might be clinging to the drain pipes beyond the P-trap, a good quality enzymatic drain cleaner designed for disposals can work wonders. These cleaners contain beneficial bacteria that "eat" organic matter. Follow product directions carefully, usually applied at night and left to work overnight.
- Materials: Probiotic enzyme disposal cleaner.
- Caution: Don't confuse these with harsh chemical drain cleaners, which can damage your plumbing and are dangerous.
Common Causes
- Insufficient Water: Not running enough cold water before, during, and after grinding food. Cold water solidifies grease, allowing it to be ground and flushed. Hot water melts grease, sending it down the drain where it can re-solidify further down, causing clogs and smells.
- Grease & Oils: Pouring grease or oily foods down the drain. This coats the disposal and drain pipes, trapping food particles and feeding bacterial growth.
- Fibrous Foods: Grinding fibrous foods like celery, corn husks, or onion skins. These can get tangled around the impellers and pile up, leading to decomposition.
- Non-Food Items: Accidentally grinding non-food items like coffee grounds (which are abrasive but can clump), eggshells (membrane can stick), or small bones. These can dull blades or leave behind stubborn residue.
- Infrequent Use: If you don't use your disposal often, stagnant water and trapped particles can become a prime breeding ground for odor-causing bacteria.
- Damaged Splash Guard: A torn or worn-out splash guard can harbor more grime and may not seal properly, allowing odors to escape more easily.
Common Mistakes
- Using Hot Water: As I mentioned, hot water melts grease, sending it down to cool and solidify further in your pipes. Always use cold water when grinding, and plenty of it.
- Chemical Drain Cleaners: Caustic chemical drain cleaners are bad news. They can damage rubber seals and plastic pipes in your disposal and plumbing system. Stick to natural methods or enzymatic cleaners.
- Not Cleaning the Splash Guard: Most people forget to scrub under the splash guard. That's like cleaning your teeth but ignoring your tongue – a major source of funk.
- Ignoring the P-Trap: The U-shaped pipe under your sink, the P-trap, is designed to hold water to block sewer gases. But it can also accumulate sludge. A good flush is needed, or sometimes a manual clean if the clog is bad.
- Overloading the Disposal: Shoving too much food in at once. This leads to inefficient grinding and leaves larger particles to rot.
- Not Using Enough Water: A trickle of water won't cut it. You need a strong flow to carry all those pulverized food bits away completely.
Cost & Time Breakdown
| Task | DIY Cost | Pro Cost (if applicable) | Time |
|---|---|---|---|
| Basic Cleaning (Ice, Citrus) | $5-$10 | N/A | 10-15 min |
| Deep Scrub (Brush, Baking Soda/Vinegar) | $10-$15 | N/A | 20-30 min |
| Enzyme Cleaner Application | $15-$25 | N/A | 5 min (plus overnight wait) |
| Manual P-Trap Cleanout (DIY) | $0-$5 | $150-$300 | 30-60 min |
| Professional Inspection/Clean | $0 (initial estimate) | $150-$350 | 30-60 min |
Tips & Prevention
- Always Use Cold Water: Run a strong stream of cold water before, during, and for at least 15-20 seconds after every use. This is probably the most crucial habit to adopt.
- Grind Citrus Regularly: Throw a lemon or orange rind down the disposal every week or so. The natural oils cut through grease, and the abrasive action helps clean.
- Ice Cubes Are Your Friend: Grind a tray of ice cubes once a week. It sharpens the impellers and scours the grind chamber. Add a little coarse salt for extra scrubbing power.
- Avoid Grease & Oils: Never, ever pour cooking grease, butter, or even excessive olive oil down the disposal. Let it cool and solidify, then scrape it into the trash.
- Limit Fibrous Foods: Try to minimize sending celery stalks, artichoke leaves, corn husks, or potato peels down the disposal. Compost them or throw them in the trash if possible.
- Clean the Splash Guard: Make it a habit to lift and scrub the underside of the splash guard with a brush and dish soap every week or two. That's a huge odor trap.
- Run It Regularly: If you don't use your disposal often, run it with cold water and some ice once a week to keep things clear and prevent stagnation. In my own house out in Marietta, I make sure my kids run it every time they scrape plates, and I personally hit it with ice every Sunday evening when I'm cleaning up from dinner prep. Haven't had a stinky one in years since I started that routine.
When to Call a Professional
While most disposal odors are fixable with a good DIY cleaning, there are times you absolutely need to call in a pro. If you've followed all these steps and the smell persists, especially if it's accompanied by slow draining, gurgling, or actual backups, you might have a deeper clog further down your main drain line. These aren't just bad smells; they can indicate a significant blockage that DIY methods won't touch and could lead to bigger plumbing headaches. Also, if you suspect any electrical issues, like the disposal not turning on at all or humming without grinding, a licensed electrician or plumber is your go-to. Don't mess with electricity or deep drain clogs yourself; that's how you turn a minor inconvenience into a major repair bill. A pro can run a camera down the line to pinpoint the exact issue or safely diagnose electrical problems with the unit itself, saving you a lot of headache and potential water damage.
Related Articles
Keep troubleshooting with these hand-picked guides from FixlyGuide:
- The Caulk Joint Mystery: Why Your Shower Base Keeps Leaking (Even After Recaulking) — Discover why your shower base might still be leaking after recaulking, focusing on common missed spots and structural issues that caulk alo…
- The Caulk Mystery: Why Your Door Frame Is Leaking (Even When It Looks Sealed) — Think your door frame is sealed tight but still getting leaks? You're probably looking at a common caulk failure point that lets water snea…
- The Grimy Secret: Why Your Toilet Bowl Stains Keep Coming Back — Fed up with scrubbing stubborn toilet bowl stains only for them to reappear days later? The real culprit is likely hiding in your tank, not…
- Your Windows Are Crying? The Hidden Cause of Condensation — Window condensation isn't just a harmless annoyance; it's a clear signal that your home's indoor humidity is too high, potentially leading…
- The 10-Second Flaw Home Inspectors Spot (That Hides Water Damage) — Discover the often-overlooked sign professionals catch in seconds that points to hidden water damage, protecting your home from costly repa…
- The Nasty Truth: Your Stinky Garbage Disposal Isn't Just Food Scraps — A persistent odor from your garbage disposal often points to a deeper, more stubborn problem than just old food, impacting your kitchen's f…
What should this project cost?
Enter your project details for a realistic cost range before you call anyone.
Cosmetic refreshes start near $5,000; full remodels commonly $25,000–$45,000.
- Regional adjustment
- National average
- Labor share (typical)
- ~$8,550
- Quotes to collect
- 3 written estimates
Educational estimate based on national averages — not a binding quote. Always confirm with written local estimates.
Fixly Project Decision Box
- DIY difficulty
- Moderate
- Estimated time
- 30 minutes – half a day
- Cost level
- Moderate
Main tools / materials
- Adjustable wrench
- Plunger or drain auger
- Bucket and towels
- Thread tape
When to stop and call a pro
- Water you cannot shut off at the fixture or main
- Sewage backing up into more than one fixture
- Water near electrical panels or outlets
- Gas water heater work beyond relighting a pilot
Need professional help?
Get a Licensed PlumberGet the print-ready PDF of this guide
A clean, ad-free, printable version you can keep on your phone or pin to the workshop wall. Free with a FixlyGuide account.
- Print-optimized layout
- Tools, materials & every step included
- Saved to your account
Recommended for DIYers & woodworkers
Sponsored
The Top 20 Tools for Workshops of Any Budget
No stationary machines or power tools required — plus 3 fundamental tools that can't be bought at any price.
Get the free guide
Ted's Woodworking — The #1 Woodworking Resource
Detailed instructions, dimensioned drawings, materials & cutting lists, and 3D schematics for every skill level.
See the plansSponsored: links above are affiliate links. FixlyGuide may earn a commission on qualifying purchases — at no extra cost to you.
Frequently asked questions
Why does my garbage disposal still smell after I clean it?+
The persistent smell usually comes from hidden food particles, grease, and bacterial build-up under the splash guard or deep within the grind chamber and drain lines that standard cleaning methods miss. You need a deeper, more abrasive clean to reach these spots.
Can I use bleach or chemical drain cleaners in my garbage disposal?+
No, absolutely not. Bleach can corrode metal parts and seals over time, while harsh chemical drain cleaners can damage rubber gaskets, plastic pipes, and create dangerous fumes. Stick to natural methods or enzymatic cleaners designed for disposals.
How often should I clean my garbage disposal?+
For routine maintenance, a quick flush with cold water and citrus peels or ice cubes once or twice a week is ideal. A deep clean using baking soda, vinegar, and scrubbing should be done monthly, or whenever you notice a persistent odor.
What kind of foods should I avoid putting in my garbage disposal to prevent odors?+
Avoid sending grease, cooking oils, fibrous vegetables (like celery, asparagus, corn husks), coffee grounds (they can clump), eggshells (the membrane sticks), and large bones. These items are common culprits for clogs and foul odors.
Is it better to use hot or cold water with the garbage disposal?+
Always use cold water when running the disposal. Cold water causes grease to solidify, allowing it to be ground up and flushed away. Hot water melts grease, which then re-solidifies further down the drain, leading to clogs and smells.
What are enzyme disposal cleaners and do they work?+
Enzyme disposal cleaners contain beneficial bacteria that digest and break down organic matter causing odors and clogs. They are very effective for stubborn smells and bio-film build-up in drain lines, working over several hours, usually overnight.
My disposal hums but doesn't grind. Is this related to the smell?+
A humming disposal usually means the motor is trying to run but the grind plate is jammed, often by a foreign object. While not directly causing smell, a jam can lead to stagnant food. Always turn off power and try to clear the jam with an Allen wrench from the bottom reset hole before running it again.
What if the smell isn't coming from the disposal itself, but the sink drain?+
If the smell seems to be coming from the sink drain but not directly from the disposal, it could indicate a build-up in the P-trap or a larger issue in your drain lines, such as a partial clog or even a vent pipe problem allowing sewer gas into your home. A manual P-trap cleaning or professional plumbing inspection might be needed.
Discussion
Loading comments…