- Hard Water: Big culprit right there. High mineral content — calcium, magnesium — reacts with soap and makes insoluble soap scum, and the minerals themselves leave deposits behind. It’s a double hit.
- Bar Soap Usage: Old-school bar soaps, especially ones made with animal fats or certain plant-based oils, are famous for building soap scum. They don’t rinse off as clean as liquid body wash.
- Insufficient Rinsing: If you don’t rinse the tub well after each use, soap residue, body oils, and minerals dry on the surface and hang around. Then they stack up.
- Infrequent Cleaning: Letting grime sit for weeks or months makes the job a lot tougher. It bakes on and gets stubborn in a hurry.
- Using the Wrong Cleaners: Many gentle,
General remodeling · Renovation planning
| Project category | General remodeling |
|---|---|
| Problem type | Renovation planning |
| Trade required | General contracting |
| Urgency | Planned project |
| Safety risk | Low safety risk |
| DIY suitability | Pro recommended |
| Cost category | Major investment |
| Typical timeline | Design and permitting often 2–4 months before work starts |
| Contractor type | General contractor |
Repair option
Phase the work and fix the building envelope first.
Replacement option
Full renovation with permits, design, and a general contractor.
Common causes
- Space no longer fits how the household lives
- Resale preparation
- Deferred maintenance stacking up
Relevant tools:project cost estimatorcompare quoteshome improvement material prices
Published September 14, 2026Last updated September 14, 2026
Tools & materials you'll need
Affiliate linksAs an Amazon Associate FixlyGuide earns from qualifying purchases — at no extra cost to you. Prices and availability are accurate as of publication and subject to change.
Quick Answer
Listen, I’ve seen hundreds of bathtubs in my 25+ years on the job, and that persistent, grimy film that hangs on even after you’ve scrubbed until your arm’s about to fall off? That’s usually a mix of soap scum, body oils, shed skin cells, and hard water mineral deposits. A lot of the usual bathroom cleaners just don’t bite through it. They smear it around, leave a film of their own, and call it a day. The trick to getting a tub truly clean is knowing what’s building up there and using the right combo of cleaners to break it down, then scrub it loose for good.
The Problem
Ever hop out of the shower feeling clean, then glance back at the tub later and think, “Why does this still feel wrong?” Like there’s a faint slickness or grit under your feet? You scrub and scrub, and maybe it looks a little better, but that slimy, grimy film just won’t quit. Folks think it’s plain old dirt, but it’s a mess with layers.
First, you’ve got soap scum — that’s what happens when the fatty acids in bar soap react with minerals in your water. Then body oils and skin cells stick to it, and that gives the whole mess a tacky backbone. If your water’s hard, like it is in a lot of places I work, calcium and magnesium deposits bond to that buildup and make it even uglier. Before long, those layers stack up and leave a microscopically rough surface that grabs onto even more crud. Next thing you know, your tub’s a magnet for grime. Frustrating? Sure. Permanent? No way.
How It Works
Let’s crack it open so you can see why the usual cleaning routine isn’t doing the job. When you use bar soap, it contains ingredients like sodium stearate. Those stearates react with the calcium and magnesium ions in hard water and make a sticky, insoluble precipitate — that’s your soap scum. It’s basically a chemical reaction happening right there on the tub surface. Tiny little troublemaker. Once it forms, it’s hydro-phobic, which just means it repels water, so it clings hard and doesn’t rinse off easy.
Your skin also makes oils, or sebum. When you bathe, those oils and dead skin cells wash off, but they don’t vanish. They hang in the water and stick right onto that already tacky soap scum layer. That creates a pretty good glue for dust, lint, and whatever else is floating around in there. And if the water’s hard, those dissolved mineral salts — mostly calcium carbonate and magnesium carbonate — start dropping out of the water as it evaporates. Those minerals are alkaline, and they bond tight with the organic gunk, building a crusty layer that most mild cleaners just bounce right off.
I pulled a water heater in Frisco last month and the homeowner had the same kind of stubborn residue on a fiberglass tub — looked clean from five feet away, but up close it was all film and scale. Same deal. Most general-purpose bathroom cleaners are made for light dirt and a little oil. They’re not built to dissolve this kind of chemically bound junk. You need two things: something acidic to break down the mineral deposits, and a strong surfactant or abrasive to lift the organic gunk and physically scour it away. If you only do one, you’re just moving the mess around.
Step-by-Step Fix
Alright, let’s get that tub looking like it belongs in a house again. I’ve used this method on countless tubs over the years, from fiberglass to porcelain. Just make sure the bathroom’s got some airflow — crack a window or flip on the exhaust fan.
-
Prep the Tub – Clear the decks
First thing, get everything out of the tub — shampoo bottles, loofahs, rubber duckies, all of it. You want a bare surface so you’re not working around clutter. Give the tub a quick rinse with hot water too. That warms the surface up a bit and loosens the light stuff sitting on top. -
Ventilate and Protect Yourself – Safety first, always
Open a window and turn on the exhaust fan. Trust me, some of these cleaners have fumes you don’t want in your face. Put on rubber gloves and safety glasses. No hero points for getting splashed. -
Apply Your Acidic Cleaner – Start dissolving
Grab your white vinegar or a dedicated acidic tub cleaner. Spray or pour it generously over the grimy spots. Don’t be stingy. If you’re using vinegar, let it sit for at least 15-20 minutes. For commercial cleaners, follow the dwell time instructions, usually 5-10 minutes. That acid starts breaking down the hard water minerals and loosens the soap scum bond. One thing I learned the hard way — I’d rather let it sit a few extra minutes than rush it and end up scrubbing twice. -
Prepare Your Abrasive Paste – The scouring power
While the acid’s working, mix your baking soda and a little dish soap in a bowl until it turns into a thick paste. That combo’s solid. The baking soda gives you a mild abrasive to help scrub off the softened buildup, and the dish soap cuts through body oils and soap scum. Nothing fancy. It just works. -
Scrub it Down – Elbow grease time
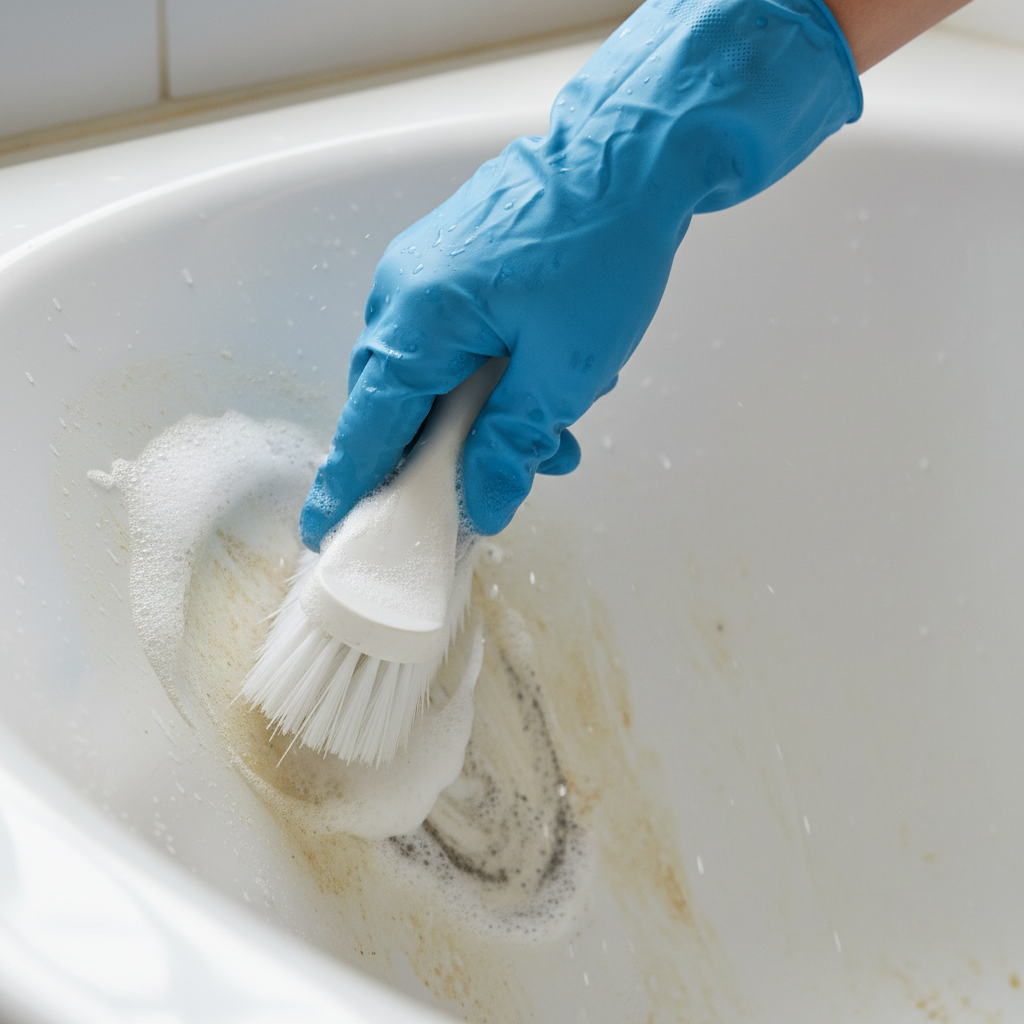
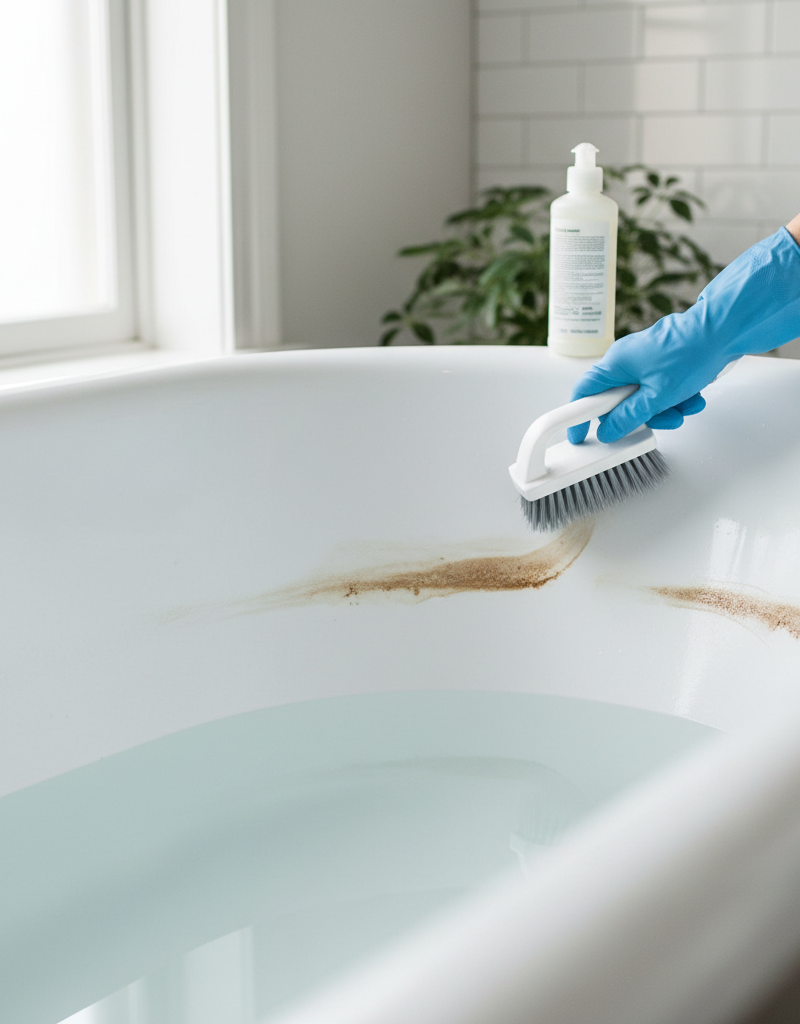
After the acidic cleaner has had its dwell time, spread that baking soda paste over the same areas. Then grab your scrub brush — stiff nylon is the way to go. Start scrubbing in small, overlapping circles. Put some pressure into it. You’ll feel the grime let go and the surface smooth out. Hit the corners and the area around the drain extra hard, because that’s where the junk likes to park itself. Rinse your brush often so you’re not just dragging loosened sludge back over clean spots. -
Rinse Thoroughly – Wash it all away
Once you’ve scrubbed the whole tub, rinse it well with hot water. Use a clean cloth or sponge to wipe off any leftover residue. You might be surprised how much brown or gray water heads down the drain. Keep rinsing until the water runs clear and the tub feels smooth when you run your hand over it. -
Inspect and Repeat (If Necessary) – Don’t settle for 'good enough'
Let the tub dry all the way, then feel the surface with your hand. Is it smooth and squeaky clean? If you still feel grit or see a dull film, don’t throw in the towel. Some ugly buildup just needs another pass. Repeat steps 3-6 on the trouble spots. Two rounds isn’t rare. It’s just how you beat something that’s been building for months. -
Polish and Protect (Optional, but Recommended) – Keep it cleaner, longer
If you want an extra layer of protection, especially in hard water areas, think about applying car wax or a specialized tub and tile sealant after the tub’s fully dry. That gives you a slick, hydrophobic barrier that makes it harder for soap scum and minerals to stick, which means the next cleaning’s a whole lot easier. Just be sure whatever you use is safe for your tub material and won’t turn the surface into a slip hazard. Read the label and follow the directions.
Common Causes
- Hard Water: Big culprit right there. High mineral content — calcium, magnesium — reacts with soap and makes insoluble soap scum, and the minerals themselves leave deposits behind. It’s a double hit.
- Bar Soap Usage: Old-school bar soaps, especially ones made with animal fats or certain plant-based oils, are famous for building soap scum. They don’t rinse off as clean as liquid body wash.
- Insufficient Rinsing: If you don’t rinse the tub well after each use, soap residue, body oils, and minerals dry on the surface and hang around. Then they stack up.
- Infrequent Cleaning: Letting grime sit for weeks or months makes the job a lot tougher. It bakes on and gets stubborn in a hurry.
- Using the Wrong Cleaners: Many gentle,
Related Articles
Keep troubleshooting with these hand-picked guides from FixlyGuide:
- Why Your Shower Doors Still Look Grimy After Scrubbing (It's Not You) — Tired of scrubbing shower doors only to find them still coated in a stubborn, cloudy film? It’s almost certainly hard water mineral buildup…
- The Caulk Joint Mystery: Why Your Shower Base Keeps Leaking (Even After Recaulking) — Discover why your shower base might still be leaking after recaulking, focusing on common missed spots and structural issues that caulk alo…
- The $15 Secret to Making Your Washing Machine Last Another Decade (Most Homeowners Miss This) — Discover the simple, often-overlooked maintenance steps that can significantly extend your washing machine's life and prevent costly breakd…
- The Invisible Culprit Behind Your Cloudy Glasses (It Ain't Just Hard Water) — Ever pulled a supposedly clean glass from the dishwasher only to find it covered in a hazy, white film? It's not always hard water, and thi…
- That Peeling Caulk Around Your Sink? It’s a Sign of Bad Prep. — Don't just slap new caulk over old, failing caulk around your sink; learn the pro technique for proper adhesion and a long-lasting, waterti…
- The Invisible Film Making Your Bathroom Mirror Streaky – And How to See Clearly — Discover why your bathroom mirror always looks streaky, even after cleaning, and learn the pro trick to get a perfectly clear, fog-free ref…
Should you do this yourself?
Answer five quick questions before you start. Safety outranks savings every time.
Your experience with work like this
How high do you have to work?
Does the job involve any of these?
Will it need a permit?
Specialty tools
Free and instant. Educational guidance only — not a quote, inspection, or professional diagnosis.
What should this project cost?
Enter your project details for a realistic cost range before you call anyone.
Cost depends heavily on which system turns out to be the source.
- Regional adjustment
- National average
- Labor share (typical)
- ~$1,620
- Quotes to collect
- 3 written estimates
Educational estimate based on national averages — not a binding quote. Always confirm with written local estimates.
Before you start
Check the difficulty, permits, and safety risk — then decide whether to call a pro.
- Estimate this projectGet a cost range for your scope and ZIP before you call anyone.Open
- Get local estimatesSend one request and compare written estimates from vetted pros.Open
Free, no signup required. Estimates are educational guidance, not a quote or an inspection.
Get the print-ready PDF of this guide
A clean, ad-free, printable version you can keep on your phone or pin to the workshop wall. Free with a FixlyGuide account.
- Print-optimized layout
- Tools, materials & every step included
- Saved to your account
Recommended for DIYers & woodworkers
Sponsored
The Top 20 Tools for Workshops of Any Budget
No stationary machines or power tools required — plus 3 fundamental tools that can't be bought at any price.
Get the free guide
Ted's Woodworking — The #1 Woodworking Resource
Detailed instructions, dimensioned drawings, materials & cutting lists, and 3D schematics for every skill level.
See the plansSponsored: links above are affiliate links. FixlyGuide may earn a commission on qualifying purchases — at no extra cost to you.
Frequently asked questions
How often should I clean my bathtub to prevent grimy buildup?+
To prevent stubborn grime, aim for a quick wipe-down after each use, and a thorough cleaning with an appropriate cleaner at least once a week. If you have hard water or use bar soap frequently, you might need to clean more often.
Can I use bleach to clean a grimy bathtub?+
While bleach can sanitize and whiten, it's not very effective at dissolving soap scum or hard water deposits. Plus, mixing bleach with acidic cleaners (like vinegar) can create dangerous chlorine gas, so it's best to avoid it for this specific problem.
Is it safe to use a magic eraser on my bathtub?+
Magic erasers can be effective on some stains, but they are a micro-abrasive. On certain finishes, especially older or softer ones like acrylic, they can dull the surface or remove the glossy layer over time, making future grime adhesion worse. Test in an inconspicuous spot first.
Why does my bathtub get dirty so fast even after I clean it?+
Fast re-griming usually points back to hard water, bar soap use, or insufficient rinsing. The microscopic roughness left behind by previous grime or aggressive scrubbing can also make it easier for new residue to stick. Consider a tub sealant for protection.
What's the difference between soap scum and mildew?+
Soap scum is a chemical reaction of soap and minerals, appearing as a whitish, grayish, or brownish film. Mildew is a type of fungus that grows in damp, warm conditions and is usually black, pink, or green, often found in grout lines. They require different cleaning approaches.
Will a water softener help with bathtub grime?+
Absolutely. A whole-house water softener dramatically reduces the mineral content in your water, preventing the formation of soap scum and hard water deposits. It's one of the best long-term solutions for bathtub grime and will make all your cleaning easier.
Can I use oven cleaner on a stubborn bathtub stain?+
No, never use oven cleaner on a bathtub. Oven cleaners contain very harsh chemicals (lye) that can severely damage and discolor most bathtub materials, especially acrylic, fiberglass, and even some enamels. Stick to cleaners designed for bathtubs.
My tub has a non-slip surface; how do I clean that effectively?+
Non-slip surfaces are notorious for trapping grime. Use the same acidic/abrasive method, but use a stiff nylon brush designed for scrubbing grout or textured surfaces to get into all the nooks and crannies. Apply more elbow grease and ensure thorough rinsing.

Discussion
Loading comments…