- Sweep In High-Performance Polymeric Sand — Dump dry polymeric sand across the surface and use a stiff, dense-bristle push broom to work it diagonally into the joints until every seam is filled level.
- Material choice: Use the mix made for your joint width: standard for joints 1/16 to 1/2 inch, or wide-joint polymer mix for irregular flagstone gaps up to 2 inches.
- Important: Work in 100-square-foot grids so you don’t drag loose material across finished sections.
Landscaping · Deck or fence project
| Project category | Landscaping |
|---|---|
| Problem type | Deck or fence project |
| Trade required | Landscaping |
| Urgency | Planned project |
| Safety risk | Moderate safety risk |
| DIY suitability | DIY for experienced homeowners |
| Cost category | High cost |
| Typical timeline | Most builds 3–10 days depending on size |
| Contractor type | Landscaping contractor |
Repair option
Replace failed boards, posts, and hardware; reseal the surface.
Replacement option
Rebuild when framing or the ledger connection is unsafe.
Common causes
- Rot at posts and ledger
- Storm damage
- Adding outdoor living space
Relevant tools:home improvement material pricesproject cost estimator
Published October 28, 2026Last updated October 28, 2026
Tools & materials you'll need
Affiliate links- AmazonSteel wire paver joint brush1 · Triangular profile with scraping spike
- AmazonPressure washer (2,000–2,500 PSI)1 · Equipped with a 25-degree green fan tip
- AmazonStiff bristle push broom1 · For packing dry sand into joint channels
- AmazonGarden hose with adjustable multi-spray nozzle1 · Must produce a soft mist or shower setting
- AmazonPlate compactor or manual hand tamper1 · Rubber pad attachment required for pavers
- AmazonCordless or gas leaf blower1 · To blow excess dust off surfaces before wetting
- AmazonSafety glasses and N95 dust mask1 set · Critical protection against silica dust and debris
As an Amazon Associate FixlyGuide earns from qualifying purchases — at no extra cost to you. Prices and availability are accurate as of publication and subject to change.
Quick Answer
If weeds are popping up between paver joints and driveway cracks, you can knock them out without staining the masonry or dumping nasty runoff into the storm drain. I’d hit the active growth with a targeted systemic herbicide or a 20% horticultural vinegar mix on a sunny afternoon above 80°F. Give it 48 to 72 hours to dry out completely, then clear the dead crowns with a steel joint wire brush or a 25-degree pressure washer tip. After that, pack the gaps with polymeric sand, sweep it flat, compact it to 1/8 inch below the chamfered edge, and mist it lightly so the binder sets. Clean job. Lasts a lot longer.
The Problem
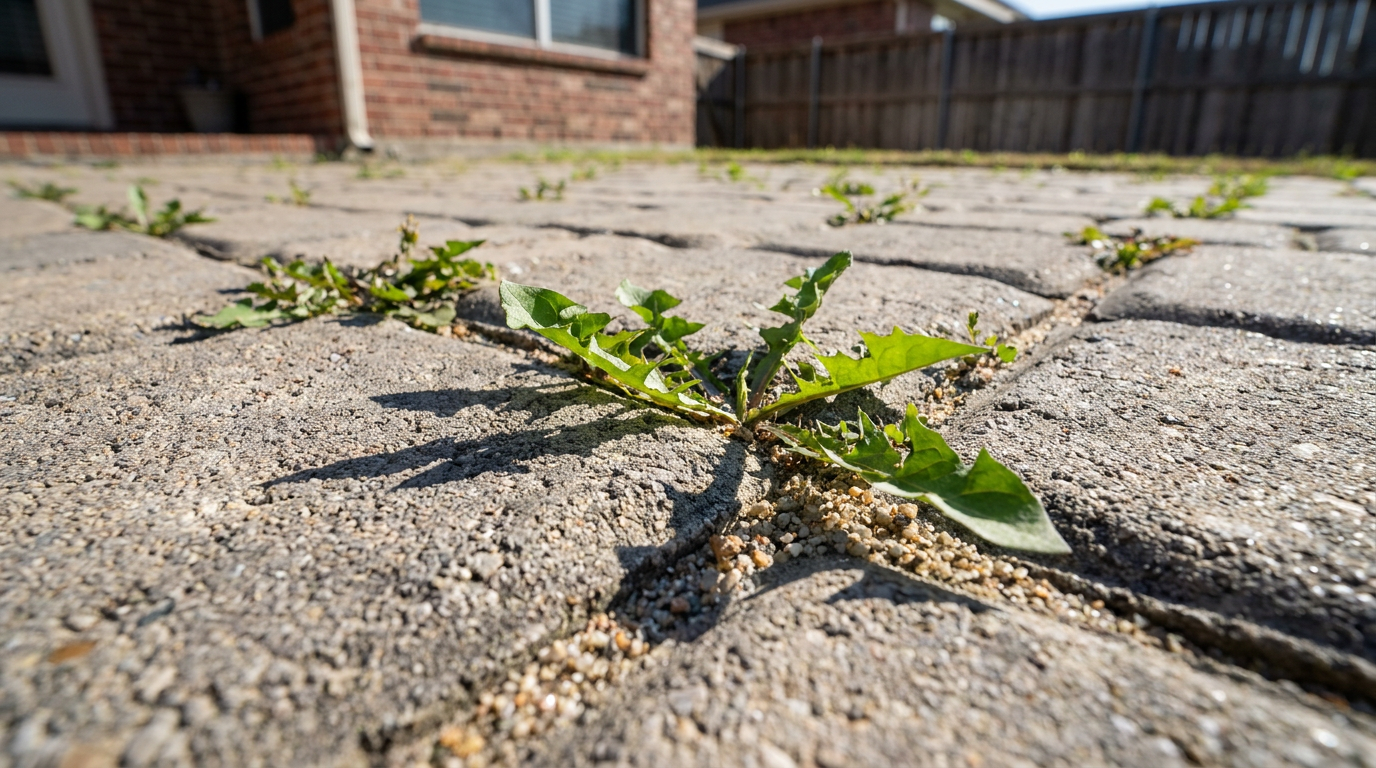
Nothing makes a patio or concrete driveway look tired faster than weeds, moss, and random turf pushing through the joints. You pull them by hand, and before you know it, dandelions and creeping spurge are right back in there.
Paver joints and slab expansion seams collect windblown silt, dead leaves, and all kinds of organic junk over time. That stuff turns into a little greenhouse: warm concrete, trapped moisture, and no real competition from the turf you actually want. Once seeds land in those seams, the taproots punch down into the bedding aggregate underneath, pry open the pavers, shift the edge restraints, and speed up freeze-thaw damage in winter. If you just yank the tops, you’re usually leaving root bits buried in compacted bedding sand, and those little devils will come right back when you’re not looking.
How It Works
Paver systems are built to flex a little. Under the pavers sits a 1-inch bedding layer of coarse concrete sand (ASTM C33) over 4 to 6 inches of compacted crushed stone aggregate—road base or ASTM No. 57 stone is common. The joints between the units—usually 1/16 to 3/16 inch wide—are meant to lock everything together and spread lateral load across the patio.
Now, if those joints are filled with plain mason sand, rain, wind, and foot traffic wash and blow it out before long. Nature always finds an opening. Seeds from the wind, bird droppings, and even mower exhaust settle right into those empty seams. Once a taproot gets down into the moisture zone near the bedding layer, it roots sideways under the stone base and starts the whole cycle over again.
The fix takes two parts: first, kill the root structure without wrecking the concrete face or staining the pavers; second, refill the joints with polymeric sand. That sand is a mix of calibrated silica and binding agents like polyvinyl alcohol and polyurethane. A light mist of water kicks those binders into curing, and they set up as a flexible, water-resistant mass that keeps roots from getting established and keeps seeds from bedding in. Simple idea. Good results.
Step-by-Step Fix
Follow this full restoration process if you want to clear out stubborn growth, knock down the root network, and lock the seams against future weeds.
-
Scout and Identify the Weed Variety — Look over the joint growth on your patio or driveway first so you can pick the right attack plan. Tender annuals like chickweed or spotted spurge usually fold fast, but deep-rooted perennials—dandelions, thistles, and Bermuda grass runners—need systemic chemical treatment or serious heat.
- Tip: If pets or kids are using the patio, skip synthetic chemicals and go with a stronger horticultural acid instead.
-
Apply a Targeted Knockdown Agent — Pick a dry, windless day with direct sun and temperatures above 75°F. Spray the leaves directly with a pump sprayer set to a narrow stream. Use either a professional systemic herbicide with glyphosate (mixed at 2.5 oz per gallon) or a non-selective burndown spray made from 20% horticultural vinegar with 1 teaspoon of liquid dish soap per gallon.
- Caution: Don’t overspray nearby grass edges or boxwoods; 20% acetic acid will bleach and kill non-target plants on contact.
- If this doesn't work: On cloudy or wet days, the chemical just won’t soak in the same. Switch to a 500,000 BTU propane weed torch and sweep the flame over the foliage for 2 to 3 seconds until it wilts and darkens, popping the internal cells.
-
Allow the Root System to Desiccate — Leave the treated weeds alone for 48 to 72 hours. Don’t grab them right away. Systemic products need at least two full days to move through the phloem down to the taproot, and high-strength acid needs time in the sun to dry the crown out completely.
-
Excavate Roots and Clear Dead Biomass — Use a triangular steel-wire joint scraper or a paver weed wheel in the seams. Run the blade down the channel with steady downward pressure to cut through buried root mats and pull out packed silt to about 1 inch deep.
- Tools: Heavy-duty wire paver brush, hand weeding knife, safety glasses, knee pads.
- Alternative: If you’re dealing with a big patio over 500 square feet, rent a walk-behind paver joint cleaner or a wire-bristle power broom. Saves your back.
-
Pressure Wash the Seams Clean — Put a 25-degree green fan tip on a pressure washer running between 2,000 and 2,500 PSI. Hold the wand at a 45-degree angle across the paver faces—never straight down into the joint—and flush out the dead plant pieces, loose aggregate, and built-up silt.
- Caution: Don’t get closer than 8 inches, and don’t ever use a zero-degree red tip. That’ll etch the face and chew out the bedding layer underneath.
- Depth target: Strip the old joint filler down to a clean depth of 1 to 1.5 inches below the paver surface.
-
Dry the Patios Completely — Let the whole thing dry out for at least 24 to 48 hours of clear weather. Polymeric sand depends on moisture to cure, so if you sweep it onto damp pavers, you’ll get a milky white polyurethane haze on the stone face. That’s no fun to clean up.
- Test: Lay a sheet of clear plastic wrap flat over four pavers for 30 minutes. If you see condensation on the underside, the joints are still wet. Give it another day.
-
Sweep In High-Performance Polymeric Sand — Dump dry polymeric sand across the surface and use a stiff, dense-bristle push broom to work it diagonally into the joints until every seam is filled level.
- Material choice: Use the mix made for your joint width: standard for joints 1/16 to 1/2 inch, or wide-joint polymer mix for irregular flagstone gaps up to 2 inches.
- Important: Work in 100-square-foot grids so you don’t drag loose material across finished sections.
-
Vibrate and Compact the Joints — Run an electric plate compactor with a protective rubber pad over the patio, or use a manual 8-inch cast-iron tamper on a 2x4 board laid flat across the seams. The vibration drops the loose sand deeper into the voids and settles the volume by 20% to 30%.
- Follow-up: Sweep a second coat of dry sand over the field to refill the settled joints, then bring the level to exactly 1/8 inch below the chamfer (the beveled edge) of the paver.
-
Blow Off All Surface Dust — Use a gas or battery leaf blower set to its lowest throttle and clear every loose grain and bit of white binder dust off the paver faces.
- Safety Note: Keep the nozzle aimed horizontally 2 feet above the surface so you don’t blow the sand out of the joints. Wear an N95 respirator here so you’re not breathing in crystalline silica dust.
-
Activate the Polymeric Binder with Water — Set the garden hose nozzle to "shower" or "mist." Aim it upward and let the water fall naturally over a 200-square-foot section for 15 to 20 seconds. Wait 3 to 5 minutes so it can soak through the sand, then mist that section a second time.
- Verification: Probe a joint with a toothpick or screwdriver tip. The sand should be damp to a depth of 1 inch without standing water or puddling. If the bottom of the sand column is bone-dry, give it a third light shower.
-
Enforce the Cure Window — Keep people off the patio for 24 hours and keep vehicles off driveways for 48 to 72 hours. Make sure rain isn’t coming for at least 12 to 24 hours after activation so the polymers can set up and seal the joints tight.
Common Causes
- Sand Joint Erosion: Rain, sprinklers, and overzealous leaf blowers wash out unbonded mason sand, and what’s left behind are deep, damp crevices that collect windborne dirt.
- Organic Silt Accumulation: Rotting leaves, grass clippings, and runoff build a fertile little layer inside the seams, feeding weeds without ever touching the native soil below.
- Poor Compaction During Construction: If the base wasn’t compacted right, the pavers shift and rock under load, cracking the joints and pumping moisture up toward the surface.
- Zero-Angle Drainage Slopes: Patios built without a mandatory 1/4-inch per foot slope away from the house hold standing water in the seams, which softens the filler and turns into a humidity pocket for moss and weeds.
- Perimeter Edge Restraint Failure: When plastic or concrete edging breaks, spikes back out, or borders separate, the joints can open past 1/4 inch, overpowering standard sand and letting runner roots creep in from the lawn.
Common Mistakes
- Pulling Top Growth Without Root Tools: If you rip dandelions or crabgrass out by hand, you’ll often snap the stem at the crown and leave the taproot buried in the bedding layer. Give it 10 days and, yep, two new shoots show up.
- Sweeping Polymeric Sand on Damp Surfaces: Put the sand down before morning dew or wash water has dried and you’ll get a permanent white haze on the paver faces. Then you’re stuck acid washing it off.
- Leaving Sand Flush with the Paver Face: Pack the joint all the way to the top lip and the cured polymer gets chewed up by foot traffic and side shear. Always leave an 1/8-inch drop below the paver chamfer.
- Blasting Directly Downward with a Pressure Washer: A zero-degree or tight fan tip pointed straight down into the seams will dig out bedding aggregate, undermine the pavers, and leave you with settled, sunken stones.
- Drenching Sand During Activation: If you flood fresh polymeric sand with a hard jet, the binder separates from the silica and floats away, leaving loose, unbonded sand behind.
Cost & Time Breakdown
| Task | DIY Cost | Pro Cost | Time |
|---|---|---|---|
| Foliage Knockdown (Herbicide/Torch) | $15–$45 | $120–$200 | 1–2 hours |
| Joint Scraping & Pressure Washing | $35–$90 (rental) | $250–$450 | 3–5 hours |
| Plate Compaction & Resanding | $60–$140 (sand/rent) | $300–$600 | 2–4 hours |
| Clear Acrylic Joint Sealing (Optional) | $40–$100 | $200–$400 | 1–2 hours |
| Complete Paver Seam Overhaul | $150–$375 | $870–$1,650 | 7–13 hours |
Tips & Prevention
- Spring and Fall High-Speed Sweep: Hit the paver seams twice a month during the growing season with a stiff, coarse-bristle push broom. It knocks out sprouted weed seeds before the roots can push down 1/4 inch.
- Blow Off Mower Clippings Immediately: Don’t let fresh grass clippings sit on the joints after mowing. Once they start breaking down, they leave behind nitrogen-rich compost right in the sand channels.
- Apply a Penetrating Paver Sealer: Put a breathable solvent-based or water-based acrylic sealer on clean pavers and cured polymeric joints every 3 to 4 years. It helps lock the sand surface down against wind erosion.
- Inspect Edging Spikes Every Spring: Check the perimeter plastic edging along lawn borders. Drive back down any 10-inch steel landscape spikes that have heaved up so the joints keep their lateral pressure.
- Spot-Treat with Horticultural Vinegar: Keep a pre-mixed trigger bottle of 20% vinegar and soap nearby. If you see tiny green sprouts, hit them the same day on a hot afternoon before the roots get moving.
When to Call a Professional
If you’re seeing widespread paver settlement, deep ruts in the tire paths, or whole sections rocking around under your boots, the weed problem is just the symptom. That usually means the structural base has failed. Once the aggregate washes away or the soil subgrade sinks, refilling the joints won’t stabilize the hardscape.
Call an ICPI-certified (Interlocking Concrete Pavement Institute) hardscape contractor if more than 15% of your patio has lost interlock, if the edge restraints have broken away, or if standing water sits on the surface for hours after rain. Lifting, regrading, and resetting a big stone patio takes heavy excavation gear, laser-level grading, and serious compaction equipment—stuff well beyond a normal homeowner tool shed. I pulled a water heater in Frisco last month that had exactly this kind of “small issue” hiding a much bigger failure, and the same thing happens with patios all the time.
Related Articles
Keep troubleshooting with these hand-picked guides from FixlyGuide:
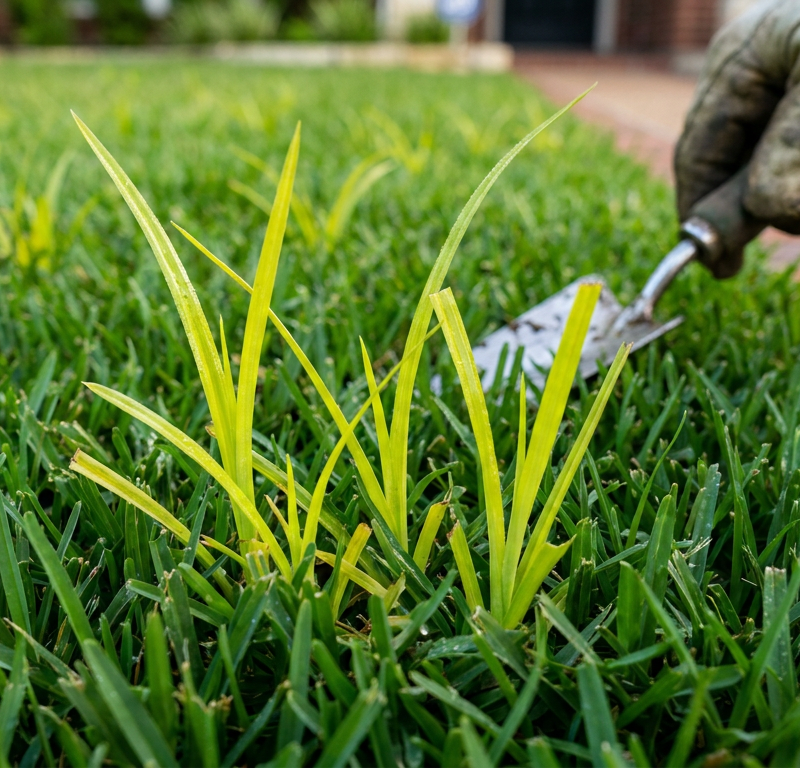
- Nutsedge Taking Over Your Lawn? 10 Steps to Kill It at the Root — Stop pulling nutsedge by hand. Learn how to identify yellow and purple sedge, select the right selective herbicide, and destroy tubers with…
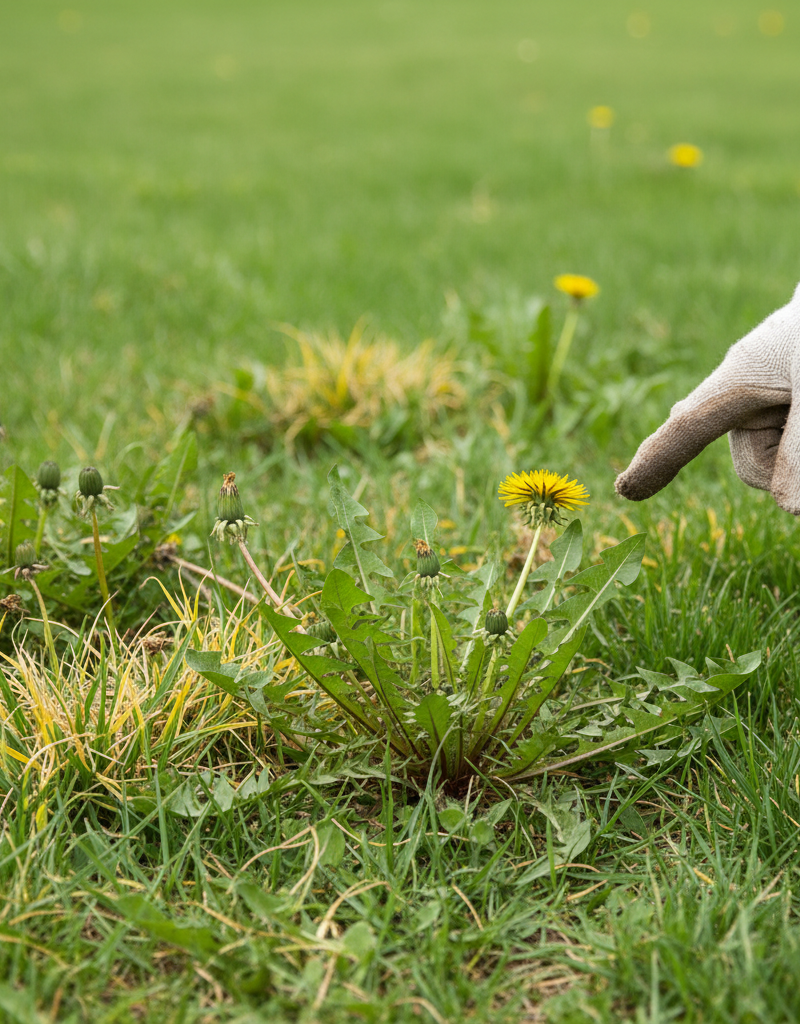
- The #1 Mistake Killing Your Dandelion-Fighting Efforts (and the Easy Fix) — Stop dandelions from taking over your lawn by understanding common mistakes and implementing effective, long-term solutions for a healthier…
- Lawn Full of Tunnels? How to Tell Moles from Voles and Stop the Damage — Stop lawn tunnels for good. Learn how to tell moles from voles, locate active runs, set effective traps, and protect your yard from destruc…
- The Weird White Powder Killing Your Lawn (And How to Stop It Fast) — Battling mysterious white powder on your grass? It's likely powdery mildew or white mold. Learn how to identify, treat, and prevent this co…
- The Invisible Lawn Invaders: How to Erase Fire Ant Mounds for Good — Fire ant mounds can turn your beautiful lawn into a minefield of painful stings. Discover why these pests are so resilient and my pro-teste…
- Driveway Expansion Joint Cracking? 11 Steps to Reseal It for Good — Stop weeds, water erosion, and winter frost heave by replacing failed concrete expansion joints with commercial-grade polyurethane and clos…
Your seasonal maintenance checklist
The small jobs that prevent the expensive repairs. Tick them off — progress saves on this device.
Free, no signup. Skip anything that requires roof access or working near live electrical.
Estimate your own project cost
National averages are a starting point. Enter your details for a range that fits your house.
Concrete slab calculator
- Bagged mix (80 lb)$372 – $527
- Ready-mix delivery (1.5 cu yd)$210 – $300
Ready-mix is usually cheaper above ~1 cu yd. Most suppliers have a short-load fee under 3 yd.
Educational estimate only — always confirm with written local bids.
What should this project cost?
Enter your project details for a realistic cost range before you call anyone.
Cost depends heavily on which system turns out to be the source.
- Regional adjustment
- National average
- Labor share (typical)
- ~$1,620
- Quotes to collect
- 3 written estimates
Educational estimate based on national averages — not a binding quote. Always confirm with written local estimates.
Stay ahead of the next repair
Turn this guide into a schedule you will actually follow.
Free, no signup required. Estimates are educational guidance, not a quote or an inspection.
Get the print-ready PDF of this guide
A clean, ad-free, printable version you can keep on your phone or pin to the workshop wall. Free with a FixlyGuide account.
- Print-optimized layout
- Tools, materials & every step included
- Saved to your account
Frequently asked questions
Why can't I just use regular playground or mason sand in my paver joints?+
Regular play sand or mason sand lacks binding agents. Wind, rainfall, and leaf blowers easily scour it out of joints, creating deep channels where organic dust settles and seeds germinate. Polymeric sand contains chemical polymers that harden when wetted, creating an elastic, impenetrable barrier that keeps seeds out and locks pavers in place.
Will pouring rock salt or table salt into driveway cracks stop weeds permanently?+
Yes, salt will kill weeds by dehydrating their roots, but it is a terrible idea for hardscapes. Salt dissolves in rainwater, seeps into the concrete pores, and causes severe surface scaling, efflorescence, and pitting. Worse, salt runoff leaches into adjacent lawn borders and landscape beds, permanently killing grass and shrubs.
Is a weed torch safe to use on concrete pavers and asphalt?+
Propane weed torches are extremely effective at bursting the cellular structure of joint weeds without chemicals. However, you must only heat the weeds until they visibly wilt—do not incinerate them into ash. Excessive, concentrated heat can crack clay pavers, pop aggregate off concrete, or melt asphalt expansion strips.
What is the difference between grocery store vinegar and horticultural vinegar?+
Household white vinegar is only 5% acetic acid, which might singe young weed tips but rarely kills resilient taproots. Horticultural vinegar is 20% to 30% acetic acid—four to six times stronger—and strips the protective waxy cuticle off mature weed foliage within hours on a hot sunny day. Wear gloves and eye protection when handling it.
Can I pour household bleach into paver cracks to kill weeds and moss?+
Bleach destroys green top growth, but its high chlorine and alkaline content damages the cement matrix in concrete pavers and leaches protective color pigments out of dyed stones. It also fails to eliminate deep root networks in bedding aggregate, allowing weeds to re-emerge while leaving your patio permanently blotched.
How long does polymeric sand last before it needs to be replaced?+
Under typical weather conditions, high-grade polymeric sand holds up for 3 to 7 years. Heavy power washing, aggressive wire scraping, shaded damp conditions, or ground movement can break the polymer bond sooner, requiring a partial re-scrape and top-off.
How do I get rid of the white milky haze left behind by polymeric sand?+
White haze is caused by polymeric sand dust left on wet pavers during application. If plain water and a scrub brush won't cut it, wait 30 days for the sand to fully cure, then wash the pavers with a specialized polymeric sand haze remover or a mild diluted efflorescence acid cleaner.
Can I sweep polymeric sand immediately after pressure washing the patio?+
You must wait until the patio surface and joints are completely bone-dry. Any residual moisture inside the seams or on the paver faces will cause the dry polymers to activate prematurely, forming sticky clumps that cannot be compacted into the joints and leaving heavy white stains on the stone surfaces.
Discussion
Loading comments…