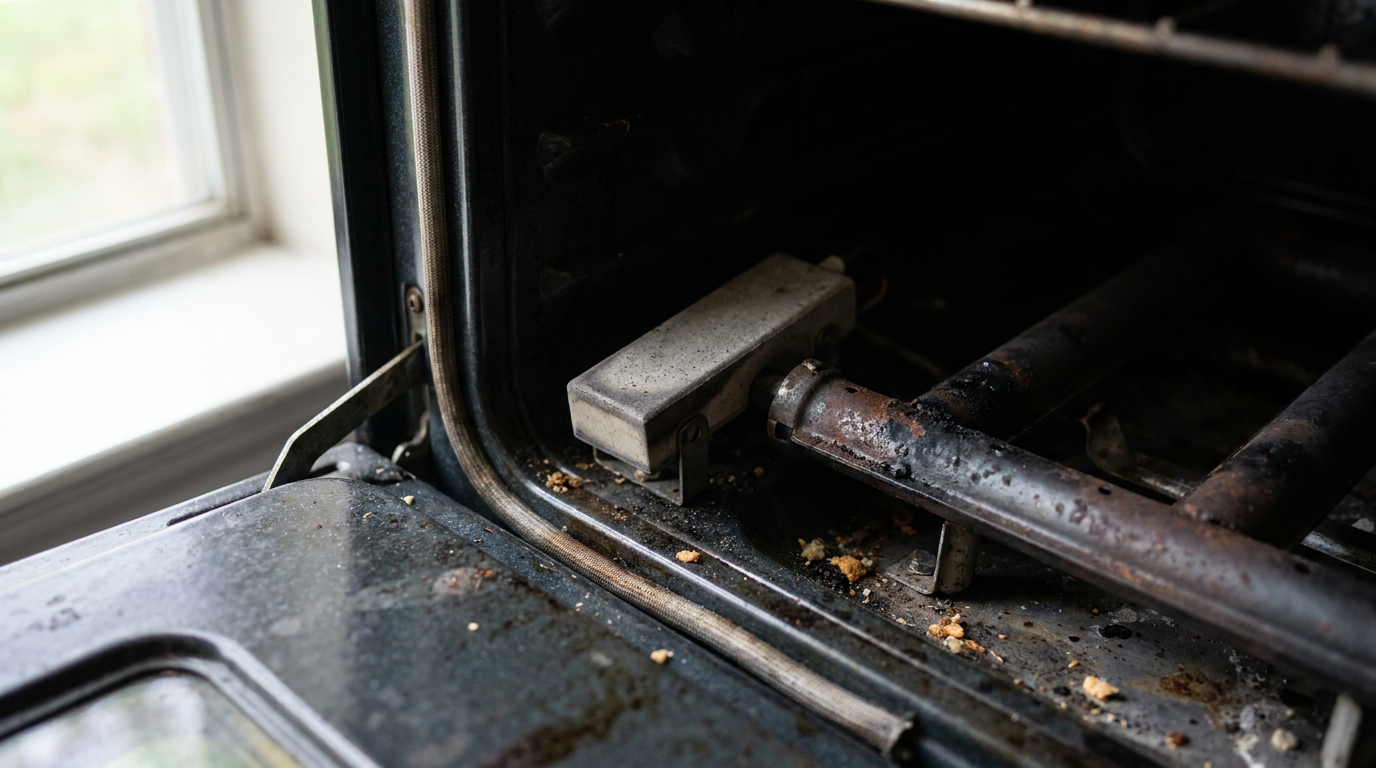
- End of Lifespan: This is the 1 reason. Hot surface igniters are wear-and-tear parts. The constant extreme heat cycles (from room temperature to 2000°F and back down) wear the material out. Most last between 3 and 7 years.
- Vibration and Bumps: They’re brittle ceramic, so they can crack if the oven gets banged around during a move or if you’re rough with pots and pans on the oven floor. A hairline crack’s enough to kill it.
- Grease and Spills: A big spill that gets past the oven floor can splash onto the hot igniter. That sudden temperature shock can crack it instantly. Built-up grease can also insulate it, making it work harder and fail sooner.
HVAC · High energy usage
| Project category | HVAC |
|---|---|
| Problem type | High energy usage |
| Trade required | HVAC |
| Urgency | Planned project |
| Safety risk | Low safety risk |
| DIY suitability | DIY for experienced homeowners |
| Cost category | High cost |
| Typical timeline | Assessment within weeks; replacement planned off-season |
| Contractor type | Licensed HVAC technician |
Repair option
Duct sealing, insulation, and a tune-up before touching the equipment.
Replacement option
High-efficiency replacement sized by a load calculation, not a rule of thumb.
Common causes
- Aging, low-efficiency equipment
- Leaking ducts losing conditioned air
- Insufficient attic insulation
- Oversized system short-cycling
Relevant tools:project cost estimatorrepair or replace
Published October 10, 2026Last updated October 10, 2026
Tools & materials you'll need
Affiliate linksAs an Amazon Associate FixlyGuide earns from qualifying purchases — at no extra cost to you. Prices and availability are accurate as of publication and subject to change.
The Problem
You’ve preheated your gas oven for a solid 15 minutes, but when you crack the door open, it’s stone cold. The stovetop burners work just fine, and you don’t smell gas. You might even hear a faint "click" from the back of the oven every minute or so, but there’s no whoosh of ignition and no heat. You peek through the broiler drawer or the vents in the oven floor and see nothing—no nice orange or blue glow from the igniter.
When a gas oven won’t light, I’ve found the trouble almost always comes down to one of two things: the igniter or the gas safety valve it controls. More than 80% of the time, it’s the igniter that’s gone bad. It’s a simple, cheap part that just wears out. The good news? Testing and replacing it’s a pretty standard DIY repair you can knock out in under an hour if you’ve got a steady hand.
How It Works
Think of your oven’s igniter as the gatekeeper for the gas. It’s not just a match; it’s got two jobs. When you turn on your oven, electricity flows to the igniter, a small ceramic or silicon carbide block usually found at the back of the oven, right next to the main gas burner tube. First, it has to get blistering hot—we’re talking over 1,800°F.
Its second job is electrical. The igniter is wired in series with the gas safety valve, like two gates on the same path. That valve stays shut until it gets the right amount of electrical current. The igniter is the key. Only when it gets hot enough does its electrical resistance drop to a specific level (typically 3.2 to 3.6 amps) that lets enough current flow through and open the safety valve. Once the valve opens, gas flows over the red-hot igniter, and whoosh, you’ve got ignition.
That’s a safety feature, plain and simple. If the igniter’s weak or broken, it won’t draw enough current. The gas valve never opens. That keeps gas from dumping into your oven—and your kitchen—when there’s no ignition source ready to light it. So even if your igniter’s glowing a dull orange, that doesn’t mean it’s doing the job. It’s got to be white-hot to work right.
Step-by-Step Fix
Here’s how I’d diagnose and replace a bad oven igniter. Safety first: unplug the oven or flip the circuit breaker off before you start.
-
Safety First: Power and Gas Off - Before you touch a single screw, unplug your oven from the wall outlet. If it’s hardwired or you can’t reach the plug, go to your home’s main electrical panel and shut off the breaker for the oven. Check the clock and lights. They should be dead. You don’t need to shut off the main gas line to the house, since the oven’s safety valve keeps gas from flowing when the power’s off.
-
Access the Igniter - Most modern ovens have the igniter in the main baking compartment. Open the oven door, pull out the metal racks, and lift out the oven floor panel. Sometimes it’s held by a couple thumbscrews at the back. Other times it just sits there loose. Under that panel, you’ll see the main burner tube (a long, H-shaped or U-shaped pipe with small holes) and a metal cover or heat shield over the igniter. Back out the screws holding that shield—usually one or two 1/4-inch hex-head screws.
-
Inspect the Igniter Visually - With the shield off, there it is. It’s a small, rectangular ceramic piece, usually gray or black, mounted in a metal cage and attached to the burner tube. Look for obvious failure. Cracks? Burnt-looking white spots? Chalky, ashy buildup? If you gently touch it—only when it’s cold, mind you—and it crumbles, that thing’s toast.
-
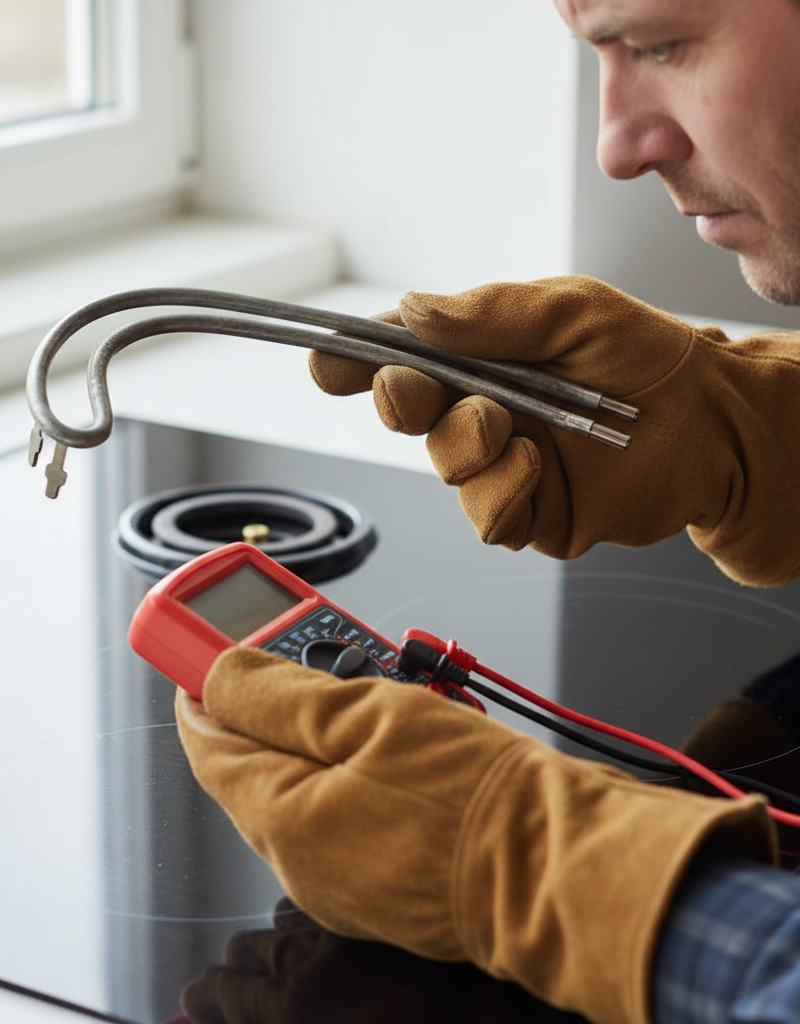
Perform a Continuity Test (Optional, but Recommended) - If the igniter looks okay, you can test it electrically. You’ll need a multimeter for this. Disconnect the two wire leads connecting the igniter to the oven’s wiring. Usually that’s just a plastic plug you pull apart. Set your multimeter to the resistance setting (Ohms, Ω). Touch one probe to each of the igniter’s two wire terminals. A good, cold igniter should show a resistance reading between about 50 and 400 Ohms. If you get an infinite reading ("OL" for "open line"), the igniter’s broken internally and can’t finish the circuit.
-
The Live Amperage Draw Test (Advanced) - This is the real test, but it means working with live electricity and using a clamp-on ammeter. If you are not 100% comfortable with this, skip it and replace the igniter based on its age and symptoms. Reconnect the igniter, clamp your ammeter around one of its two wires, plug the oven in, and set it to bake. Watch the meter. A healthy igniter will draw between 3.2 and 3.6 amps. If it draws less than 3.0 amps, it’s too weak to open the gas valve, even if it’s glowing. That’s the usual failure mode.
-
Remove the Old Igniter - The igniter’s usually held in its metal bracket by two hex-head or Phillips screws. Those screws can be stubborn after years of heat cycles. Use the right-size nut driver (usually 1/4-inch) so you’re not chewing up the heads. Carefully remove the screws and lift the old igniter out. Go easy on the ceramic part—it’s fragile.
-
Buy the Correct Replacement - Take the old igniter or your oven’s model number to an appliance parts store or search online. There are two main types: round (carborundum/silicon carbide) and flat (nitride). They’re not interchangeable. Make sure the new one comes with the correct ceramic wire nuts if your new part needs to be spliced into the old wiring harness. A lot of "universal" replacements need that.
-
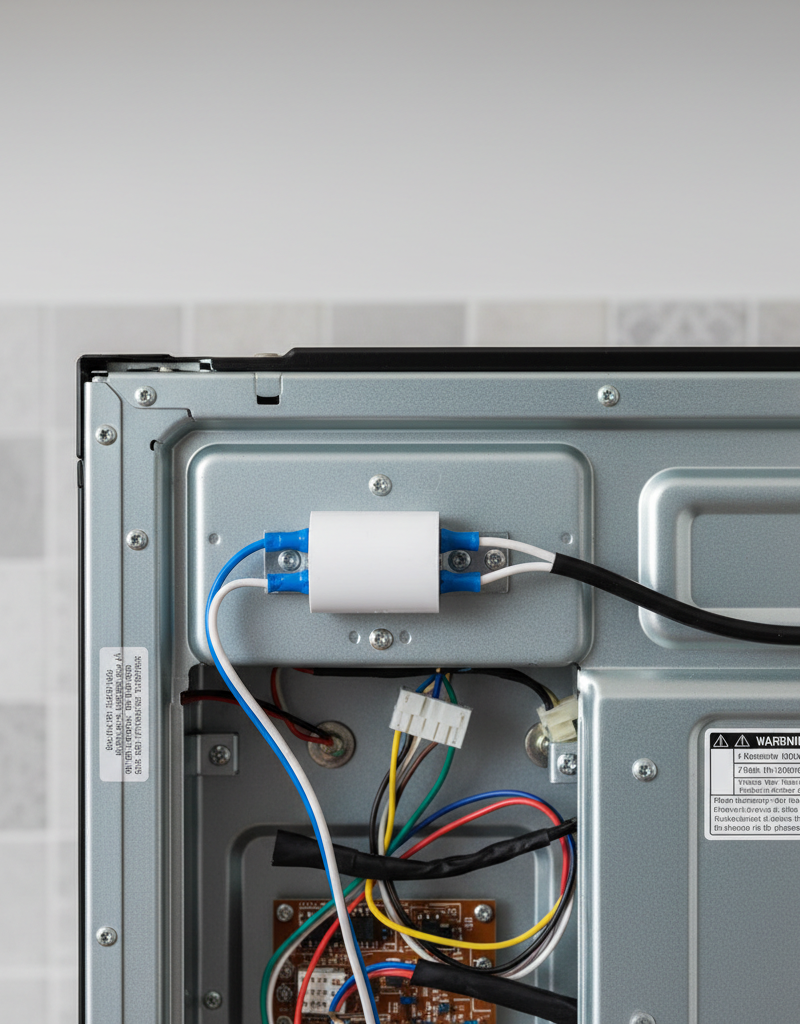
Install the New Igniter - If your new igniter has a simple plug that matches the oven’s harness, just plug it in. If it needs splicing, turn off the power again. Cut the wires from the old connector, strip about 1/2-inch of insulation from the ends, and use the included high-temperature ceramic wire nuts to connect the new igniter. It doesn’t matter which wire goes where—it’s not polarized. Fasten the new igniter into the bracket with the screws you took out earlier. Don’t crank down on them; just snug is fine.
-
Reassemble and Test - Put the heat shield back over the igniter and secure it. Set the oven floor panel back in, then the racks. Plug the oven back in or flip the breaker on. Set the oven to bake at 350°F and watch. Within 30-90 seconds, you should see the new igniter glow bright orange-white, hear the "click" of the gas valve opening, and then the whoosh of the burner lighting. The flame should be mostly blue.
Common Causes
Why does an oven igniter fail in the first place? Usually, there’s nothing mysterious about it.
- End of Lifespan: This is the #1 reason. Hot surface igniters are wear-and-tear parts. The constant extreme heat cycles (from room temperature to 2000°F and back down) wear the material out. Most last between 3 and 7 years.
- Vibration and Bumps: They’re brittle ceramic, so they can crack if the oven gets banged around during a move or if you’re rough with pots and pans on the oven floor. A hairline crack’s enough to kill it.
- Grease and Spills: A big spill that gets past the oven floor can splash onto the hot igniter. That sudden temperature shock can crack it instantly. Built-up grease can also insulate it, making it work harder and fail sooner.
- Weak Electrical Relays: In rarer cases, the electronic control board or relay sending power to the igniter may be the problem, not the igniter itself. If a new igniter doesn’t fix it, that’s the next place I’d look, and honestly, it’s usually a pro job.
Common Mistakes
I see DIYers make the same few mistakes on this repair. Avoid them.
- Buying the Wrong Part: Don’t just grab a "universal" igniter and hope for the best. Flat and round styles work differently. Get the exact OEM replacement or a cross-referenced part guaranteed to work with your model number so you don’t waste time.
- Touching the New Igniter Element: The oils on your skin can create hot spots on the new igniter’s surface when it heats up, and that can shorten its life fast. Handle the new part by its metal cage or ceramic base only.
- Overtightening the Mounting Screws: The ceramic’s brittle. If you reef down on the screws holding the igniter to its bracket, you can crack it before you even fire up the oven. Snug is plenty.
- Assuming No Glow Means No Power: Sometimes an igniter has a hairline crack you’ll never spot by eye. It won’t glow at all, but power’s still being sent to it. Always unplug the oven before handling it.
- Using Plastic Wire Nuts: If your replacement igniter needs wire splicing, you must use the high-temperature ceramic wire nuts included with the part. Standard plastic wire nuts from the hardware store will melt in minutes inside an oven, and that’s a fire hazard no one needs.
Cost & Time Breakdown
This is one of the nicer appliance repairs to do yourself. The part’s cheap, and the work’s pretty straightforward, so you save yourself a hefty service call fee.
| Task | DIY Cost | Pro Cost | Time |
|---|---|---|---|
| Igniter Part | $15 - $50 | $15 - $50 | N/A |
| Labor | $0 | $125 - $250 | 30-60 mins |
| Diagnosis (if separate) | $0 (with multimeter) | $85 - $150 (service call fee) | 15 mins |
| Total | $15 - $50 | $150 - $300 | 30-60 minutes |
Tips & Prevention
You can’t make an igniter last forever, but you can keep from killing one early.
- Clean Spills Promptly: If something boils over, clean it up once the oven’s cool. Don’t let sugary or greasy liquids bake onto the components below the oven floor.
- Be Gentle: Don’t drop heavy cast iron pans or Dutch ovens onto the oven floor. That impact can travel to the igniter assembly and crack it.
- Look for Warning Signs: A tired igniter usually gives you clues. Is your oven taking longer and longer to preheat? That’s a classic sign the igniter’s getting weak and struggling to reach the required amperage.
- Proactive Replacement: If your oven’s over 7-8 years old and you’re already having it serviced for something else, it’s cheap insurance to have the technician replace the igniter while they’re in there. It’s probably near the end anyway.
- Keep the Burner Tube Clean: Use a small wire brush or a paperclip to keep the gas ports on the burner tube next to the igniter free of debris. A clear path for the gas means quicker, cleaner ignition.
I pulled a water heater in Frisco last month that had exactly this kind of “works fine, but won’t light” symptom—not an oven, sure, but the same kind of weak-component headache. Nine times out of ten, the part’s telling you it’s done.
When to Call a Professional
You should stop and call a licensed appliance technician if you run into any of the following. If you smell gas when the oven’s supposed to be off, get out of the house right away and call your gas company from a safe distance. For the repair itself, call a pro if you replace the igniter and the oven still won’t light—now you’re looking at something more involved like a bad gas valve or a faulty electronic control board. Figuring out and replacing those parts takes specialized knowledge and tools. And if you’re not comfortable working with electricity or running the multimeter tests, it’s always safer to have a professional handle the diagnosis from the start.
Related Articles
Keep troubleshooting with these hand-picked guides from FixlyGuide:
- The Surprising Reason Your Dishwasher Won't Start (It's Not Always the Door) — Don't rush to call a repairman when your dishwasher refuses to start; often, the culprit is a simple, overlooked issue you can fix yourself…
- The 30-Minute Fix: Why Your Gas Burner Lights But Won't Stay Lit — Your gas stove burner lights up for a second then quickly extinguishes? It's a common, frustrating issue often due to a dirty or faulty the…
- Your Oven's 3-Amp Secret: The Real Reason It's So Slow — If your gas oven takes forever to preheat, the culprit is almost certainly a weak igniter that looks fine but fails a critical amperage tes…
- The Mystery of the Cold Oven: Is It Your Power or a $15 Part? — Don't rush to replace your oven when it won't turn on; many common power issues or a simple, inexpensive thermal fuse might be the real cul…
- Your Refrigerator's Loud Hum? The Fix Most People Miss — A constant, loud refrigerator hum is more than annoying—it's a warning sign. Before you call a pro, discover the #1 most overlooked cause a…
- The $5 Part That Stops Your Dryer From Heating (And How to Replace It in 30 Minutes) — A dryer that tumbles but doesn't heat often points to a blown thermal fuse, a simple and inexpensive fix most homeowners can do themselves.
Should you do this yourself?
Answer five quick questions before you start. Safety outranks savings every time.
Your experience with work like this
How high do you have to work?
Does the job involve any of these?
Will it need a permit?
Specialty tools
Free and instant. Educational guidance only — not a quote, inspection, or professional diagnosis.
What should this project cost?
Enter your project details for a realistic cost range before you call anyone.
Cost depends heavily on which system turns out to be the source.
- Regional adjustment
- National average
- Labor share (typical)
- ~$1,620
- Quotes to collect
- 3 written estimates
Educational estimate based on national averages — not a binding quote. Always confirm with written local estimates.
Fixly Project Decision Box
- DIY difficulty
- Advanced
- Estimated time
- Homeowner checks 20–30 minutes
- Cost level
- Moderate
Main tools / materials
- Clean air filter
- Garden hose for condenser coils
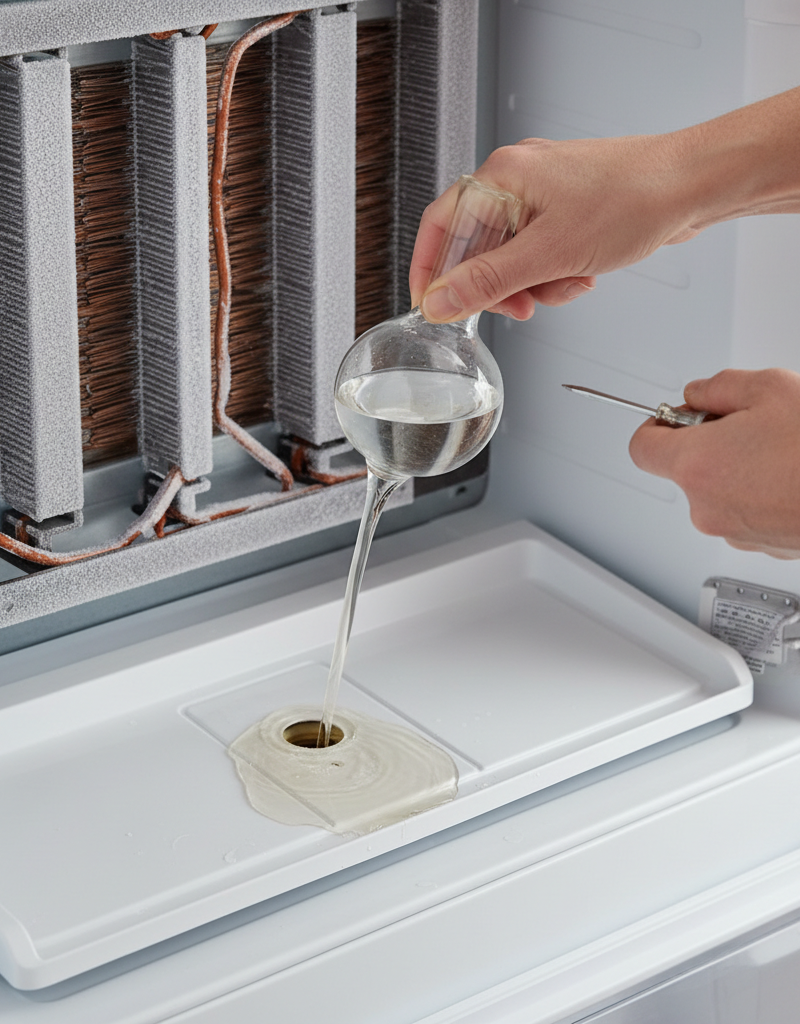
- Shop vac for the condensate line
When to stop and call a pro
- Burning smell, smoke, or a tripping breaker
- Refrigerant lines iced over or hissing
- Any work inside the sealed refrigerant circuit (EPA-licensed only)
- Gas smell near a furnace — leave and call the utility
Need professional help?
Find an HVAC Pro Near YouGet the print-ready PDF of this guide
A clean, ad-free, printable version you can keep on your phone or pin to the workshop wall. Free with a FixlyGuide account.
- Print-optimized layout
- Tools, materials & every step included
- Saved to your account
Frequently asked questions
Why is my gas oven igniter glowing orange but not lighting?+
An orange glow means the igniter is receiving power, but it's likely too weak. It must reach over 1,800°F to draw enough electrical current (3.2-3.6 amps) to open the gas safety valve. A weak, orange glow means it's time for a replacement.
How long should a gas oven igniter last?+
Most hot surface igniters have a lifespan of 3 to 7 years, depending on usage. The constant high-temperature cycling causes the material to degrade over time, which is normal wear and tear for this part.
Can I test an oven igniter without a multimeter?+
Yes, to an extent. A visual inspection can reveal obvious cracks, burns, or breaks. Also, if your oven is taking much longer than usual to preheat, that's a strong symptom of a weak igniter, even if you can't measure it electrically.
Is it safe to replace a gas oven igniter myself?+
Yes, for most homeowners, this is a very safe and straightforward DIY repair. The key is to always unplug the oven or turn off the circuit breaker before you begin, cutting all power to the appliance.
How do I know if I have a bad gas valve or a bad igniter?+
Over 80% of the time, the igniter is the culprit. If you replace the igniter and the oven still doesn't heat, or if the new igniter glows brightly for over 90 seconds without the gas igniting, the problem is likely the gas valve or the control board.
What happens if I touch the new igniter element?+
You should never touch the dark gray or black part of a new igniter. The oils from your fingers can create hot spots on the surface when it heats up, causing it to burn out and fail prematurely. Always handle it by its metal cage or ceramic base.
Do I need to shut off the gas to the oven to replace the igniter?+
No, you do not need to turn off the gas supply line. The oven has a safety valve that is electrically operated. As long as the oven is unplugged, the valve will remain closed, and no gas will flow.
My new igniter came with ceramic wire nuts. Why can't I use regular plastic ones?+
You must use the supplied ceramic wire nuts because they are designed to withstand the high temperatures inside the oven. Standard plastic wire nuts will melt, creating a dangerous short circuit and a potential fire hazard.
Discussion
Loading comments…