- Hard Water: This is the big one. Water with high mineral content (calcium, magnesium) reacts with soap to form insoluble soap scum. If you've got hard water, you're fighting an uphill battle, but it's a fight you can win.
- Bar Soap Usage: Traditional bar soaps are notorious for contributing to soap scum because of their fatty acid content. Liquid body washes tend to create less scum, though they're not entirely innocent.
- Infrequent Cleaning: The longer soap scum sits, the harder it gets to remove. Regular cleaning—even just a quick wipe down after each use—can prevent significant buildup.
- Lack of Ventilation: Poor ventilation means moisture hangs around longer, giving minerals more time to dry onto surfaces and bond with soap residue.
- Incorrect Cleaners: Using general-purpose bathroom cleaners that aren't formulated to dissolve mineral deposits or soap scum won't get the job done, leading to frustration and continued buildup.
Published August 28, 2026Last updated August 28, 2026
Tools & materials you'll need
Affiliate linksAs an Amazon Associate FixlyGuide earns from qualifying purchases — at no extra cost to you. Prices and availability are accurate as of publication and subject to change.
Quick Answer
Ever stare at your bathtub, even after you've "cleaned" it, and feel like it's still got this weird, dull haze? You're not crazy, that's soap scum, often glued on with a layer of hard water mineral deposits. Standard bathroom sprays just won't cut it. You need something that actively breaks down those mineral bonds and dissolves the scum. With the right technique and a little elbow grease, you can bring that tub back to its factory-fresh shine, no professional required.
The Problem
Picture this: you've just cleaned the bathroom, but your tub still looks… off. Not visibly dirty, no obvious grime, but it's lost that crisp, clean gleam. It feels a little rough to the touch, and water doesn't bead up nicely; it just kind of spreads out. That's the tell-tale sign of stubborn soap scum, often layered with hard water stains. It's a sneaky villain because it doesn't always scream "dirty!" but it definitely makes your bathroom feel less than spotless.
Here's the deal: soap scum isn't just leftover soap. It's a chemical reaction. The fatty acids in your bar soap (or body wash) react with the minerals—especially calcium and magnesium—in your hard water. This reaction creates an insoluble film, essentially a thin, sticky cement that adheres to surfaces like your tub, shower walls, and even shower curtains. Over time, more soap scum, body oils, dead skin cells, and more mineral deposits get trapped in this layer, building up a tough, opaque film that regular wiping or spraying just smears around.
And it's not just about aesthetics. That rough, sticky surface is a perfect breeding ground for mold and mildew. It makes the tub harder to clean down the line and can even become a slip hazard if it gets too thick. Plus, who wants to relax in a tub that feels grimy? Not me, and I'm guessing not you either.
How It Works
To really tackle soap scum, you gotta understand what it is and what makes it stick. Like I said, it's mostly insoluble fatty acids and minerals. Think of it like a microscopic rock formation building up on your tub. Because it's largely mineral-based, many common household cleaners designed for general dirt or mildew won't dissolve it effectively. They might clean around it, but they won't break its grip.
What does work? Acids or certain mild abrasives. Acids, like those found in vinegar or specialized bathroom cleaners, work by dissolving the mineral bonds that hold the scum together. They essentially break down that "cement" at a molecular level, allowing the scum to be wiped or rinsed away. Different acids have different strengths, of course. Something mild like vinegar might work for light buildup, but for serious stuff, you'll need a stronger cleaning agent with a more potent acid, like phosphoric acid or sulfamic acid, which you'll find in many commercial tub and tile cleaners.
Then there's the abrasive approach. Fine particulate abrasives, like those in a scrubbing cream or even baking soda, work by physically scraping off the scum without scratching the underlying surface (if used correctly). The key here is fine abrasives. You don't want to use anything that's going to score your tub's finish, like steel wool or overly aggressive scrubbing pads. A good non-scratch scrubbing pad combined with a suitable cleaner provides both chemical action and mechanical removal. The combination often gives the best results, loosening the grime chemically then scouring it away physically. Knowing this science behind the gunk helps you pick the right weapons for the battle.
Step-by-Step Fix
Alright, let's get that tub looking like new. I've done this hundreds of times, from fiberglass inserts in starter homes to cast iron beauties in old Victorians. Here's the drill:
-
Prep the Area – Clear out the clutter Before you start spraying chemicals, get everything out of the tub and off the surrounding ledge. Shampoo bottles, loofahs, rubber duckies—everything. This gives you a clear workspace and prevents any cleaning product from getting on things you don't want it on. Open a window or turn on the exhaust fan to ensure good ventilation. Trust me, you don't want to be breathing in those fumes. This isn't optional; it's safety 101. Put on your gloves and eye protection now, too.
-
Rinse the Tub – Wet the surface Use your showerhead or a bucket to quickly rinse down the entire tub surface with warm water. This wets the existing soap scum and allows your cleaner to spread more easily and start working without drying too quickly. It also helps to prevent scratching if you're using an abrasive cleaner.
-
Apply Your Chosen Cleaner – Let it do the heavy lifting This is where you bring out the big guns. For moderate scum, I usually grab a good quality acidic bathroom cleaner. Spray or pour it liberally over all the affected areas. Make sure you get an even coating. For heavier buildup, I might even apply a paste of baking soda and a few drops of dish soap, or a specialty non-abrasive cream cleaner. Just make sure whatever you're using is safe for your tub's finish. Acrylic and fiberglass tubs can be more sensitive than porcelain or cast iron. Read the label! Let the cleaner sit for at least 5-10 minutes. Don't let it dry out—if it starts to, mist it lightly with water.
- Pro Tip: If you've got truly monstrous buildup, try soaking paper towels in vinegar or your cleaner and sticking them to the vertical surfaces. Let them sit for an hour or even overnight to really penetrate.
-
Scrub it Down – Elbow grease time After the cleaner has had time to work, grab your non-scratch scrubbing pad or brush. Start scrubbing in small, circular motions, working your way around the tub. You'll see the scum start to break down and lift away. For particularly stubborn spots, you might need to apply a bit more cleaner and let it sit again, then scrub harder. I remember once down in Alpharetta, working on a clawfoot tub that must've been a hundred years old; the scum was so thick, it looked like the tub was grey, not white! Took three passes with a strong cleaner and a stiff brush, but we got there.
-
Rinse Thoroughly – Wash it all away Once you've scrubbed all the scum away, rinse the entire tub very thoroughly with clean water. You want to wash all the dissolved scum and cleaning product residue down the drain. Pay extra attention to corners and around the drain. Any leftover cleaner can dry and leave streaks or even etch the surface over time if it's particularly strong.
-
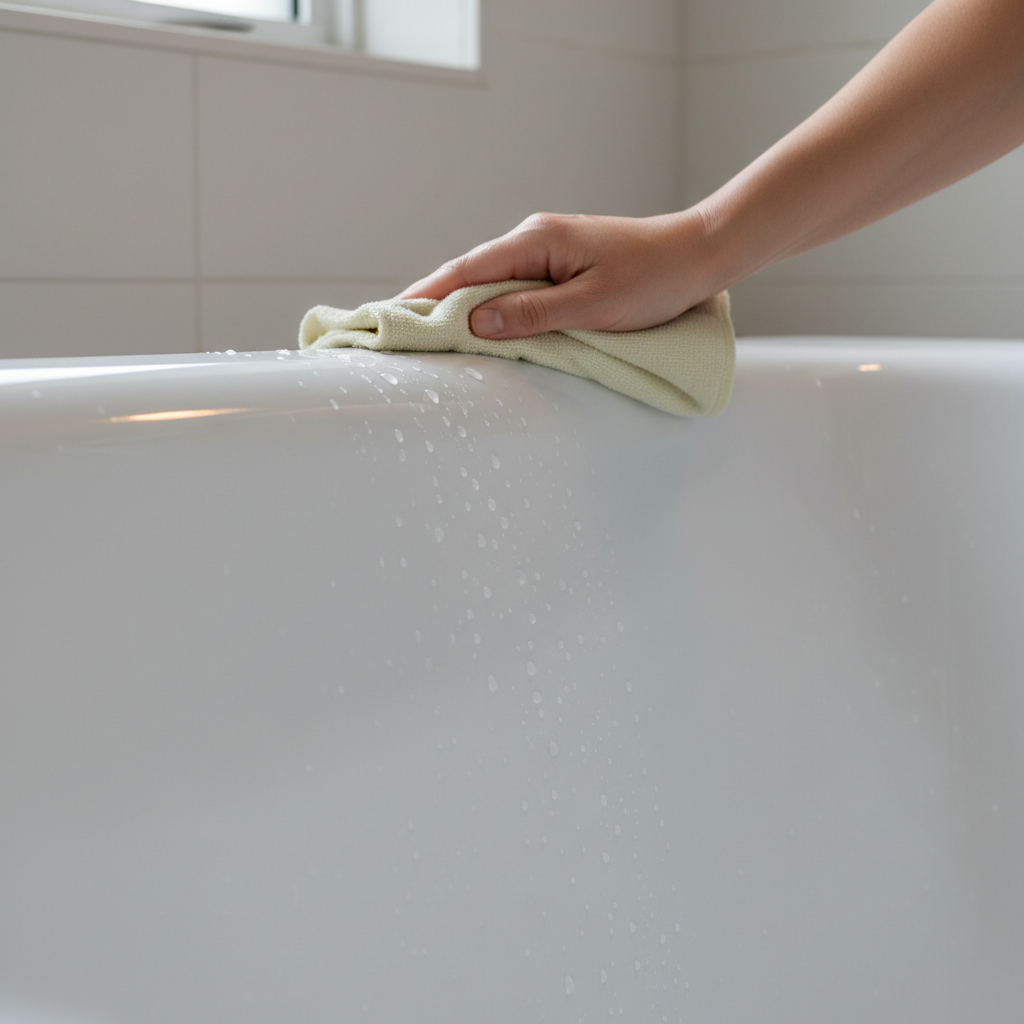
Wipe Dry – Reveal the shine This step is critical for preventing new water spots and streaks. Use a clean, dry microfiber cloth or a squeegee to wipe down the entire tub surface. This will reveal the true shine and ensure no new mineral deposits form as the water evaporates. If you see any remaining dull spots, you might need to repeat the process on those specific areas.
-
Inspect – Did you get it all? Take a good look. Run your hand over the surface. Does it feel smooth and clean? Does it gleam? If not, identify the remaining problem spots and repeat steps 3-6 as needed. Sometimes, especially with years of buildup, it takes more than one go-around. Don't get discouraged; persistence pays off here.
Common Causes
- Hard Water: This is the big one. Water with high mineral content (calcium, magnesium) reacts with soap to form insoluble soap scum. If you've got hard water, you're fighting an uphill battle, but it's a fight you can win.
- Bar Soap Usage: Traditional bar soaps are notorious for contributing to soap scum because of their fatty acid content. Liquid body washes tend to create less scum, though they're not entirely innocent.
- Infrequent Cleaning: The longer soap scum sits, the harder it gets to remove. Regular cleaning—even just a quick wipe down after each use—can prevent significant buildup.
- Lack of Ventilation: Poor ventilation means moisture hangs around longer, giving minerals more time to dry onto surfaces and bond with soap residue.
- Incorrect Cleaners: Using general-purpose bathroom cleaners that aren't formulated to dissolve mineral deposits or soap scum won't get the job done, leading to frustration and continued buildup.
Common Mistakes
- Using Abrasive Scrubber Pads on Acrylic/Fiberglass: You'll scratch the surface, making it even harder to clean in the future and potentially damaging the finish. Always use non-scratch pads or sponges.
- Not Letting the Cleaner Sit: You're relying on chemical reactions here. Give the cleaner at least 5-10 minutes (or longer for heavy scum) to break down the deposits before you start scrubbing. Rushing it means more work for you.
- Mixing Cleaning Products: Never, ever mix cleaners, especially those containing bleach and ammonia or acids. This can create toxic fumes that are extremely dangerous. Stick to one product at a time.
- Forgetting Ventilation & PPE: Fumes from cleaners can be strong and irritating. Always ensure good airflow and wear gloves and eye protection. Your lungs and skin will thank you.
- Ignoring the Tub for Too Long: Letting scum build up for months or years makes the job exponentially harder. Regular, lighter cleaning sessions are far better than one massive yearly scrub.
Cost & Time Breakdown
Ready to get this done? Here's what you're looking at:
| Task | DIY Cost | Pro Cost | Time |
|---|---|---|---|
| Basic Cleaning Supplies | $10-$30 | N/A | 1-2 hours |
| Specialty Scum Remover | $5-$15 | Included in service | 30 mins - 2 hours |
| Heavy Duty Supplies (e.g., pumice) | $5-$10 | Included in service | Add 30-60 mins |
| Professional Bathtub Cleaning | N/A | $150-$300 | 1-3 hours (pro time) |
| Total DIY | $15-$40 | N/A | 1.5 - 3 hours |
| Total Pro | N/A | $150-$300 | (Minimal homeowner effort) |
Tips & Prevention
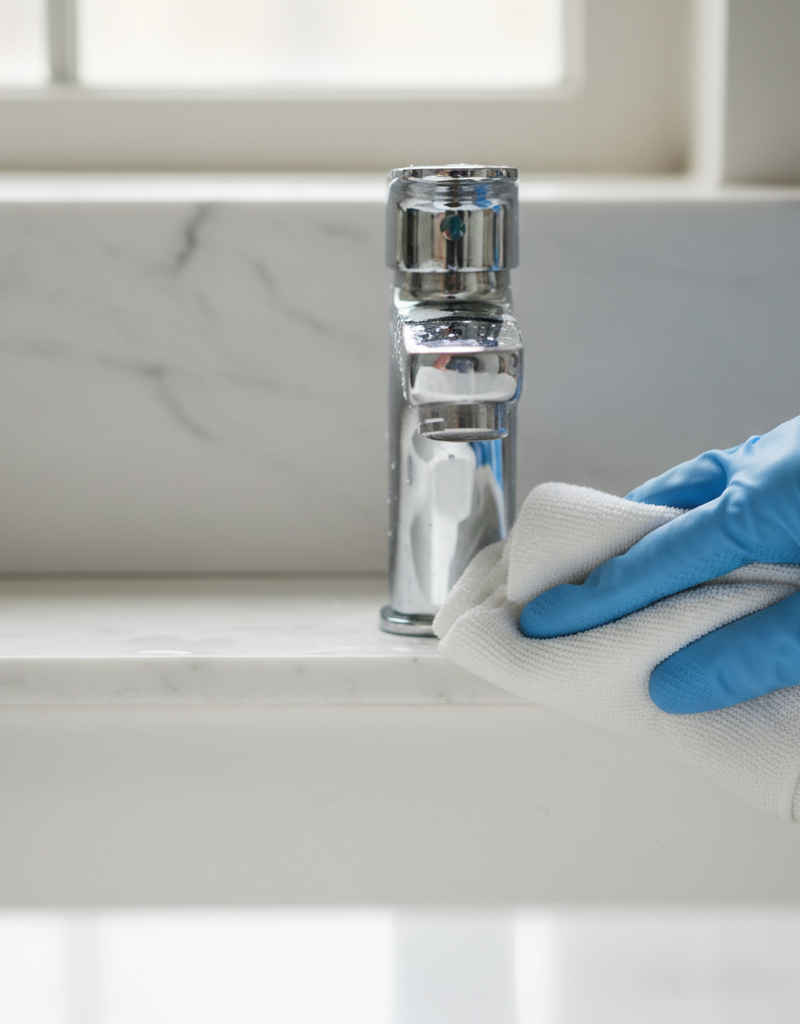
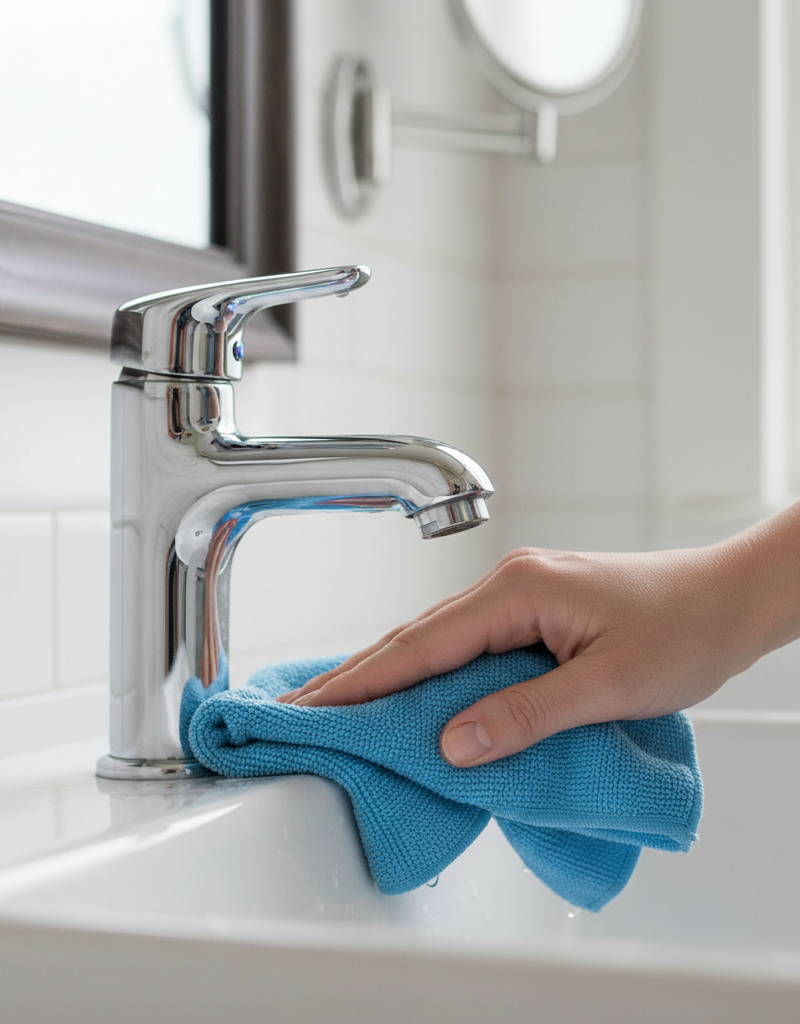
- Wipe Down After Each Use: Seriously, a quick wipe with a microfiber cloth after every shower or bath makes a huge difference. It prevents water from drying on the surface and forming new mineral deposits. It takes maybe 30 seconds.
- Use Liquid Body Wash: If you're a bar soap devotee, consider switching to liquid body wash. It creates less soap scum. If you must use bar soap, look for "soap-free" or "beauty bar" options that tend to rinse cleaner.
- Install a Water Softener: If hard water is your nemesis, a whole-house water softener is the ultimate solution. It's an upfront investment, but it saves your fixtures, appliances, and skin in the long run. Even a showerhead filter can help reduce mineral deposits locally.
- Regular Cleaning Schedule: Don't wait for the scum to become visible. A quick weekly wipe-down with an appropriate bathroom cleaner will keep it at bay. Consistency is key.
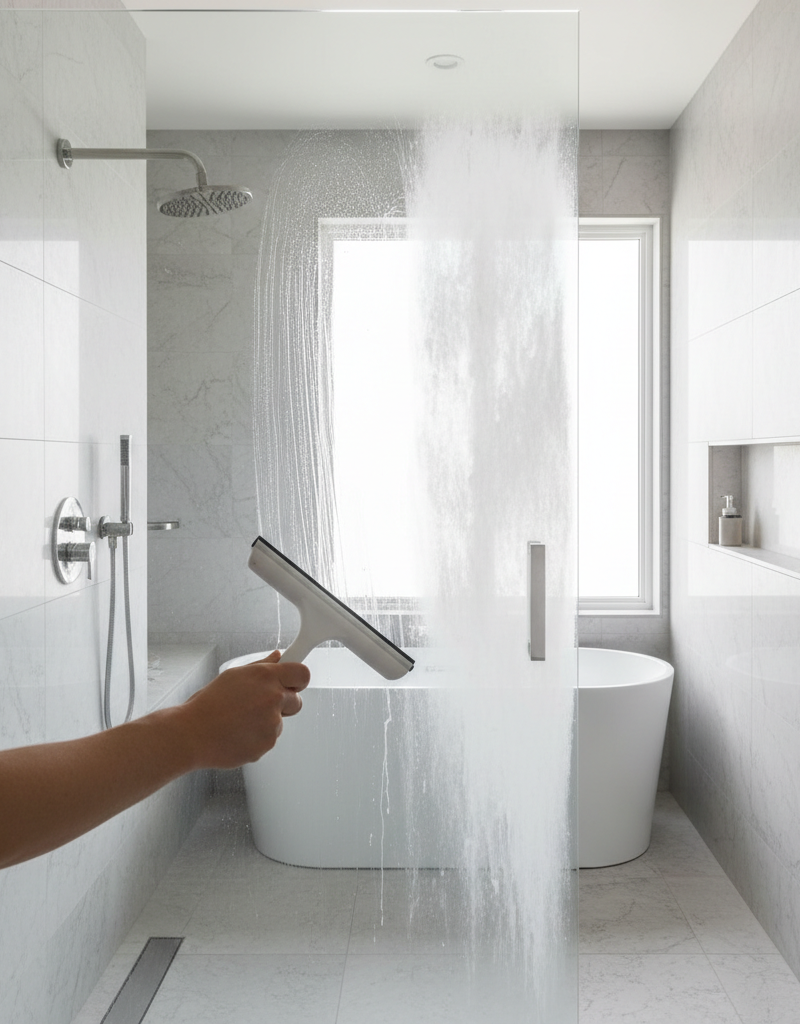
- Squeegee or Towel Dry: Keep a squeegee or a dedicated towel near the tub and give the walls and tub basin a quick wipe after each use. This minimizes standing water and significantly reduces mineral and soap scum buildup.
When to Call a Professional
Most soap scum issues are totally DIY-friendly, but there are times when it's better to call in a pro. If your tub has a very old, delicate, or specialty finish—like an antique porcelain or a reglazed tub where you're unsure of the coating's durability—a pro will know the safest cleaning methods. If the scum is so thick it's actually built up a rough, crusty layer that resists multiple attempts with strong cleaners, or if it's discolored in a way that suggests staining within the finish rather than on the surface, a professional cleaning service or refinisher might be your best bet. They have access to commercial-grade products and techniques that aren't available to homeowners and can often restore a tub that seems beyond hope. Don't risk damaging a valuable fixture trying to be a hero; sometimes, calling for backup is the smarter move.
Related Articles
Keep troubleshooting with these hand-picked guides from FixlyGuide:
- The Grimy Secret Behind Your Dull Bathroom Faucet — And How to Make It Shine — Discover the real culprit behind your bathroom faucet's dull, grimy appearance and how to quickly restore its shine with a few common house…
- The Mystery Smell: Why Your Fridge Stinks (Even After Cleaning It) — That persistent, foul odor in your refrigerator isn't just gross; it's often a sign of hidden issues. Learn the real culprits behind linger…
- The Secret to Banishing Old Pet Odors (Even When You Can't Find the Stain) — Don't let hidden pet accidents ruin your home's fresh scent; this guide reveals how to find and eliminate old pet odors and their invisible…
- The Caulk Stain That Won't Quit: Why Your Shower Stays Grimy — Is that stubborn, discolored caulk making your clean shower look perpetually dirty? It's not just surface grime; it's often mold or mildew,…
- That Mystery Haze on Your Dishware? Your Dishwasher's the Culprit — If your 'clean' dishes come out looking cloudy, streaky, or gritty, it's not you – it's your dishwasher, and I'll show you how to fix it.
- That Chalky Film on Your Dishes? It's Not Soap Scum — If your dishwasher is leaving a cloudy white film on your glassware and dishes, the culprit is likely hard water mineral deposits, not left…
Should you do this yourself?
Answer five quick questions before you start. Safety outranks savings every time.
Your experience with work like this
How high do you have to work?
Does the job involve any of these?
Will it need a permit?
Specialty tools
Free and instant. Educational guidance only — not a quote, inspection, or professional diagnosis.
What should this project cost?
Enter your project details for a realistic cost range before you call anyone.
Mid-range remodels commonly $12,000–$22,000; small repairs often under $600.
- Regional adjustment
- National average
- Labor share (typical)
- ~$5,603
- Quotes to collect
- 3 written estimates
Educational estimate based on national averages — not a binding quote. Always confirm with written local estimates.
Before you start
Check the difficulty, permits, and safety risk — then decide whether to call a pro.
- Estimate this projectGet a cost range for your scope and ZIP before you call anyone.Open
- Get local estimatesSend one request and compare written estimates from vetted pros.Open
Free, no signup required. Estimates are educational guidance, not a quote or an inspection.
Get the print-ready PDF of this guide
A clean, ad-free, printable version you can keep on your phone or pin to the workshop wall. Free with a FixlyGuide account.
- Print-optimized layout
- Tools, materials & every step included
- Saved to your account
Frequently asked questions
Why does my bathtub always look dull even after I clean it?+
That dullness is typically due to a buildup of invisible soap scum and hard water mineral deposits. Regular cleaners often don't fully dissolve these layers, leaving a hazy film that makes your tub look less than spotless.
Can I use bleach to remove soap scum?+
Bleach is a disinfectant and whitener, but it's not very effective at dissolving soap scum or mineral deposits. You need an acidic cleaner or a mild abrasive to break down those specific types of grime. Never mix bleach with other cleaners, especially those containing ammonia or acids.
What kind of cleaner is best for tough soap scum?+
For tough soap scum, look for cleaners that are specifically formulated to dissolve soap scum and hard water stains. These often contain acids like phosphoric acid or sulfamic acid. Alternatively, a paste of baking soda and dish soap with some scrubbing can also be very effective for moderate buildup.
Is it safe to use vinegar on my bathtub?+
Yes, distilled white vinegar is generally safe for most tub surfaces and can be effective for light to moderate soap scum and hard water stains. However, avoid using it on natural stone (like marble) as the acid can etch the surface. Always test in an inconspicuous area first.
How can I prevent soap scum from coming back so quickly?+
The best prevention is a quick wipe-down with a microfiber cloth after every shower or bath to remove standing water. Switching to liquid body wash, installing a water softener, and maintaining a regular weekly cleaning schedule will also significantly reduce buildup.
My tub is acrylic/fiberglass. Are there special precautions?+
Absolutely. Acrylic and fiberglass tubs are more prone to scratching than porcelain or cast iron. Always use non-abrasive cleaners and soft scrubbing pads or sponges. Avoid harsh chemicals, steel wool, or highly abrasive powders that can damage the finish.
How long should I let a cleaner sit on the soap scum?+
For most commercial cleaners, allowing it to sit for 5 to 10 minutes is a good starting point to let the chemicals work. For very heavy or old buildup, you might need to extend that to 30 minutes or even an hour, reapplying if it starts to dry.
Can a water softener help with soap scum?+
Yes, a whole-house water softener is one of the most effective ways to prevent soap scum. By removing the minerals (calcium and magnesium) from your water, it eliminates the main component that reacts with soap to form scum in the first place, saving your fixtures and reducing cleaning effort.
What if my bathtub looks clean but still feels rough?+
That rough feeling is a sure sign that microscopic soap scum and mineral deposits are still present, even if they're not visibly dulling the surface. This indicates your cleaning method or product isn't fully dissolving or removing the buildup. You'll need to use a more effective cleaner or a more rigorous scrubbing technique.
Discussion
Loading comments…