- Prep the Area – Clear out the clutter.
- Pull out all the bottles, soaps, loofahs, and whatever else is sitting in the shower. You want a clean surface to work on. It also keeps your cleaner off your personal stuff.
- Open windows and run the exhaust fan so the air’s moving. That part isn’t optional.
Published September 12, 2026Last updated September 12, 2026
Tools & materials you'll need
Affiliate linksAs an Amazon Associate FixlyGuide earns from qualifying purchases — at no extra cost to you. Prices and availability are accurate as of publication and subject to change.
Quick Answer
Alright, let’s cut to the chase: that nasty, milky film hanging on your shower walls? That’s soap scum. It’s a nasty mix of hard water minerals, body oils, and, yeah, soap itself. You can’t just will it away. The fix usually comes down to breaking those mineral bonds with an acid-based cleaner — think vinegar — or a heavy-duty commercial product, then putting in some real elbow grease. Keep after it with regular squeegeeing, or you’ll be fighting the same mess next month.
The Problem
You’ve probably seen it — that dull, chalky, sometimes yellowish layer that coats your shower tiles, glass doors, and fixtures. It isn’t just ugly; it can hold mildew, kill the shine, and make the whole bathroom feel a little… neglected. Homeowners call me in for all kinds of stuff, but I can’t count how many times I’ve walked into a bathroom that was otherwise spotless and then seen the shower looking like it hadn’t been touched since the last ice age because of this crud. It’s a stubborn stain, way tougher than most folks expect, and it builds fast, especially if you’ve got hard water. Regular shower spray cleaners just seem to smear it around, don’t they?
How It Works
So what is this junk, exactly? It’s not just dried soap, though that’s part of it. The real trouble usually starts with hard water — water loaded with dissolved minerals like calcium and magnesium. When those minerals mix with fatty acids in soap, especially bar soap, which contains tallow or vegetable oils, they react and form an insoluble, sticky residue. Toss in dead skin cells and body oils, and you’ve got a perfect storm. That mess sticks to surfaces and leaves a tough, opaque layer behind. Hot shower water can make those minerals more soluble, but once the water cools and evaporates, they get left behind, crystallizing and bonding tight to tile, grout, and glass. Liquid body washes or “soap-free” detergents usually make less scum because they use synthetic surfactants that don’t react with hard water the same way. Still, even those aren’t magic — you’ll get buildup from body oils and leftover minerals. It’s a chemical bonding deal, which means it takes a chemical reaction to undo it, not just a wipe with a damp rag.
Step-by-Step Fix
Alright, let’s get those shower walls looking respectable again. Before you start, keep your safety gear in mind. We’re dealing with chemicals, even if it’s just vinegar. Good ventilation matters — crack a window or flip on that exhaust fan. Don’t mix cleaners, especially anything with bleach, with acidic solutions. You’ll make dangerous fumes, and I’ve seen folks get themselves sick doing that.
-
Prep the Area – Clear out the clutter.
- Pull out all the bottles, soaps, loofahs, and whatever else is sitting in the shower. You want a clean surface to work on. It also keeps your cleaner off your personal stuff.
- Open windows and run the exhaust fan so the air’s moving. That part isn’t optional.
-
Choose Your Weapon – Vinegar or commercial cleaner?
- For light to moderate scum: Distilled white vinegar. It’s cheap, effective, and easier on you. Mix equal parts white vinegar and warm water in a spray bottle. You can warm the vinegar a bit for better bite, but don’t boil it — just warm it up. The acetic acid does a nice job on mineral deposits.
- For heavy-duty scum: A commercial soap scum remover. Look for products with glycolic acid, lactic acid, or other descalers. Read the label and follow it. My buddy Jim had a job out in Brookhaven once, and that shower was so bad it looked like somebody had spray-painted it white. We had to break out a heavy-duty acid-based cleaner, and even then, it took a few passes.
-
Apply Generously – Soak it good.
- Spray your cleaner liberally onto the dry shower walls, making sure you hit all the bad spots. Don’t be stingy; you want it dripping down. On vertical surfaces, a gel or foam product usually clings better.
- Let it dwell. This matters. For vinegar, give it at least 15-30 minutes. For commercial cleaners, stick to the recommended dwell time, usually 5-10 minutes. That gives the cleaner time to work on the bonds.
-
Agitate and Scrub – Elbow grease time.
- Grab a stiff nylon brush (not wire!), a scrub sponge, or a non-scratch scouring pad. Work in small sections. You should see the scum start to loosen and lift. For grout lines, a smaller detail brush, like an old toothbrush, does a solid job.
- For stubborn spots, hit it again and let it sit another 5-10 minutes before scrubbing. Don’t be afraid to lean into it, but don’t gouge delicate surfaces like acrylic or fiberglass with abrasive pads.
-
Rinse Thoroughly – Wash it all away.
- Once you’re happy with the scrubbing, rinse the whole shower area thoroughly with warm water. Use the shower head or a bucket to flush all that loosened scum and cleaner down the drain. You’ll probably see white, foamy residue running off — that’s the junk coming loose.
- Check your work. If you still see stubborn patches, don’t throw in the towel. You might need to repeat steps 3-5. Sometimes, especially with years of buildup, it takes a few rounds.
-
Dry and Polish – Preventing future buildup.
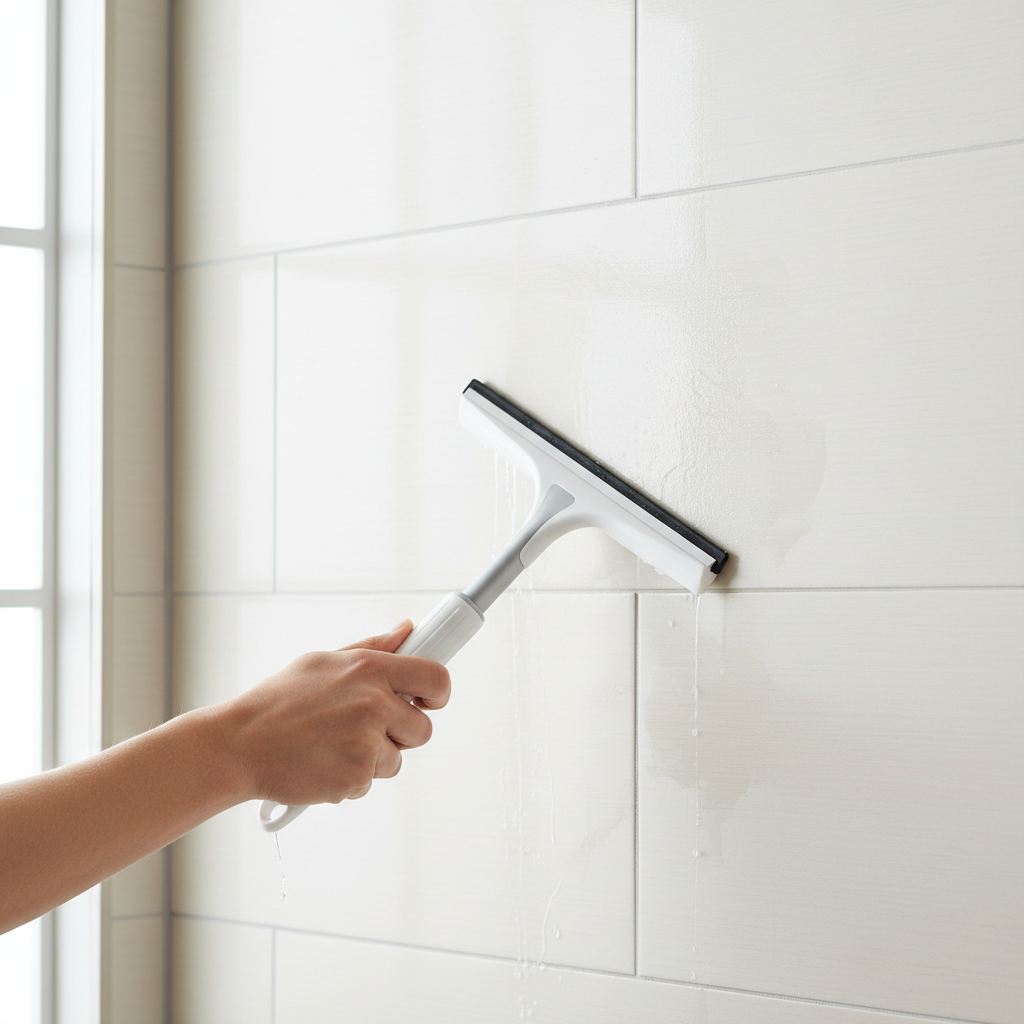
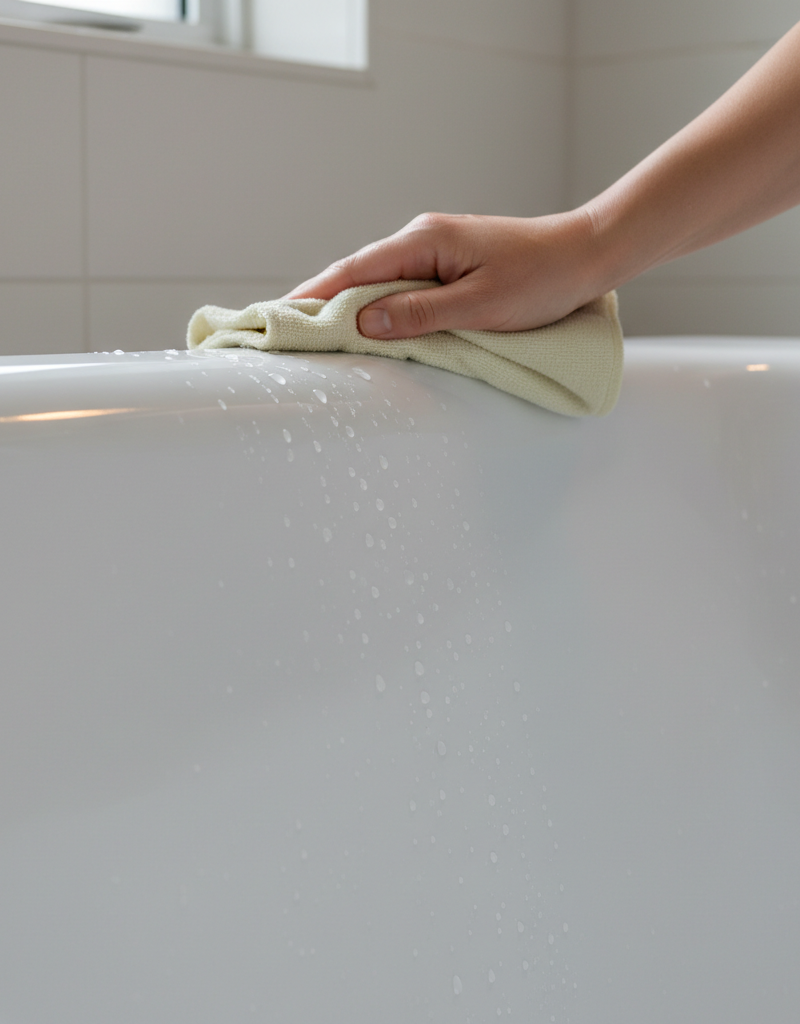
- Right after rinsing, wipe down the whole shower with a clean, dry microfiber cloth or a squeegee. That gets rid of leftover water and minerals, which keeps new scum from forming as it dries.
- If you want extra shine on glass, use a glass cleaner after the scum is gone.
Common Causes
- Hard Water: This is the big one. Water with a high mineral load leaves behind calcium and magnesium deposits that bond with soap and turn into scum. If you see white scale on your faucets, you’ve got hard water.
- Bar Soap: Traditional bar soaps have ingredients like tallow that react hard with minerals in hard water, making more soap scum than synthetic liquid body washes.
- Infrequent Cleaning: Letting scum sit for weeks or months makes it a whole lot harder to remove. A quick wipe-down on a regular basis beats a weekend-long scrubbing marathon.
- Lack of Ventilation: Poor airflow in the bathroom means moisture hangs around longer, giving minerals more time to settle and stick to surfaces.
- Incomplete Rinsing: If you don’t rinse soap and shampoo residue off well after showering, you leave material behind for scum to build on.
Common Mistakes
- Using Abrasive Scrubbers on Delicate Surfaces: Steel wool or harsh scouring pads will scratch fiberglass, acrylic, and even some tiles, and those tiny scratches give scum and grime a place to dig in deeper. Stick with nylon brushes or non-scratch pads.
- Mixing Cleaning Chemicals: I can’t say this enough. NEVER mix ammonia-based cleaners with bleach, or acidic cleaners with bleach. That makes toxic gas that can be deadly. Use one product at a time and rinse well before switching.
- Not Letting the Cleaner Dwell: Spraying and scrubbing right away is usually a waste of time. The chemical needs a minute to break the soap scum bonds. Let it sit.
- Ignoring Ventilation: Cleaning in a closed-up bathroom with no exhaust fan or open window is a good way to breathe fumes and irritate your lungs. Ventilate, ventilate, ventilate!
- Using the Wrong Cleaner: Trying to remove soap scum — which is mostly mineral-based — with an alkaline degreaser made for grease won’t do much. You need an acidic cleaner to dissolve those minerals.
- Giving Up Too Soon: Heavy soap scum usually takes multiple applications and more than one round of scrubbing. It didn’t build up overnight, and it won’t disappear in one swipe. Stay after it.
Cost & Time Breakdown
| Task | DIY Cost | Pro Cost | Time |
|---|---|---|---|
| Purchase Cleaning Supplies | $5–$30 | N/A | 10–20 min |
| Initial Cleaning (Light Scum) | $0 (if supplies on hand) | N/A | 30–60 min |
| Deep Cleaning (Heavy Scum) | $10–$40 (for specialized cleaners) | $150–$300 | 1–3 hours |
| Apply Scum Repellent | $10–$25 | N/A | 15–30 min |
| Regular Maintenance | $0–$5 | N/A | 5–10 min/shower |
Tips & Prevention
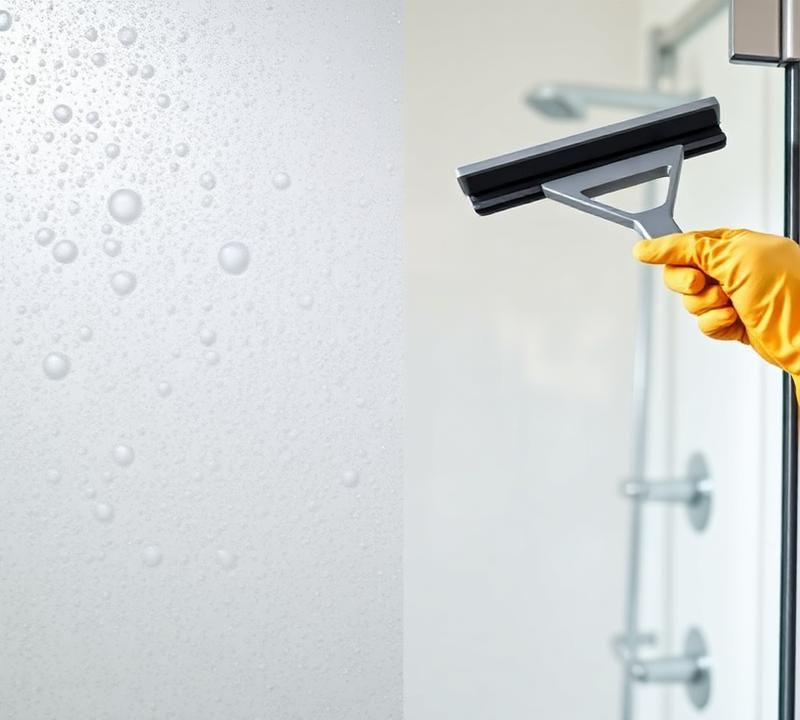
- Squeegee After Every Shower: Seriously, this is your best friend. A quick 30-second wipe-down of the walls and glass after each shower gets rid of 90% of the water and minerals before they dry and turn into scum. It’s a game-changer.
- Switch to Liquid Body Wash: If you’re a bar soap person, think about switching to a liquid body wash or a “soap-free” cleanser. These usually use synthetic detergents that don’t react as much with hard water, which cuts scum way down.
- Install a Water Softener: If hard water is a constant headache all over the house, a whole-house water softener is the real fix. It pulls minerals out of your water supply, basically wiping out soap scum and helping appliances last longer. It’s an investment, but a good one if your water’s rough.
- Apply a Shower Protector: Products like rain-x for showers or other hydrophobic coatings can make a barrier on glass and tile, so scum has a harder time sticking and comes off easier when it does. Reapply every few months as directed.
- Ventilate Properly: Always run your bathroom exhaust fan during the shower and for at least 15-20 minutes after. If you don’t have one, open a window. Less humidity means less chance for scum and mildew to take hold.
- Weekly Quick Clean: Keep a spray bottle of diluted vinegar or a mild daily shower cleaner and a scrub brush in the shower. A quick spray and scrub once a week can stop major buildup before it gets rolling.
When to Call a Professional
Look, I’m all for DIY, but there are times you’ve got to call in the pros. If you’ve got decades of thick, calcified soap scum that’s practically become part of the tile, or if you’re dealing with delicate, expensive stone surfaces like marble or travertine that need specific, pH-neutral cleaners and the right technique, it’s time to bring in a specialized cleaning service or a tile and grout restoration company. They’ve got commercial-grade equipment and chemicals that are a lot stronger than what you can buy off the shelf, and they know how to use them without chewing up your surfaces. Also, if you suspect an underlying problem like leaking grout that’s keeping the area damp all the time, that’s a handyman or tiler job, not just a cleaning job.
Related Articles
Keep troubleshooting with these hand-picked guides from FixlyGuide:
- The Invisible Scum on Your Bathtub: How to Make It Gleam Again — Is your bathtub losing its luster, even after scrubbing? That invisible layer of soap scum and mineral deposits is the culprit. Learn how t…
- The Caulk Stain That Won't Quit: Why Your Shower Stays Grimy — Is that stubborn, discolored caulk making your clean shower look perpetually dirty? It's not just surface grime; it's often mold or mildew,…
- The Deep Carpet Divots: Your Secret Weapon Against Furniture Marks — Tired of stubborn furniture indentations marring your carpet? Discover why they form and a surprisingly effective, simple method to restore…
- The Rusty Ring In Your Toilet? It's Not Just Ugly, It's a Symptom. — Stubborn rust rings in your toilet bowl are an eyesore and a sign of hard water or corroded pipes, but you can remove them with the right a…
- That Mystery Haze on Your Dishware? Your Dishwasher's the Culprit — If your 'clean' dishes come out looking cloudy, streaky, or gritty, it's not you – it's your dishwasher, and I'll show you how to fix it.
- The Secret Hairball Fix Plumbers Don't Want You to Know — Tired of standing in ankle-deep water? Most shower clogs are a gnarly mix of hair and soap scum, and you can clear them yourself without ha…
What should this project cost?
Enter your project details for a realistic cost range before you call anyone.
Mid-range remodels commonly $12,000–$22,000; small repairs often under $600.
- Regional adjustment
- National average
- Labor share (typical)
- ~$5,603
- Quotes to collect
- 3 written estimates
Educational estimate based on national averages — not a binding quote. Always confirm with written local estimates.
Get the print-ready PDF of this guide
A clean, ad-free, printable version you can keep on your phone or pin to the workshop wall. Free with a FixlyGuide account.
- Print-optimized layout
- Tools, materials & every step included
- Saved to your account
Frequently asked questions
What is soap scum made of?+
Soap scum is primarily a tough film created when minerals in hard water (like calcium and magnesium) react with the fatty acids found in traditional bar soaps and body oils. This reaction forms an insoluble residue that sticks to shower surfaces.
Is vinegar effective against soap scum?+
Yes, distilled white vinegar is highly effective against soap scum. Its acetic acid content helps dissolve the mineral deposits that form the bulk of soap scum, making it easier to scrub away. Dilute it with water for regular cleaning.
How can I prevent soap scum buildup?+
The best prevention methods include using a squeegee on shower walls and glass after every shower, switching to liquid body wash (which produces less scum), ensuring good bathroom ventilation, and regularly cleaning with a mild acidic solution.
Can I use bleach to clean soap scum?+
Bleach is generally not effective against soap scum because soap scum is primarily mineral-based, not organic matter like mold or mildew. Moreover, never mix bleach with acidic cleaners (like vinegar) as it creates dangerous toxic fumes.
What's the best way to clean soap scum from glass shower doors?+
For glass, a solution of equal parts warm white vinegar and water, applied and allowed to dwell for 15-30 minutes, followed by scrubbing with a non-scratch pad and squeegeeing, works wonders. Commercial glass-specific soap scum removers are also effective.
Why does soap scum seem to reappear so quickly?+
Soap scum reappears quickly, especially with hard water, because minerals are constantly being deposited on surfaces as water evaporates after each shower. Without immediate drying or regular maintenance, new scum layers will rapidly form.
Are there any natural alternatives to vinegar for soap scum?+
Lemon juice, due to its citric acid content, can also be used as a natural alternative to vinegar for lighter soap scum. Baking soda mixed with a little water to form a paste can also provide abrasive cleaning for scrubbing, though it's alkaline.
When should I call a professional for soap scum removal?+
If you have extremely heavy, long-standing calcified soap scum that DIY methods can't budge, or if you have delicate natural stone surfaces (like marble) that require specialized, pH-neutral cleaners, it's best to call a professional cleaning service or stone restoration expert to avoid damage.
Does using a water softener help with soap scum?+
Absolutely. A whole-house water softener removes the minerals from your water supply that contribute to soap scum formation. This significantly reduces or even eliminates soap scum buildup, making cleaning much easier.
Discussion
Loading comments…