- Inspect the Door Gasket/Seal — Look for damage or debris
- Tools: Clean cloth, mild dish soap, warm water.
- If you find dirt: Wipe it with a damp cloth and a little dish soap. Rinse it well and dry it off. Then run the paper test again.
- If you find damage: A cracked or stiff gasket needs replacing. Find the microwave’s model number — usually inside the door frame — and order the right part. That’s usually a pretty friendly DIY fix.
Plumbing · Leak
| Project category | Plumbing |
|---|---|
| Problem type | Leak |
| Trade required | Plumbing |
| Urgency | Emergency — act now |
| Safety risk | High safety risk |
| DIY suitability | DIY for experienced homeowners |
| Cost category | Low cost |
| Typical timeline | Shut water off now; repair usually same or next day |
| Contractor type | Licensed plumber |
Repair option
Isolate at the shutoff, replace the failed component, and dry the cavity fully.
Replacement option
Repipe the run or the branch when corrosion is widespread.
Common causes
- Failed supply line or shutoff valve
- Worn washers, cartridges, or P-trap connections
- Pinhole corrosion in older copper
Relevant tools:emergency checklistdiy or hire a pro
Published September 28, 2026Last updated September 28, 2026
Tools & materials you'll need
Affiliate linksAs an Amazon Associate FixlyGuide earns from qualifying purchases — at no extra cost to you. Prices and availability are accurate as of publication and subject to change.
Quick Answer
When your microwave door doesn't seal right, you've got a problem that goes past soggy popcorn. Heat's sneaking out, your food takes forever to warm up, and yeah, there’s a small chance microwave energy is escaping too. Most of the time, it’s something simple: a dirty door gasket, a hinge that’s a hair out of line, or a latch that’s worn slick. A quick paper test or the old flashlight trick’ll tell you if it’s sealing like it should, and plenty of these fixes are just cleaning or swapping a cheap part yourself.
The Problem
I’ve seen plenty of microwaves in my 25+ years on the job, and one issue homeowners miss all the time — or just brush off as “well, it’s old” — is a door that won’t seal tight. You know how it goes: leftovers come out lukewarm, or one side’s hot and the other side’s still cold. Sometimes you can even feel a little warmth leaking around the door while it’s running. That’s not just annoying. A bad door seal hits the microwave’s efficiency and, more important, its safety.
That door isn’t there just to keep your food from falling out. It’s doing a critical job containing those microwaves. If it’s letting energy out, the food won’t cook right, and in rare cases you can get a tiny amount of microwave radiation leakage. Now, don’t go panicking — most modern units have multiple safety interlocks that shut things down if the door isn’t fully latched. But even a small gap means the machine’s working harder than it should and not putting the heat where it belongs.
How It Works
Alright, let’s crack open the science behind this thing, but I’ll keep it in plain English, not some textbook nonsense. A microwave oven generates — you guessed it — microwaves. They’re a type of electromagnetic radiation, same general family as radio waves or visible light, just with a specific wavelength that gets water molecules moving and makes heat. The “oven” part is basically a Faraday cage. Think metal box. Trap the waves inside. Easy enough.
The door’s a big part of that cage. It’s not just a slab of metal; it usually has a metal screen built into the glass, with holes small enough to keep the microwaves from escaping but big enough for you to see what’s cooking. Around the door’s perimeter, there’s a gasket or seal. That’s not always just a rubber strip — a lot of times it’s a choke seal. Instead of blocking the microwaves like a wall, a choke seal creates a path that’s exactly a quarter-wavelength long, and that makes the escaping waves cancel themselves out. Clever little setup.
When you shut the door, the latch mechanism presses it firmly against the oven cavity and locks into the seal. Usually there are two or three safety interlock switches tied to the latch. Those switches tell the microwave whether the door’s fully closed and locked. If even one switch doesn’t engage, the unit won’t start, or it’ll shut off right away. That’s your main safety net. Still, if the seal’s worn or the door’s a little crooked, you can get tiny pathways for heat and maybe minute amounts of microwave energy to leak out. That’s when the machine starts acting inefficient.
Step-by-Step Fix
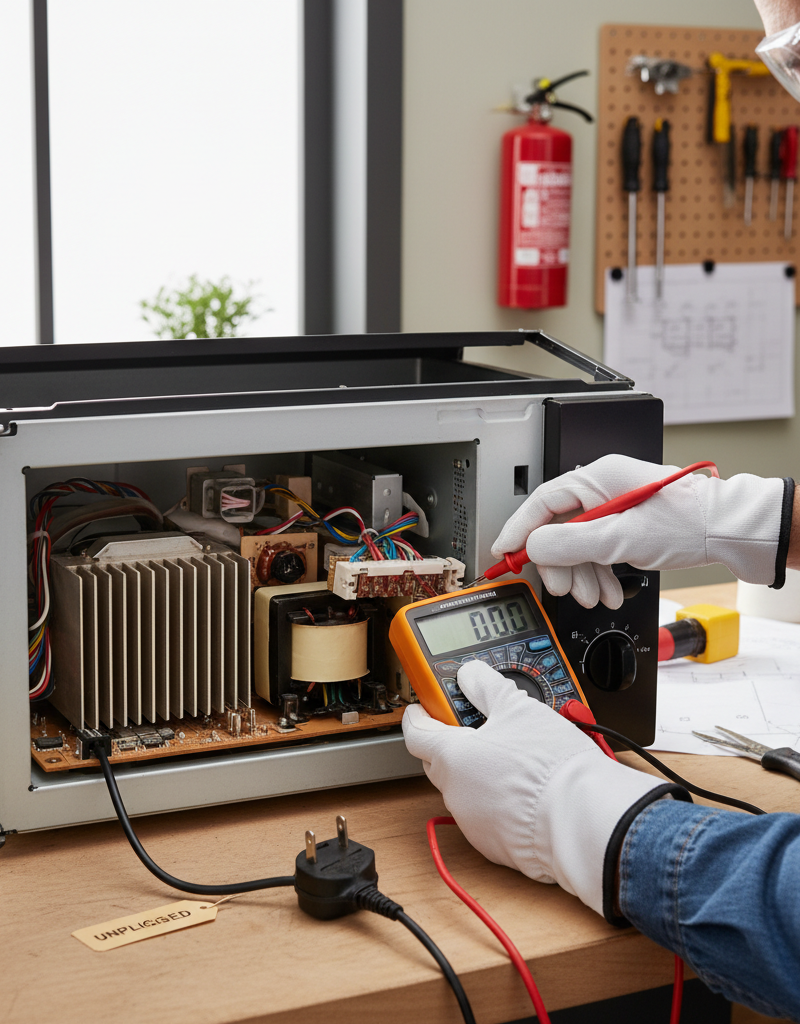
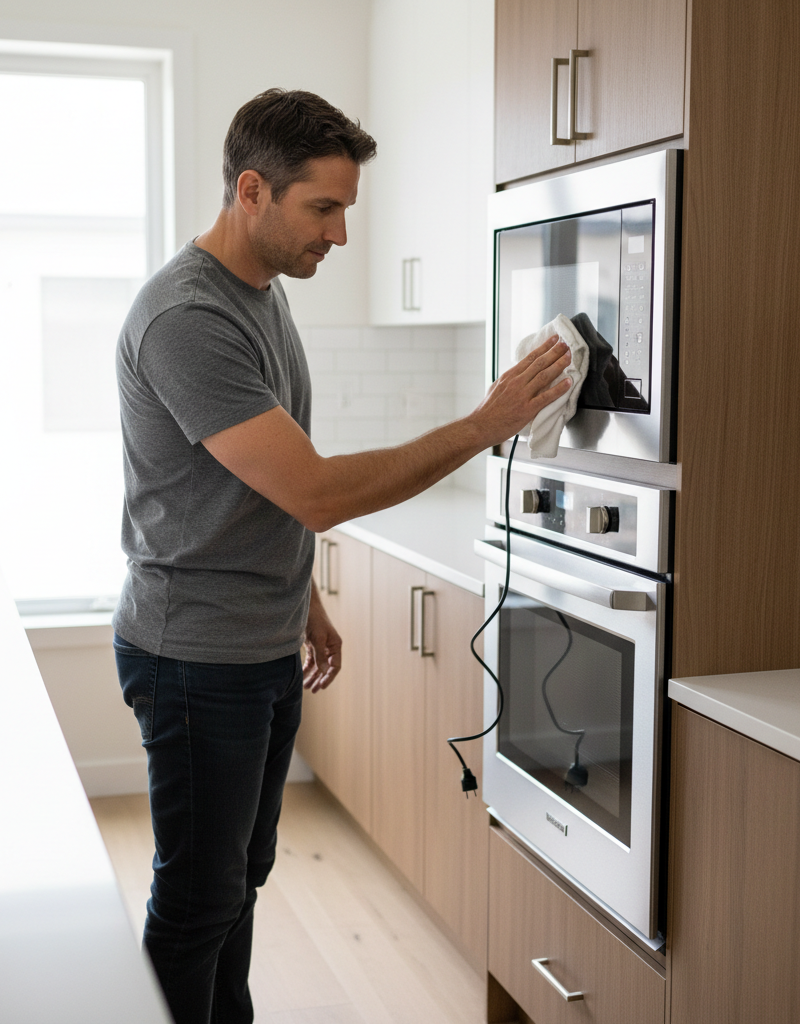
Before you touch anything, unplug that microwave. I don’t care if you’re just wiping fingerprints off it — unplug it. There’s serious voltage in these things, even when they’re “off.”
-
Perform the Paper Test — Check for obvious gaps
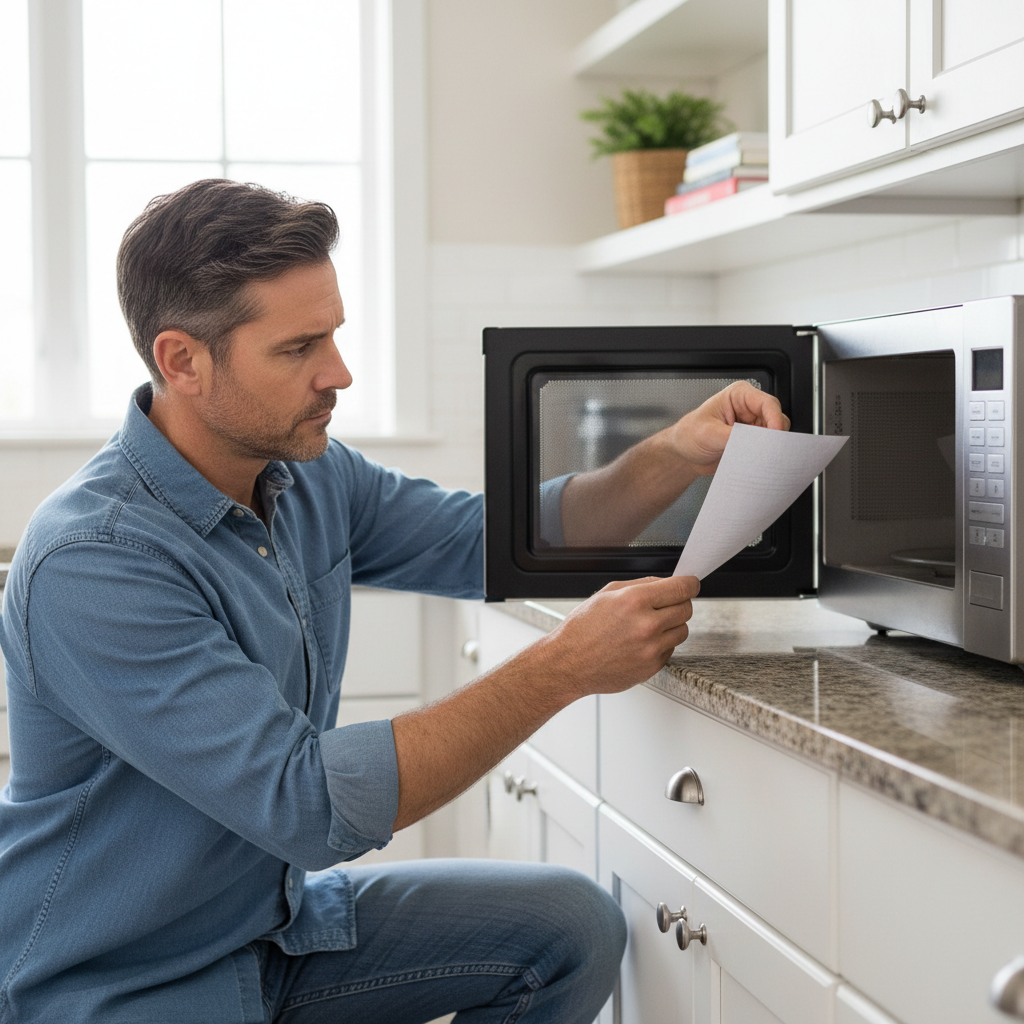
Grab a plain sheet of printer paper. Open the microwave door, slide the paper halfway in so half’s inside and half’s outside, then shut the door. Try pulling it out. If it comes out easy, or with barely any resistance, especially in a few different spots around the door, you’ve got a seal issue. Check top, bottom, and both sides. If it grabs tight, that’s a good sign. -
Inspect the Door Gasket/Seal — Look for damage or debris
With the microwave unplugged and the door open, look over the rubber or plastic gasket running around the inner edge of the door. Check for cracks, tears, hard spots, food buildup, or plain old wear. Sometimes dried-on splatter is all it takes to ruin the seal. Pay extra attention to the corners and bottom edge, where drips like to hang out.- Tools: Clean cloth, mild dish soap, warm water.
- If you find dirt: Wipe it with a damp cloth and a little dish soap. Rinse it well and dry it off. Then run the paper test again.
- If you find damage: A cracked or stiff gasket needs replacing. Find the microwave’s model number — usually inside the door frame — and order the right part. That’s usually a pretty friendly DIY fix.
-
Check the Door Hinges — Ensure proper alignment
Open the door all the way and take a look at the hinges. Bent? Loose? Hanging the door a little crooked? After years of use, or if somebody’s been slamming it, hinges can get out of line. A door that sags even a tiny bit can keep it from sealing right.- Tools: Screwdriver (Phillips or flathead, depending on your microwave).
- If loose: Snug up any visible hinge screws. Don’t crank them down and strip them. Just tighten them enough. Then re-test the seal. Sometimes you can lift the door slightly while tightening to help line it back up.
- If bent/damaged: Bent hinges are a tougher animal. They may need a pro, since replacement often means taking apart part of the cabinet.
-
Examine the Door Latches/Interlock Switches — Ensure full engagement
These are the little plastic hooks on the door that engage the switches inside the microwave cavity. Look them over for chips, cracks, or wear. Then look inside the cavity where they land. You should see little plungers or buttons — those are the interlock switches. Press them gently with your finger. Do they move smooth? Feel springy?- If latches are worn: If the door’s plastic latches are visibly worn or broken, they won’t pull the door tight against the cavity. That usually means replacing the whole door assembly, which can get pricey. Or, if you’re lucky, just the latch assembly on the door itself.
- If switches are stuck/damaged: This is where I’d tell you to stop and call it a day. Faulty interlock switches are a safety hazard. If they don’t move freely or look broken, do not attempt to fix them yourself. These are high-voltage safety mechanisms.
-
The Flashlight Test (for subtle leaks) — Confirm tight seal in darkness
If the paper test doesn’t really tell you much but you still think there’s a leak, try this. Wait until it’s dark, or kill the kitchen lights. Put a bright flashlight inside the microwave oven, aiming the beam at the door seal. Close the door and look for any light sneaking out around the edges. Even a thin sliver of light means there’s a gap, and microwaves could escape there too. This one’s often more sensitive than the paper test for small seal problems.
Common Causes
- Food Debris Buildup: The number one culprit, no question. Splattered food, especially the sugary stuff, dries into a crust around the door gasket and keeps it from sealing tight. I pulled a microwave in Frisco last month that had exactly this leak — the gasket was packed with old sauce and crumbs, and the homeowner thought the whole unit was toast.
- Worn or Damaged Gasket: Over time, the rubber or plastic seal can harden, crack, or tear, and then it stops conforming to the oven cavity like it should.
- Misaligned Hinges: Slamming the door over and over, or just plain wear and tear, can bend or loosen the hinges and pull the door out of alignment.
- Worn Door Latches: The plastic hooks that engage the interlock switches can wear down and stop pulling the door tight against the cavity.
- Manufacturer Defect (Rare): Once in a while, you’ll run into a factory defect with the door or cavity alignment, but that usually shows up early in the appliance’s life.
Common Mistakes
- Ignoring the problem: Thinking “it’s just old” and letting it ride. A microwave that’s not sealing wastes power and takes longer to cook food.
- Aggressive cleaning: Using harsh cleaners or scouring pads on the door gasket. That can chew up the material and make the problem worse.
- Forcing a misaligned door: Slamming it shut when it’s not closing easy. That just bends the hinges more or breaks the latches.
- Attempting to repair interlock switches: These are safety devices. Messing with them without training can be dangerous. Let a qualified technician handle it.
- Not unplugging the microwave: Always unplug the appliance before you inspect or work on it. There’s high voltage in there even when it’s off, especially in the capacitor.
Cost & Time Breakdown
| Task | DIY Cost | Pro Cost | Time |
|---|---|---|---|
| Cleaning Door Seal | $0–$5 | N/A | 5–10 min |
| Paper/Flashlight Test | $0 | N/A | 5 min |
| Tightening Hinges | $0 | $75–$150 | 10 min |
| Replacing Door Gasket | $15–$40 | $100–$200 | 20–30 min |
| Replacing Door Latch Assembly | $20–$60 | $120–$250 | 30–60 min |
| Door Hinge/Full Door Replacement | $50–$150+ | $150–$350+ | 60–120 min |
Tips & Prevention
- Regular Cleaning: Wipe down the inside of your microwave, especially around the door and gasket, after a few uses. Don’t let splatter dry and harden on there.
- Gentle Closing: Tell everybody in the house to close the door gently. No slamming. That’s how hinges get bent and latches get busted.
- Check the Seal Annually: Run the paper test once a year. It’s quick, and it can catch a small problem before it turns into a bigger one.
- Use Microwave-Safe Covers: Cover food while heating so you get fewer splatters and the microwave stays cleaner.
- Inspect for Wear: Take a look at the gasket and latches now and then. If you catch wear early, the fix is easier and cheaper.
- Don't Overload the Door: Don’t hang kitchen towels or heavy stuff on the handle. That puts extra stress on the hinges, and they’ll complain sooner or later.
When to Call a Professional
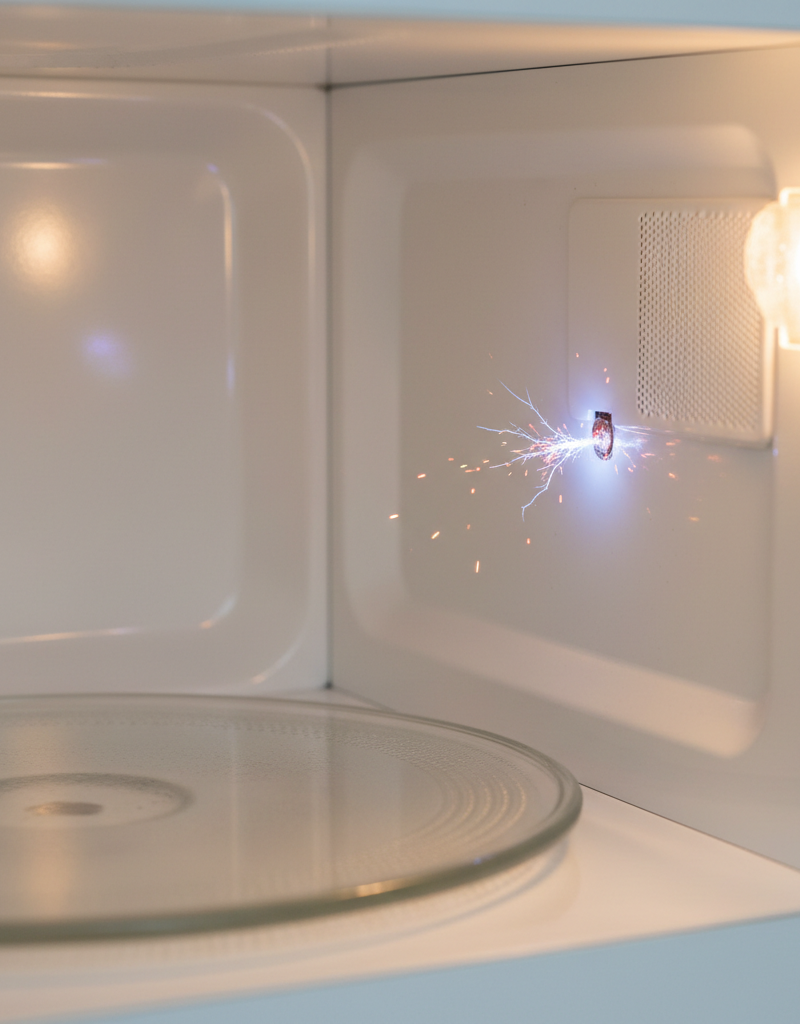
Look, some jobs are better left to the pros. If you’ve cleaned the gasket, tightened the hinges, and run both the paper and flashlight tests, and you’re still seeing gaps, or if the latches themselves look broken inside the microwave cavity — not just on the door — it’s time to bring in a qualified appliance technician. Definitely call a pro if your microwave is sparking near the door or you hear weird buzzing or arcing sounds when it’s running with a bad seal. If you suspect a problem with the internal interlock switches — the ones that keep the microwave from running with the door open — don’t touch them. Those are critical safety parts with high voltage involved, and amateur repairs can get ugly fast. A good tech can sort out alignment issues or replace the internal safety parts safely and the right way.
Related Articles
Keep troubleshooting with these hand-picked guides from FixlyGuide:
- The Surprising Reason Your Dishwasher Won't Start (It's Not Always the Door) — Don't rush to call a repairman when your dishwasher refuses to start; often, the culprit is a simple, overlooked issue you can fix yourself…
- The Mystery of the Warm Fridge: Why Your Food Is Spoiling (and When to Call a Pro) — If your refrigerator isn't keeping food cold, it could be a simple fix or a serious problem requiring a professional. Learn what to check a…
- The Real Reason Your Dishwasher Leaks (It’s Not Always the Hose) — A leaking dishwasher can be a homeowner's headache, but often the culprit isn't a failed hose, but rather a simple fix around the door or t…
- Why Your Dishwasher Leaves Dishes Soaking Wet (And It's Not Your Rinse Aid) — Discover the real reasons your dishwasher isn't drying dishes and how to fix them, from blocked vents to faulty heating elements. Don't let…
- The Buzzing Microwave: Is It a Symptom or a Fire Hazard? — A buzzing microwave can be more than just annoying; it might signal a serious issue that needs immediate attention, from a faulty magnetron…
- The 5-Minute Trick to Fix a Door That Won't Latch (No New Hardware Needed) — Discover the simple, often overlooked reason your door isn't latching and how to fix it in minutes with basic tools, no new hardware requir…
Should you do this yourself?
Answer five quick questions before you start. Safety outranks savings every time.
Your experience with work like this
How high do you have to work?
Does the job involve any of these?
Will it need a permit?
Specialty tools
Free and instant. Educational guidance only — not a quote, inspection, or professional diagnosis.
Questions to ask before you sign
Ask every contractor the same questions and the cheapest bid stops looking cheapest. Check them off as you go — your progress is saved on this device.
Free, no signup. Bring this to every walkthrough so you compare bids on the same terms.
What should this project cost?
Enter your project details for a realistic cost range before you call anyone.
Cost depends heavily on which system turns out to be the source.
- Regional adjustment
- National average
- Labor share (typical)
- ~$1,620
- Quotes to collect
- 3 written estimates
Educational estimate based on national averages — not a binding quote. Always confirm with written local estimates.
Fixly Project Decision Box
- DIY difficulty
- Advanced
- Estimated time
- Homeowner checks 20–30 minutes
- Cost level
- Moderate
Main tools / materials
- Clean air filter
- Garden hose for condenser coils
- Shop vac for the condensate line
When to stop and call a pro
- Burning smell, smoke, or a tripping breaker
- Refrigerant lines iced over or hissing
- Any work inside the sealed refrigerant circuit (EPA-licensed only)
- Gas smell near a furnace — leave and call the utility
Need professional help?
Find an HVAC Pro Near YouHandle this before it gets worse
First steps that limit damage, then a way to reach a qualified pro.
- Emergency repair checklistThe first steps that limit damage before a pro arrives.Open
- Get local estimatesSend one request and compare written estimates from vetted pros.Open
- Estimate this projectGet a cost range for your scope and ZIP before you call anyone.Open
Free, no signup required. Estimates are educational guidance, not a quote or an inspection.
Get the print-ready PDF of this guide
A clean, ad-free, printable version you can keep on your phone or pin to the workshop wall. Free with a FixlyGuide account.
- Print-optimized layout
- Tools, materials & every step included
- Saved to your account
Frequently asked questions
How do I know if my microwave door is leaking radiation?+
The most common sign is a failure to heat food efficiently, often accompanied by warmth or a very faint hum around the door seam. While home test kits exist, the simplest method is the paper test or flashlight test for air gaps. Significant radiation leaks are rare due to multiple safety interlocks that prevent the microwave from operating at all if the door is severely compromised.
Can I replace a microwave door seal myself?+
Yes, in many cases, replacing the door gasket (seal) is a straightforward DIY task. You'll need to find the correct replacement part for your specific microwave model. It often involves simply prying off the old one and pressing the new one into place, or removing a few screws.
What happens if a microwave door doesn't seal properly?+
If the door doesn't seal, microwaves can escape, leading to inefficient cooking, longer heating times, and unevenly warmed food. While modern microwaves have safety interlocks to prevent them from running if the door is open, minor seal issues can still allow small amounts of energy leakage, which can be a minor safety concern and a major efficiency killer.
Why would my microwave door not close tightly?+
Several factors can cause a loose-fitting door: food debris buildup on the gasket, a worn or damaged gasket, misaligned or bent door hinges, or worn-out plastic door latches that don't pull the door snug against the cavity.
Is it safe to use a microwave with a bad door seal?+
It's generally not recommended. While the immediate danger from small radiation leaks is often overstated, it's an efficiency issue, and using a compromised appliance isn't ideal. If the door's safety interlocks are also failing, then it becomes a significant safety hazard, and you should stop using it immediately.
How often should I clean my microwave door seal?+
You should wipe down the door seal and surrounding area every few uses, especially after food splatters. A thorough cleaning to remove any hardened debris is recommended at least once a month to ensure a proper seal and prevent damage.
Can bent hinges cause a microwave door to not seal?+
Absolutely. If the hinges are bent or loose, the door won't sit flush against the oven cavity, creating a gap where the seal should be tight. Sometimes, simply tightening the hinge screws can resolve this, but severely bent hinges might require replacement.
My microwave door latches click but the door still seems loose. What's wrong?+
If the latches click but the door still feels loose, it often indicates that the plastic latches themselves are worn down and not fully engaging the interlock switches, or they aren't pulling the door tight enough. The internal interlock switches might be fine, but the physical connection from the door is weak. You might need to replace the door's latch assembly.
Can I fix a microwave door that sags?+
A sagging microwave door is usually a sign of loose or bent hinges. You can often tighten the hinge screws to address minor sagging. If the hinges are visibly bent or damaged, they may need to be replaced, which can be a more involved repair best left to a professional if you're not comfortable with appliance disassembly.
Discussion
Loading comments…