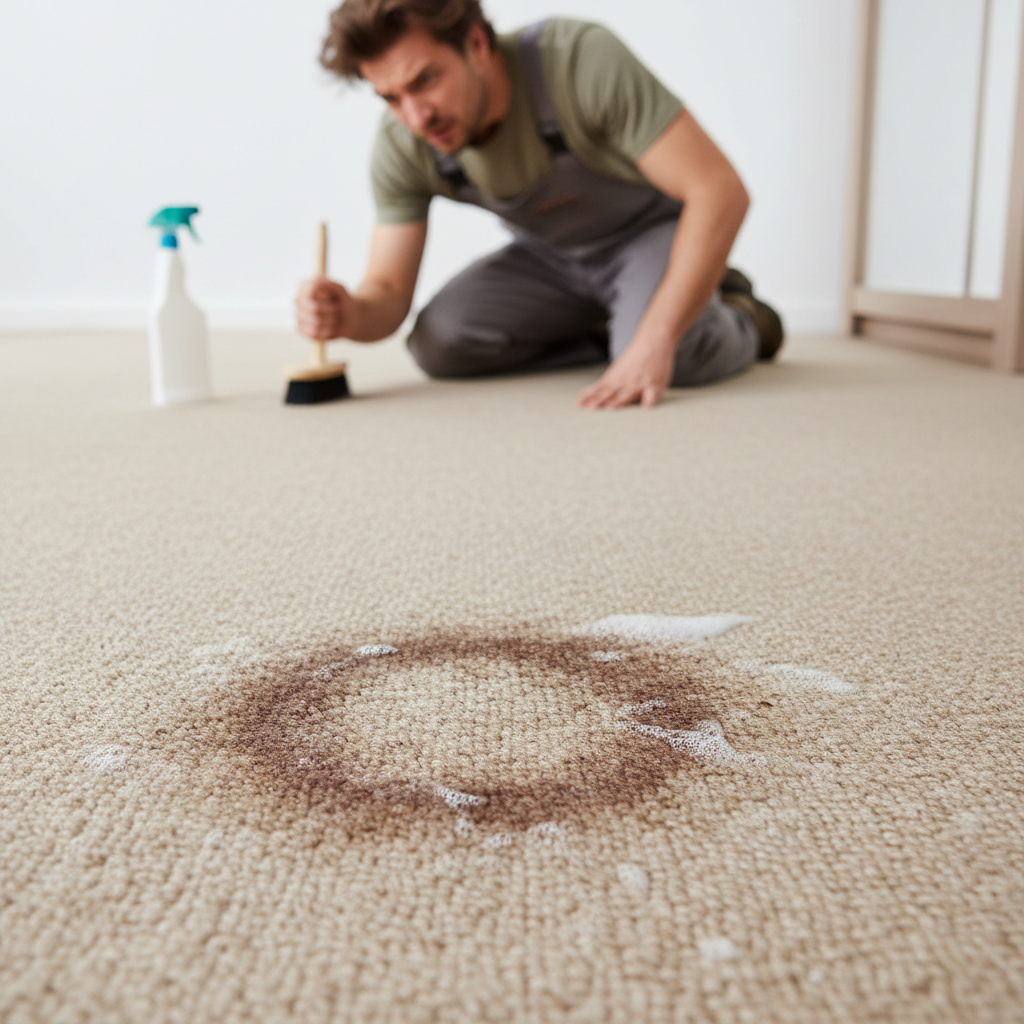
- Identify the Culprit — Before you clean, know what you’re up against.
- Tools: UV blacklight (optional, but super helpful for pet stains), your nose.
- First, figure out what made the mess. Pet accident? Coffee? Red wine? Mildew? The source tells you what cleaner to use. For pet urine, a UV blacklight in a dark room will light up dried urine spots like a road flare.
Published August 30, 2026Last updated August 30, 2026
Tools & materials you'll need
Affiliate linksAs an Amazon Associate FixlyGuide earns from qualifying purchases — at no extra cost to you. Prices and availability are accurate as of publication and subject to change.
Quick Answer
Listen, if you've ever had a carpet cleaner leave your place looking spotless, only for those old stains to creep back a few days later—or worse, a smell that just won't quit—you’re not crazy. I see it all the time. What’s usually happening is “wicking,” where dirt and leftover cleaning solution get pulled back up as the carpet dries, plus incomplete extraction that leaves odor-causing gunk behind. That’s frustrating, sure, but it’s usually fixable once you know what’s really going on.
The Problem
I’ve seen this a hundred times. Folks pay good money for a pro cleaning, or they spend their whole Saturday with a rental machine, and then they stand there staring at a dark spot that somehow reappears like it’s got a grudge. Or that funky smell you thought was gone? Yeah, it comes right back—sometimes stronger when the air gets damp. That isn’t magic, and it isn’t always a bad machine. It’s usually a mismatch between what’s in the carpet and what the cleaning actually reached.
Most people think a carpet stain lives on the surface. Nope. That spill, that pet accident, it works its way through the fibers, through the backing, and often into the pad underneath. Once you wet it again, you’re waking all that stuff back up. As it dries, moisture moves up from the bottom and carries dirt, soap, pet dander, whatever else is down there—right back to the top. That’s wicking. Plain as day.
And odors? If you don’t get the source material out, the bacteria keep eating and keep putting out stink. Same story with mildew after a damp spot. It’s like trying to put out a campfire by kicking dirt over the flames—the heat’s still there underneath. I pulled a water heater in Frisco last month that had exactly this kind of hidden moisture issue nearby, and the smell was doing the same old comeback tour.
How It Works
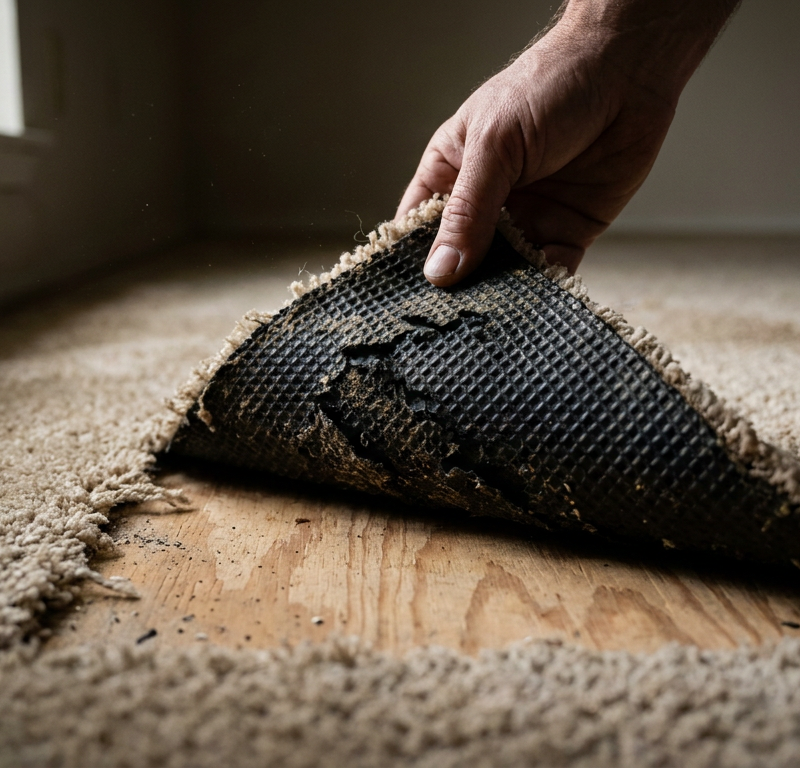
To really fix stains and smells that keep returning, you’ve got to understand the carpet structure a little bit. Most residential carpet is synthetic stuff like nylon or polyester, or sometimes wool. Those fibers act a lot like tiny sponges. They’re attached to a primary backing, then that’s glued to a secondary backing, and under all of it sits the padding—usually foam or rubber.
When a spill hits, gravity does what gravity does. It doesn’t just sit there politely. Liquid drops through the fibers, past the backings, and into the pad. Think of a coffee filter. Some stuff stays put, but a lot of liquid goes through carrying junk with it.
Hot water extraction—what most people call steam cleaning, even though it’s not really steam—pushes hot water and detergent down into the carpet, then tries to suck it back out. Good idea. Trouble starts when the pressure’s too high or the suction’s weak. Then you’re just driving the mess deeper and leaving soap behind. And soap residue is a dirt magnet. No dice.
With odors, it’s usually organic material down in the carpet. Pet urine, food spills, mildew from moisture—those all feed bacteria. The bacteria break the material down and release volatile organic compounds, which is what your nose reads as stink. Soap and water might hide it for a minute, but they don’t always destroy the source. That’s why enzyme cleaners matter. They break down the organic stuff. Oxidizers change it chemically. Either way, you’ve got to get it out of the carpet, not just move it around. If moisture stays trapped, you’ve got a warm little breeding ground for mold and more odor. And that’s a headache nobody wants.
Step-by-Step Fix
Alright, let’s get to it. If the stain keeps coming back or the smell won’t leave, here’s the way I tell homeowners to handle it. This isn’t a five-minute spray and pray deal. It takes some patience, but it works.
-
Identify the Culprit — Before you clean, know what you’re up against.
- Tools: UV blacklight (optional, but super helpful for pet stains), your nose.
- First, figure out what made the mess. Pet accident? Coffee? Red wine? Mildew? The source tells you what cleaner to use. For pet urine, a UV blacklight in a dark room will light up dried urine spots like a road flare.
-
Pre-Treat with an Enzyme Cleaner (for organic stains/odors) — Break down the funk.
- Materials: High-quality enzymatic cleaner (specifically labeled for pet odors/stains if applicable).
- Put it on generously. Don’t just give it a little mist and call it a day. You need enough product to reach the same depth as the original spill. That means the fibers, the backing, and often the padding. Follow the dwell time on the bottle—usually 15-30 minutes—so the enzymes can do their thing. Don’t let it dry out while it sits. If it starts flashing off too fast, mist it again lightly.
- Safety: Always test cleaners in an inconspicuous spot first to check for colorfastness. Wear gloves if directed by the product label.
-
Blot, Don't Rub — Lift, don't spread.
- Materials: Clean, white microfiber cloths or old towels.
- After the dwell time, blot up as much of the cleaner and loosened stain source as you can. Use a white cloth so you can see what’s coming out. Stand on it if you need more pressure. Keep turning it to a clean section until it stops pulling up moisture or discoloration. Never rub. That just drives it deeper and can fuzz up the carpet.
-
Rinse Thoroughly (with plain water) — Get that gunk out.
- Materials: Spray bottle with plain, lukewarm water, clean microfiber cloths.
- This is the part a lot of DIYers miss, and I’ve seen plenty of “pros” skip it too. If you leave cleaner behind, it dries sticky and starts grabbing dirt. Lightly mist the spot with clean, lukewarm water. Don’t soak it again—just wet the fibers enough to flush them. Then blot right away with fresh, dry cloths until you’re not pulling out anything else.
-
Use a Wet/Dry Vac (if available, for larger areas) — More power to you.
- Tools: Wet/dry shop vacuum (with crevice tool or upholstery attachment).
- For bigger or really soaked areas, a wet/dry vac is a lifesaver. After the enzyme cleaner has sat, use the vac to pull out as much liquid as possible. Then rinse with a small amount of clean water and suck that back out right away. Do that rinse-and-extract cycle a few times until what you’re pulling up looks clean. That works a whole lot better than just patting at it with towels.
- If you don't have a wet/dry vac: Go heavy on the blotting with towels, applying significant pressure.
-
Accelerate Drying — The faster, the better.
- Tools: Fans, dehumidifier, open windows.
- This step matters. A lot. You don’t want mold, mildew, or fresh odors setting up shop. Aim fans right at the wet area. Run a dehumidifier if you’ve got one, especially in sticky weather like when I was chasing a mildew smell in an old Victorian in Alameda back in '98—the whole place had to dry out before anything else made sense. Open windows if the weather allows and get some cross-ventilation moving. Dry time should ideally be 12-24 hours. The slower it dries, the better the odds of wicking or new bacterial growth.
-
Post-Treatment Inspection — Check your work.
- Tools: Your eyes and nose.
- Once it’s fully dry—give it a full 24-48 hours—check the spot again. Is the stain gone? Is the smell still hanging around? If you still see a shadow or catch a whiff, odds are you didn’t pull out all the original material, or you left residue behind. Don’t panic. Repeat steps 2-6. Badly contaminated areas sometimes need a second pass, or even a third.
-
Consider a Professional with Sub-Surface Extraction — When DIY isn't enough.
- Tools: Professional carpet cleaning equipment (e.g., subsurface extractor).
- If you’ve done all this and the problem’s still there—especially with pet odors—it’s time to bring in a pro. A good one will have sub-surface extraction gear that can flush and pull moisture from the padding, not just the carpet fibers. They’ll also have stronger enzymes and deodorizers than the stuff on a store shelf. That’s the difference on stubborn jobs that ran deep.
Common Causes
- Wicking: This is the big one for stains that come back. You clean the surface, but moisture in the lower layers pulls embedded dirt and residue back up as it dries.
- Incomplete Extraction: If the dirty water and cleaners don’t get pulled out all the way—whether it’s a rental unit or a weak pro machine—they stay behind and act like a dirt trap.
- Not Treating the Source: Pet accidents are the classic example. If urine made it into the pad or subfloor, surface cleaning alone won’t touch the odor source.
- Using the Wrong Cleaner: Some all-purpose cleaners leave sticky residue. Others are just too harsh and can set a stain or damage the fibers.
- Over-wetting: Too much water without enough extraction can drive stains deeper, stretch dry time way out, and open the door for mold and mildew.
- Leaving Soap Residue: A lot of detergents don’t rinse clean. That leftover soap grabs dirt fast, and your carpet looks dirty again before you know it.
Common Mistakes
- Over-applying detergent: More soap doesn’t mean better results. It usually means more residue, more stickiness, and more dirt sticking to the spot. Stick to the recommended mix, or even a little less, and rinse well.
- Rubbing stains: That pushes the mess deeper into the fibers and can flatten or fuzz the pile. Bad move.
- Not blotting enough: You’ve got to get the moisture out. Stack the towels, stand on them, swap them out, repeat. The drier you get it, the less wicking you’ll see.
- Skipping the rinse step: A lot of machines have a rinse setting for a reason. If you’re using a spray bottle and towels, you still need plain water and a real blot-out.
- Ignoring the dry time: Wet carpet is a science experiment nobody asked for. Use fans and dehumidifiers and get it dry.
- Using ammonia or vinegar on pet stains without follow-up: Those can knock down some odor for a bit, but they don’t break down the organic material. If you use them, you still need a proper rinse and an enzyme treatment. Otherwise, you’re just covering up the problem.
Cost & Time Breakdown
Here's a rough idea of what you're looking at for a typical recurring stain or odor area (say, a 2x2 foot section).
| Task | DIY Cost ($) | Pro Cost ($) | Time (minutes) |
|---|---|---|---|
| Assess & Pre-treat (Enzyme) | $15–$30 | N/A | 20–30 |
| Blotting & Rinsing (Manual) | $5–$10 | N/A | 30–60 |
| Extract (Wet/Dry Vac) | $0–$10 (rent) | N/A | 30–45 |
| Accelerated Drying | $0–$5 | N/A | 60–120+ |
| Repeat Treatments (if needed) | $0–$15 | N/A | 60–120 |
| Professional Spot Treatment | N/A | $100–$250 | 45–90 |
Note: Professional whole-house carpet cleaning varies greatly by square footage and region, typically $150–$600+. Many pros will charge a minimum call-out fee even for a single spot.
Tips & Prevention
- Act Fast: The quicker you get to a spill, the less chance it has to sink into the pad. Blot it right away with a clean cloth.
- Blot, Don't Rub, Again: I know, I’m repeating myself. There’s a reason. Blot. Don’t scrub. Rubbing ruins fibers and drives the stain deeper.
- Use Protectors: A professional carpet protector like Scotchgard can help, especially in busy rooms or homes with kids and pets. It gives the fibers a little shield, and that helps a lot when spills happen.
- Regular Vacuuming: Vacuum daily or every-other-day in high-traffic spots. That gets the dry grit out before it gets ground in or turns into food for bacteria.
- Quality Mats: Put good mats at every entry point. They catch dirt and moisture before it gets tracked in. A decent mat can cut down soil transfer by a good 70-80%.
- Maintain Your Cleaning Equipment: If you own a carpet cleaner, keep the brushes, recovery tank, and nozzles clean. Clogged jets or filthy brushes just smear the mess around.
- Professional Cleaning Schedule: Even if you’re on top of it at home, I’d still suggest a pro deep clean every 12-18 months for moderate traffic, and every 6-12 months if you’ve got pets or a busy house. They’ve got the muscle and the gear to reach the deep-down dirt you can’t.
When to Call a Professional
Look, some jobs are just too big or too nasty for even a determined DIYer. If you’ve got a strong odor that covers a large area—especially after repeated pet accidents—a pro may be the only real fix. They’ve got truck-mounted extraction units that pull out a lot more moisture and grime than a rental machine, plus sub-surface tools that can flush the padding. Same story if you suspect mold or mildew from a long-term leak, or if an old stain has already been set by previous cleaning attempts. Don’t risk permanent damage or health issues trying to brute-force a problem that’s already deep.
FAQ
Q: Why do my carpet stains keep coming back after cleaning? A: This is usually due to
Related Articles
Keep troubleshooting with these hand-picked guides from FixlyGuide:
- The Secret to Banishing Old Pet Odors (Even When You Can't Find the Stain) — Don't let hidden pet accidents ruin your home's fresh scent; this guide reveals how to find and eliminate old pet odors and their invisible…
- The Caulk Stain That Won't Quit: Why Your Shower Stays Grimy — Is that stubborn, discolored caulk making your clean shower look perpetually dirty? It's not just surface grime; it's often mold or mildew,…
- The Mystery Smell: Why Your Fridge Stinks (Even After Cleaning It) — That persistent, foul odor in your refrigerator isn't just gross; it's often a sign of hidden issues. Learn the real culprits behind linger…
- The Rusty Ring In Your Toilet? It's Not Just Ugly, It's a Symptom. — Stubborn rust rings in your toilet bowl are an eyesore and a sign of hard water or corroded pipes, but you can remove them with the right a…
- The Grimy Secret Behind Your Dull Bathroom Faucet — And How to Make It Shine — Discover the real culprit behind your bathroom faucet's dull, grimy appearance and how to quickly restore its shine with a few common house…
- The 3 Hidden Reasons Your Sprinkler Head Won't Pop Up (And How to Fix It FAST) — Discover the most common reasons your sprinkler head isn't popping up and follow our step-by-step guide to quickly diagnose and fix the iss…
What should this project cost?
Enter your project details for a realistic cost range before you call anyone.
Cost depends heavily on which system turns out to be the source.
- Regional adjustment
- National average
- Labor share (typical)
- ~$1,620
- Quotes to collect
- 3 written estimates
Educational estimate based on national averages — not a binding quote. Always confirm with written local estimates.
Get the print-ready PDF of this guide
A clean, ad-free, printable version you can keep on your phone or pin to the workshop wall. Free with a FixlyGuide account.
- Print-optimized layout
- Tools, materials & every step included
- Saved to your account
Frequently asked questions
Why do my carpet stains keep coming back after cleaning?+
This is usually due to "wicking," where dirt, grime, and cleaning solution residue that soaked into the carpet backing and padding get drawn back up to the surface as the carpet dries. Incomplete extraction is also a major culprit, leaving sticky residue behind.

Discussion
Loading comments…