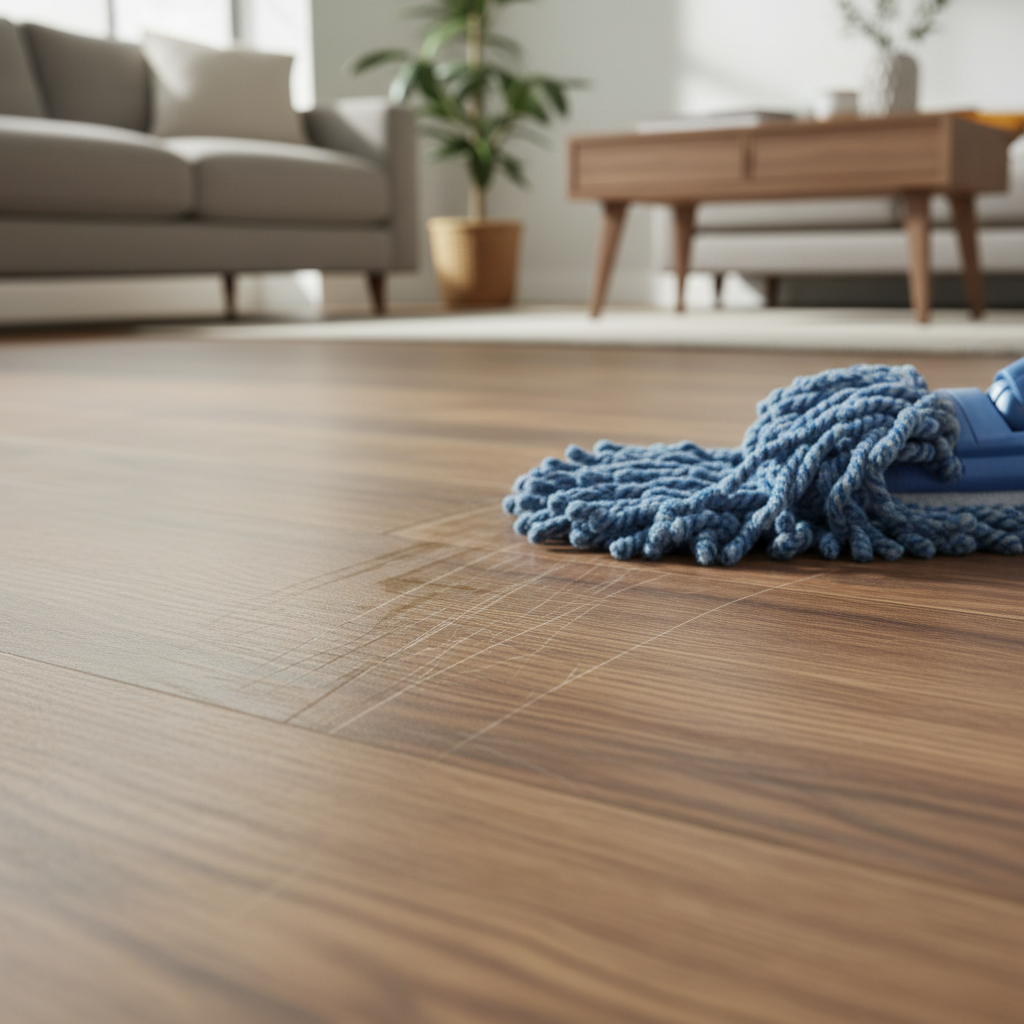
- Abrasive Grit: The big one. Fine sand, dirt, and dust act like sandpaper underfoot or when a mop pushes them around, slowly chewing through the wear layer.
- Wrong Cleaning Products: Harsh chemicals — ammonia, bleach, oil-based cleaners, abrasive cleansers — can strip the protective finish and leave the LVP softer and more likely to scratch and dull.
- Over-Wet Mopping: Too much water during mopping or using steam cleaners can mess up seams, lead to adhesive failure, and weaken the wear layer over time, which brings on micro-cracks and dull spots.
- Improper Mop Heads: Cotton string mops often just shove grit around and can be rough on the surface. Microfiber’s usually the better call.
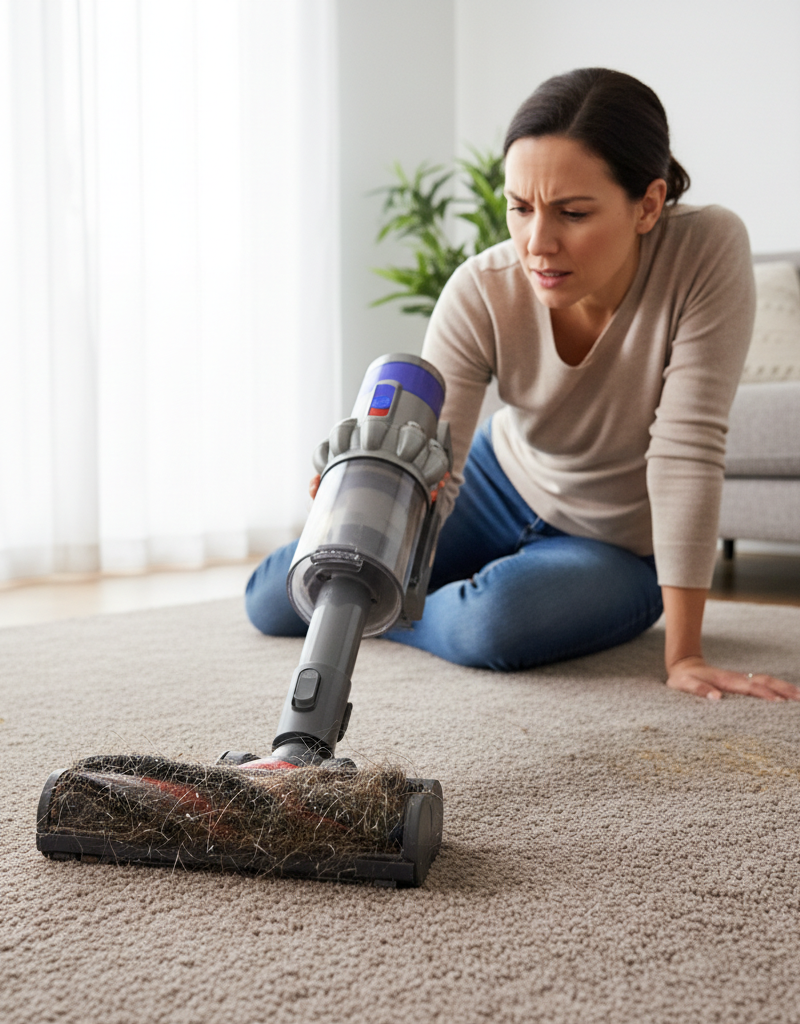
- Vacuum Beater Bars: Running a vacuum with a rotating brush or "beater bar" right on LVP can leave a mess of fine scratches.
Flooring · Water damage or worn flooring
| Project category | Flooring |
|---|---|
| Problem type | Water damage or worn flooring |
| Trade required | Flooring |
| Urgency | Soon — within weeks |
| Safety risk | Low safety risk |
| DIY suitability | DIY for experienced homeowners |
| Cost category | Moderate cost |
| Typical timeline | 2–5 days depending on square footage and cure time |
| Contractor type | Flooring installer |
Repair option
Board replacement or refinishing after the moisture source is fixed.
Replacement option
Full replacement when the subfloor is compromised.
Common causes
- Moisture from a leak or slab vapor
- Subfloor movement
- Normal wear past refinishing
Relevant tools:project cost estimatordiy difficulty
Published September 21, 2026Last updated September 21, 2026
Tools & materials you'll need
Affiliate linksAs an Amazon Associate FixlyGuide earns from qualifying purchases — at no extra cost to you. Prices and availability are accurate as of publication and subject to change.
Quick Answer
Ever stare at your LVP flooring in the right light and just see a million tiny scratches that weren't there a few months ago? You’re not losing your mind, and it’s probably not just normal foot traffic either. Most times, those hairline scratches and that dull, tired look come from the way the floor’s getting cleaned. Tiny abrasive particles, harsh chemicals, even the wrong mop — they all wear on that protective top layer a little at a time, and before you know it, your nice LVP looks beat up way too early. I’ve seen it over and over. Folks think they’re helping, but they’re scratching the floor a little every time they clean.
The Problem
Luxury Vinyl Plank (LVP) flooring is tough stuff, built to take a beating. That’s why everybody likes it, right? But here’s the deal: it’s not bulletproof, especially that top wear layer. That thin, clear skin is your LVP’s main defense against scratches, scuffs, and fading. When you notice dullness or those maddening “invisible” scratches that only show up when the light hits just right, what you’re really seeing is damage to that wear layer. It’s not always a deep gouge from a dropped tool. More often, it’s just a pile-up of tiny abrasions. Kind of like sanding a finish down, only real slow, over months or years. And if you’re not careful, your cleaning routine — the thing that was supposed to protect your investment — turns into the main thing hurting it.
How It Works
LVP flooring is a layered product, and it’s built for looks and durability. At the core, you’ve got a rigid or flexible layer, often made from PVC or a stone plastic composite (SPC), and that’s what gives it stability. On top of that is a high-definition print layer that copies wood or stone, and then you’ve got the clear wear layer that really does the heavy lifting. That wear layer is usually clear PVC, urethane, or acrylic, and it’s factory-applied with a UV-cured topcoat. It gets rated by thickness, usually in mils, which is a thousandth of an inch. Residential LVP usually runs from 6 to 12 mils, while commercial grades can go up to 28 mils or more.
That wear layer is there to shrug off scuffs and light scratches so the decorative print layer underneath stays protected. But it’s not magic. Walk across the floor enough and microscopic grit — sand, dust, tiny soil particles — gets dragged in and works like sandpaper. If your cleaning method doesn’t get that grit off before you start mopping or scrubbing, you’re grinding it right into the finish. Picture sweeping a dusty garage floor and hearing that gritty scrape under the broom. Same idea, just on a much finer scale with your LVP. Harsh chemicals can also soften the wear layer over time, which makes scratching easier. And steam cleaners? They sure look convenient, but that heat and moisture can be trouble. LVP is water-resistant, sure, but too much heat can mess with the adhesive between layers or even warp the core, which can lead to micro-cracks and early wear on that protective surface.
Step-by-Step Fix
Want to get your LVP looking sharp again and stop those invisible scratches from getting worse? Here’s how I handle it, and what I tell clients.
-
Prep the Floor Right — No cutting corners here. Before you do any wet cleaning, you’ve got to get every bit of loose grit off the floor. Dust, sand, pet hair, all of it. Use a soft-bristle broom or, better yet, a vacuum with a hard-floor attachment. Just make sure that vacuum head doesn’t have a beat bar spinning on bare LVP — that’s asking for trouble. My go-to’s usually a microfiber dust mop, about 18-24 inches at a pass, because it picks up the junk without scratching the finish.
-
Choose Your Cleaner Wisely — Not all cleaners are created equal. Skip the harsh stuff like ammonia, bleach, or oil-based cleaners; they’ll mess with the finish and make dirt stick faster. Use a pH-neutral cleaner made for LVP or vinyl. For everyday cleaning, a simple mix of a gallon of warm water with a capful of white vinegar (about 1/4 cup) does a solid job. If you’ve got greasy spots, a little dish soap — just a teaspoon in a gallon of water — can help, but don’t leave it behind.
- Tool Tip: Always read the label. If it says "no-wax" or "for vinyl/LVP," you’re usually in the clear.
-
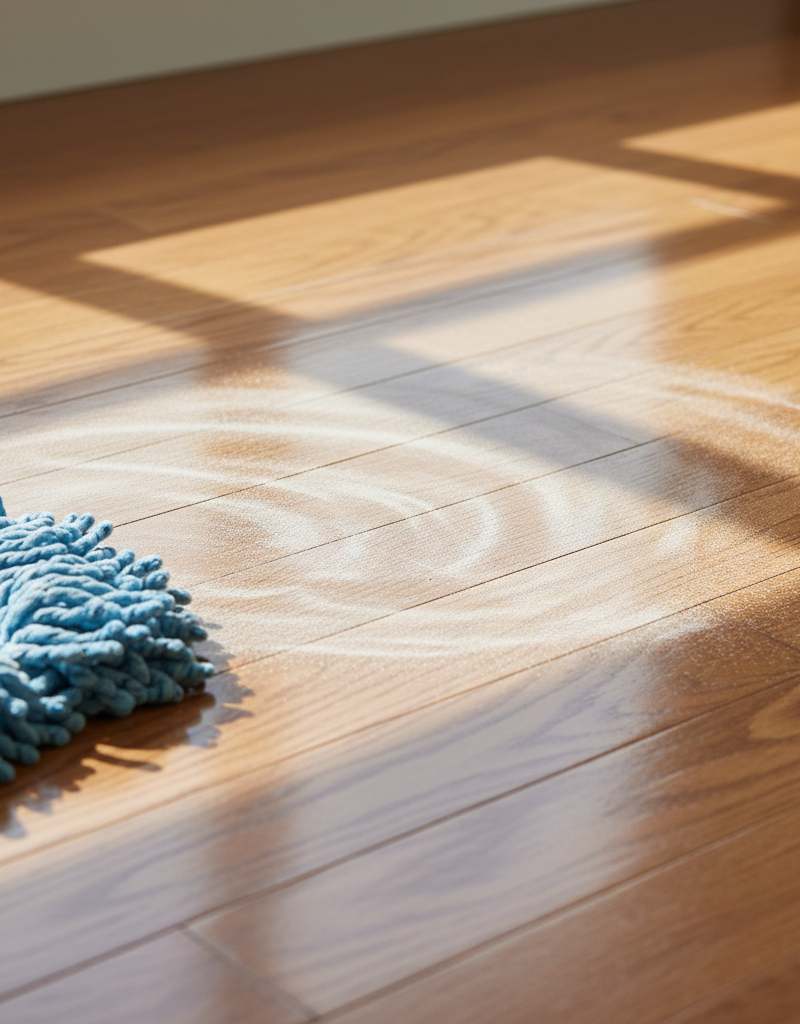
Damp Mop, Don't Drown — Less is definitely more. This is where a lot of people go sideways. You’re not mopping a garage. Use a microfiber mop — they’re gentle and they hold onto dirt well. Wring it out thoroughly. It should be damp enough to leave a thin film that dries in 30-60 seconds, not so wet you’re leaving puddles. Too much water can work its way into seams, weaken the adhesive over time, and cause edge curl or delamination, which then traps more grit.
- Safety Note: A slightly damp floor is a whole lot less slippery than a wet one.
-
Work in Sections — Systematic cleaning is efficient cleaning. Start in one corner and back your way toward the exit. Mop small, overlapping sections, maybe 5x5 feet at a time. That way you’re always working over a clean area, not dragging dirt around, and you’re less likely to miss spots. Rinse the mop head often in a separate bucket of clean water, or swap out the microfiber pads if you’re using a flat mop.
-
Tackle Stubborn Marks Gently — Elbow grease, not harsh chemicals. For scuff marks — usually from shoes — a little rubbing alcohol on a soft cloth can do the trick. For crayon or ink, mineral spirits on a cotton ball, used sparingly, usually works fine. Test it somewhere out of the way first. Don’t reach for abrasive scrubbers or steel wool; they’ll chew up your LVP in a hurry.
-
Rinse Thoroughly (If Needed) — Don't leave residue behind. If you used dish soap or a commercial cleaner, a light rinse with a clean, damp mop — wrung out with plain water — can help keep residue from building up. Residue pulls in dirt and leaves that hazy, dull look, which gives you more friction points for scratching. It also helps keep streaks out of the picture.
-
Dry Immediately — Don't let water sit. Even though LVP is water-resistant, you don’t want puddles hanging around. If the floor isn’t drying on its own after damp mopping, hit it with a dry microfiber cloth or crack a window to move the air. That keeps water spots down and helps protect the seams.
-
Regular Maintenance — Consistency is key. Sweep or vacuum daily in high-traffic spots and entryways if you can swing it. That’s your best defense against gritty junk. For general cleaning, damp mop about once a week, and only deep clean when you really need to. Less wet cleaning means fewer chances to create problems.
-
Protect Entryways — Stop dirt before it starts. Put decent walk-off mats at every exterior door. I mean mats with a rough enough surface to scrape dirt off shoes, not just a pretty rug that looks nice. These mats can trap up to 80% of the dirt and moisture that’d otherwise get hauled onto your LVP, which cuts way down on the abrasive mess.
-
Furniture Protection — Don't drag; lift. Lift furniture when you move it. Don’t drag it. For the legs, use felt pads — not the cheap sticky ones that peel off next week, but good adhesive-backed felt pads that get replaced every 6-12 months. Plastic or rubber feet can scuff or discolor LVP too, so check those while you’re at it. I pulled a water heater in Frisco last month that had exactly this kind of floor damage around a laundry area — looked like somebody had been dragging a shop chair across it for years.
Common Causes
- Abrasive Grit: The big one. Fine sand, dirt, and dust act like sandpaper underfoot or when a mop pushes them around, slowly chewing through the wear layer.
- Wrong Cleaning Products: Harsh chemicals — ammonia, bleach, oil-based cleaners, abrasive cleansers — can strip the protective finish and leave the LVP softer and more likely to scratch and dull.
- Over-Wet Mopping: Too much water during mopping or using steam cleaners can mess up seams, lead to adhesive failure, and weaken the wear layer over time, which brings on micro-cracks and dull spots.
- Improper Mop Heads: Cotton string mops often just shove grit around and can be rough on the surface. Microfiber’s usually the better call.
- Vacuum Beater Bars: Running a vacuum with a rotating brush or "beater bar" right on LVP can leave a mess of fine scratches.
- Lack of Entryway Mats: No mats, or junky mats, means all the outdoor grit gets tracked straight onto your floors.
- Dragging Furniture: Moving heavy stuff without lifting it, or using furniture without proper felt pads, can leave deep gouges and obvious scratches.
Common Mistakes
- Using a Steam Mop: A lot of LVP makers flat-out warn against steam mops. The heat can damage the wear layer and core, and the steam can force moisture into seams.
- Skipping the Dry Sweep/Vacuum: If you jump straight to wet mopping without getting the loose debris first, you’re just grinding dirt into the floor instead of cleaning it.
- Applying Floor Polish/Wax: LVP doesn’t need wax. Put it on there and you can end up with a sticky, dull film that’s a bear to remove and actually makes the floor more likely to trap dirt and scratch.
- Using Abrasive Cleaners or Tools: Scouring pads, steel wool, or gritty cleansers will scratch that nice LVP finish, no question.
- Ignoring Spills: Letting acidic or staining spills — juice, wine, pet accidents, you name it — sit too long can etch the wear layer or stain it up.
- Using a "Wet Swiffer" or similar pre-moistened pads: Those often leave residue behind, and they don’t pick up enough grit to keep scratches from happening.
Cost & Time Breakdown
Here’s a quick look at what you might spend if you’re handling those LVP scratches yourself versus hiring a pro for a deep clean and some maintenance advice. Just keep in mind, pros won’t 'fix' existing wear layer scratches, but they can improve the overall look and help you avoid making things worse.
| Task | DIY Cost | Pro Cost | Time |
|---|---|---|---|
| Initial Cleaning Supplies (mop, cleaner) | $20–$50 | Included | 1–2 hours |
| Regular Maintenance Supplies (mats, pads) | $30–$70 | N/A | Ongoing |
| Deep Cleaning (spot treatment, specific cleaner) | $15–$30 | $150–$300 | 2–4 hours |
| Wear Layer Repair (minor kits, often ineffective) | $25–$75 | N/A | 1–2 hours |
| Professional LVP Cleaning & Sealing | N/A | $200–$500 | 3–6 hours |
| LVP Replacement (for severe damage) | $1.50–$5 per sq ft (material) | $4–$10 per sq ft (installed) | Days |
Tips & Prevention
- Routine Dust Mopping: A quick pass with a microfiber dust mop every other day, especially in entryways and hallways, goes a long way. I tell people it’s like brushing your teeth — little and often.
- Trim Pet Nails: Keep those claws trimmed. Sharp pet nails are prime suspects for micro-scratches.
- Use the Right Mop: Buy a good microfiber flat mop with washable pads. You’ll save money on disposable pads and clean better without scratching.
- Consider a Floor Protector: In really high-traffic areas or under rolling chairs, a clear non-slip floor protector mat can save your LVP from concentrated wear.
- Annual Deep Clean: Once a year, give the floor a real deep clean and clear out any built-up residue. It can bring back some shine and help you spot trouble early.
- Test New Products: Always, always test a new cleaning solution in a hidden spot — closet, under a rug, somewhere nobody’s looking — before you put it on the whole floor.
When to Call a Professional
Look, I’m all for DIY, but sometimes it’s smarter to wave the white flag and bring in a pro. If you’ve got widespread dullness or visible scratches over a large area that won’t budge with normal cleaning, a professional LVP cleaning company might be able to help. They’ve usually got specialized equipment and non-abrasive cleaners that can knock down deep-seated grime and residue, and sometimes they’ll apply a sacrificial coating that can temporarily improve the look of minor surface scratches. But don’t kid yourself — wear layer damage is mostly permanent. Once those scratches are there, they’re there. If your LVP is badly delaminated, badly warped, or has deep gouges that go through the print layer, it’s time to talk to an LVP installation specialist. They can tell you whether a few planks can be swapped out or if you’re looking at full replacement.
Related Articles
Keep troubleshooting with these hand-picked guides from FixlyGuide:
- The Mystery Smell: Why Your Fridge Stinks (Even After Cleaning It) — That persistent, foul odor in your refrigerator isn't just gross; it's often a sign of hidden issues. Learn the real culprits behind linger…
- The Invisible Film Making Your Bathroom Mirror Streaky – And How to See Clearly — Discover why your bathroom mirror always looks streaky, even after cleaning, and learn the pro trick to get a perfectly clear, fog-free ref…
- The Grimy Secret Under Your Stove — And How to Scrape It Clean — Discover the hidden culprit behind kitchen odors and pests: the neglected grease and food debris under your stove. Learn my proven method t…
- The Invisible Carpet Dirt Trap: Why Your Vacuum Fails You — Discover why your vacuum cleaner might be missing hidden dirt and debris, leaving your carpets looking dull and feeling gritty.
- The Grimy Secret Behind Your Dull Bathroom Faucet — And How to Make It Shine — Discover the real culprit behind your bathroom faucet's dull, grimy appearance and how to quickly restore its shine with a few common house…
- The Mystery of the Vanishing Air: Why Your HVAC Stops Blowing After 10 Minutes — Discover the hidden culprits behind your HVAC system stopping short after just 10 minutes of operation and learn how to fix them yourself.
What should this project cost?
Enter your project details for a realistic cost range before you call anyone.
Cost depends heavily on which system turns out to be the source.
- Regional adjustment
- National average
- Labor share (typical)
- ~$1,620
- Quotes to collect
- 3 written estimates
Educational estimate based on national averages — not a binding quote. Always confirm with written local estimates.
Get the print-ready PDF of this guide
A clean, ad-free, printable version you can keep on your phone or pin to the workshop wall. Free with a FixlyGuide account.
- Print-optimized layout
- Tools, materials & every step included
- Saved to your account
Frequently asked questions
Can you buff out scratches on LVP?+
For very superficial scuffs, sometimes a dry melamine foam eraser can lightly buff them out, or specialized LVP repair kits might offer a temporary cosmetic improvement. However, deep scratches that penetrate the wear layer usually can't be truly buffed out without damaging the print layer beneath.
What causes white scratches on LVP?+
White scratches on LVP are often caused when the top clear wear layer is scraped or abraded, exposing the lighter core material underneath or creating a micro-fracture that reflects light differently. Abrasive grit and sharp objects are common culprits.
How do you restore shine to dull LVP?+
To restore shine, first ensure your floor is meticulously clean and free of any residue from previous cleaners. Then, use a pH-neutral cleaner specifically designed for LVP. Some manufacturers offer LVP-specific polishes or refreshers that can be applied to temporarily enhance gloss, but avoid waxes.
Is Bona cleaner good for LVP?+
Bona offers several hard-surface cleaners, and some are specifically formulated for LVP and vinyl. Always check the label to ensure it's compatible with your flooring type and avoid their polishes or waxes unless specifically recommended by your LVP manufacturer.
Should you rinse LVP after mopping?+
If you're using a mild, pH-neutral cleaner, a rinse isn't always strictly necessary, especially if you damp mop with a well-wrung-out mop. However, if you used a stronger cleaner or dish soap, a light rinse with a clean, damp mop can help prevent residue buildup and streaks.
Can you use Dawn dish soap on LVP?+
A tiny amount of Dawn dish soap (a teaspoon or two in a gallon of warm water) can be effective for cutting through grease and tough spots on LVP. However, it's crucial to rinse the area thoroughly with clean water afterward to prevent any soapy residue from being left behind, which can attract dirt.
How often should LVP be cleaned?+
For general maintenance, dry dust mopping or vacuuming (with a hard-floor attachment) should be done daily or every other day, especially in high-traffic areas. Damp mopping with a suitable cleaner is typically recommended once a week or as needed, depending on foot traffic and spills.
What should you not use to clean LVP?+
Avoid abrasive cleaners, steel wool, harsh chemicals like ammonia or bleach, oil-based soaps, wax-based polishes, and steam mops. These can all damage the wear layer, leave residue, or cause dulling and discoloration over time.
Does LVP scratch easily?+
LVP is generally scratch-resistant due to its durable wear layer, but it's not scratch-proof. Fine abrasive grit, sharp objects, pet nails, dragging furniture, and improper cleaning methods (like using vacuum beater bars) can all cause scratches, especially on the transparent wear layer.
Can I use an automatic floor cleaner on LVP?+
Many automatic floor cleaners, especially those designed for hard floors, can be safe for LVP. However, always check the specific manufacturer's recommendations for both your LVP and the cleaning device. Ensure it doesn't use excessive water, harsh chemicals, or abrasive brushes that could damage the wear layer.

Discussion
Loading comments…