- Using Abrasive Scrubbers: Steel wool, green scrub pads, or anything too rough can scratch the glass, leaving permanent marks that look worse than the grease. Stick to plastic scrapers and soft cloths.
- Spraying Chemicals on a Hot Oven: This is a big no-no. The fumes can be nasty, and the chemicals can bake onto the glass, making them harder to remove and potentially messing up the oven’s finish. Always wait until the oven is stone-cold.
- Not Letting the Cleaner Sit Long Enough: Impatience is your enemy here. The baking soda paste needs time to penetrate and soften the baked-on grime. A quick five-minute sit-time just isn’t going to cut it for serious buildup.
Published September 12, 2026Last updated September 12, 2026
Tools & materials you'll need
Affiliate linksAs an Amazon Associate FixlyGuide earns from qualifying purchases — at no extra cost to you. Prices and availability are accurate as of publication and subject to change.
Quick Answer
Look, I’ve cleaned a pile of oven doors over the years, and most folks go after baked-on grease with the wrong stuff. The trick? A simple paste of baking soda and a splash of dish soap. Let it sit for about 30 to 60 minutes, then wipe it clean. That mild abrasive action plus the degreasing power will lift a lot of stubborn crud without you needing to suit up like you’re handling hazardous waste.
The Problem
Alright, let’s call it what it is. That greasy, baked-on crud on your oven door? It’s not just ugly; it makes it hard to see what you’re even cooking. And if you’re like most homeowners, you’ve probably tried dish soap, maybe even some all-purpose cleaner, and it just smears around, right? Or worse, you’ve hit it with one of those aggressive chemical oven cleaners, gagging on the fumes, and still didn’t get it looking right. What you’re dealing with is polymerized grease and food splatters — stuff that’s been baked on at 350-500°F (175-260°C) for who-knows-how-long. It’s not a surface stain. It’s practically bonded to the glass.
How It Works
Knowing how this mess forms makes the fix make sense. When food splatters or grease drips during cooking, it hits the hot oven glass. The heat causes the fats and oils to undergo a process called polymerization, effectively turning them into a hard, plastic-like film. Think of it like super-glue bonding to the glass. Regular soap and water just slide off because they can’t break those chemical bonds or mechanically lift the hardened layer. That’s why you need a two-pronged attack: a mild abrasive to gently scour without scratching and a degreaser to help break down the fats.
Baking soda (sodium bicarbonate) is a mild alkali and a solid, gentle abrasive. When mixed with a little water or dish soap, it forms a paste that can loosen and scrape away those hardened layers without chewing up the glass. Dish soap, on the other hand, is a surfactant. Its molecules have a hydrophilic (water-loving) head and a hydrophobic (oil-loving) tail. The tails latch onto the grease molecules, surround them, and break them up into tiny droplets, which can then be rinsed away with water. When these two powerhouses combine and get enough time to work — that’s the key, patience! — they soften and detach the polymerized crud, letting you wipe it away without a wrestling match. It’s not magic. It’s just basic chemistry doing the heavy lifting.
Step-by-Step Fix
Safety First! — Make sure your oven’s completely cool before you start cleaning. Trust me, I’ve seen people forget this one and come away with a nasty burn. Also, if you’re sensitive to dust or odors, crack a window for some ventilation, even though we’re not using harsh chemicals.
- Gather Your Arsenal — Grab your baking soda, dish soap, a couple of microfiber cloths, a plastic scraper (an old credit card works fine, too), and a spray bottle with water. You don’t need some giant pile of specialty cleaners for this job.
- Clear the Deck — Open the oven door all the way. If your oven door is removable, and you feel comfortable doing it, take it off and lay it flat on a protected surface (like a towel on your kitchen floor). Makes access a whole lot easier. Otherwise, just work with it open.
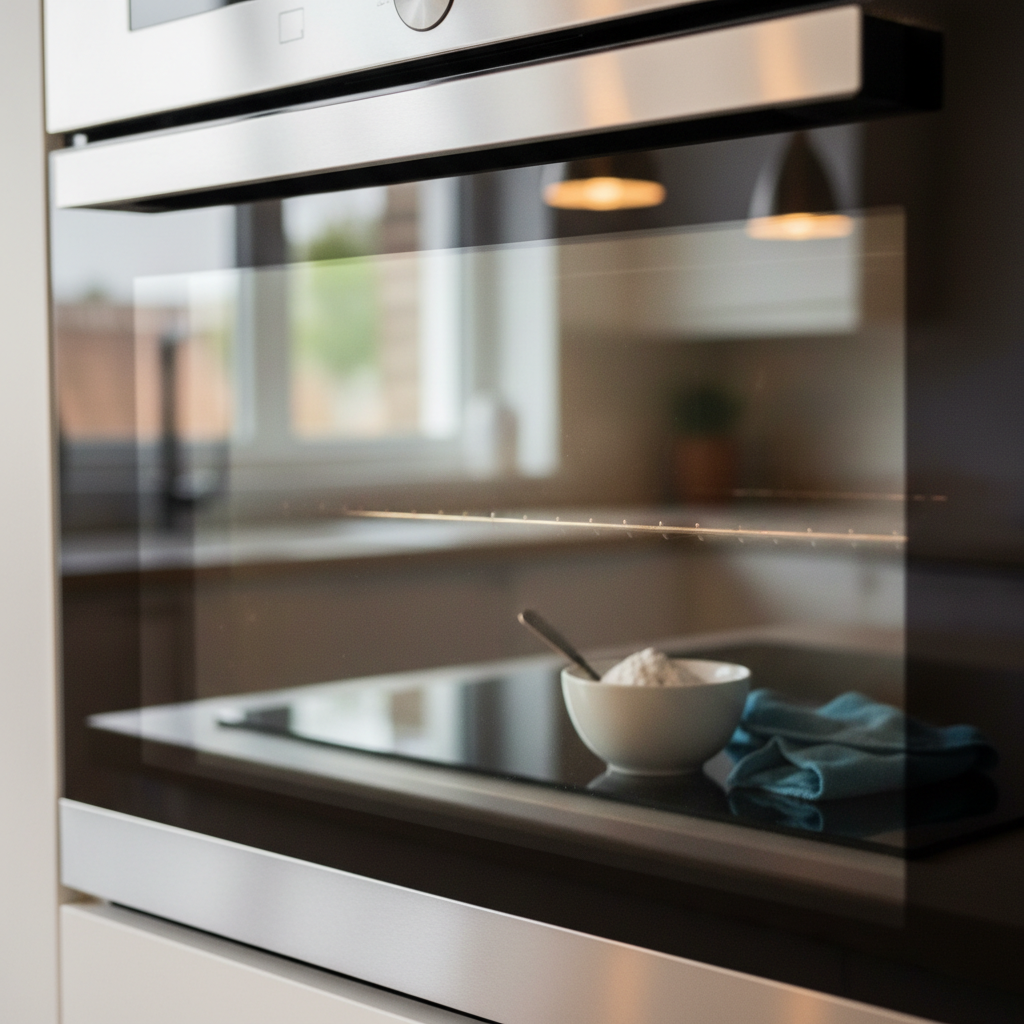
- Mix the Magic Paste — In a small bowl, dump about a half-cup to a full cup of baking soda. Start adding just a tablespoon or two of liquid dish soap (Dawn’s my go-to for degreasing, but any good one will do). Then, slowly add just enough water, a teaspoon at a time, until you’ve got a thick, spreadable paste. Think pancake batter, not runny soup.
- Slather It On Thick — Using your hands (gloves are a good idea if you’ve got sensitive skin, though it’s not toxic), generously apply the paste all over the interior glass of your oven door. Don’t be shy; you want a good, opaque layer covering all the greasy bits. If you’ve got buildup between the glass panes (some ovens do), check your owner’s manual – you might be able to remove the inner pane, but that’s a whole other ballgame and usually best left to a pro unless you’re handy.
- Let It Do the Work — This is where patience pays off. Let that paste sit and soak for at least 30 minutes. For really tough, caked-on gunk, I’ve let it sit for 60 minutes, sometimes even 90. Go grab a coffee, answer a few emails, let the baking soda and soap do their thing. Don’t rush this step.
- Gentle Scrape and Wipe — After it’s had time to soften, take your plastic scraper or old credit card and gently scrape off the softened gunk. You’ll see the crud lifting right off. Be careful not to press too hard or use anything metal – you don’t want to scratch the glass. Follow up with a damp microfiber cloth, wiping away the remaining paste and grime.
- Rinse and Repeat (If Needed) — If there are still stubborn spots, don’t sweat it. Apply a bit more paste to just those areas, let it sit for another 15-20 minutes, and repeat the scrape-and-wipe process. Sometimes a second pass is all it takes.
- The Final Buff — Once you’ve got most of the grime off, use your spray bottle with plain water to thoroughly rinse the glass. Wipe it down with a clean, damp microfiber cloth, then follow with a dry one to buff it to a streak-free shine. Stand back and admire your handiwork – you’ll be amazed at the difference.
Common Causes
- High-Temperature Cooking: Roasting meats, baking pizzas, or anything cooked at 400°F (200°C) or higher creates a lot of splatter that bakes onto the glass fast. That 4th of July roast chicken you made last year? Yeah, it’s still leaving its mark.
- Infrequent Cleaning: Let’s face it, oven cleaning isn’t anyone’s favorite Sunday chore. The longer you let grease and food residue sit and get re-baked, the tougher it gets to remove. Regular wipe-downs help a lot.
- Overfilling Pans: When baking dishes or roasting pans are filled too high, it’s easier for liquids and fats to bubble over or splatter onto the door glass. I pulled an oven door in Frisco last month that had exactly this kind of crusty buildup because the owner filled a lasagna pan to the brim — looked like a Jackson Pollock painting by the time I saw it.
- Failing to Use Foil/Lids: Skipping the foil cover on casseroles or forgetting to use a roasting pan with higher sides lets grease escape and coat the oven interior, including the door.
Common Mistakes
- Using Abrasive Scrubbers: Steel wool, green scrub pads, or anything too rough can scratch the glass, leaving permanent marks that look worse than the grease. Stick to plastic scrapers and soft cloths.
- Spraying Chemicals on a Hot Oven: This is a big no-no. The fumes can be nasty, and the chemicals can bake onto the glass, making them harder to remove and potentially messing up the oven’s finish. Always wait until the oven is stone-cold.
- Not Letting the Cleaner Sit Long Enough: Impatience is your enemy here. The baking soda paste needs time to penetrate and soften the baked-on grime. A quick five-minute sit-time just isn’t going to cut it for serious buildup.
- Using the Wrong Cleaners for the Door Seal: Some folks get carried away and spray chemical cleaners all over the rubber or silicone door seal. Those harsh chemicals can degrade the seal, leading to heat loss and energy inefficiency down the line. Stick to gentle soap and water for the seals.
- Forgetting the Space Between the Glass: Many oven doors have multiple panes of glass, and sometimes grease or spills can seep in between them. If your door comes apart (check your manual!), cleaning those inner surfaces matters, but don’t force it or you’ll break something.
Cost & Time Breakdown
| Task | DIY Cost | Pro Cost | Time |
|---|---|---|---|
| Baking Soda & Dish Soap | $3–$5 | Included in service | 5 mins prep |
| Application & Waiting | $0 | Included in service | 30–90 mins |
| Scraping & Wiping | $0 | Included in service | 15–30 mins |
| General Oven Interior Cleaning | $0 | $75–$150 | 1–2 hours |
| Total for Oven Door | $3–$5 | $75–$150 | 1–2.5 hours |
Tips & Prevention
- Wipe Down After Every Use: A quick wipe with a damp cloth after the oven has cooled down, but before splatters fully bake on, can save you hours later. This is probably the single best preventative move.
- Use Roasting Bags or Foil: For greasy stuff like roasts or chickens, use a roasting bag or cover the pan tightly with foil. It cuts splatter way down.
- Line the Oven Floor (Carefully): You can place an oven liner or a sheet of aluminum foil on the bottom rack (never directly on the oven floor, as it can block vents or melt onto the heating element) to catch drips. Just make sure it doesn’t block any vents.
- Keep a Plastic Scraper Handy: Store a dedicated plastic scraper or old credit card with your cleaning supplies. It’s great for gently lifting fresh, dried-on drips before they turn into full-blown baked-on problems.
- Self-Cleaning Cycle (Use with Caution): If your oven has a self-cleaning cycle, read the manual carefully. While it gets hot enough to turn grime into ash, it also creates intense heat and fumes. Always remove racks, clear pets and people from the house, and open windows. And it’s not always kind to the door glass itself, sometimes causing hazing if used too often.
When to Call a Professional
Look, cleaning an oven door is usually a pretty straightforward DIY job, but there are times when you might want to tap out and call a pro. If your oven door has internal glass panes that are dirty between the layers and your owner’s manual doesn’t give you clear instructions for safe disassembly – that’s a job for an appliance repair technician. Prying the door apart without knowing what you’re doing can damage the seals or the door mechanism, and a new oven door can run you hundreds of dollars. Also, if you’ve got an older oven and the door seals are degraded, or there’s any electrical issue – like the self-cleaning cycle sparking or smoking excessively – then you need to call in a qualified appliance repair person. Don’t mess with that stuff yourself; it’s a safety hazard and could void your warranty.
Related Articles
Keep troubleshooting with these hand-picked guides from FixlyGuide:
- The Invisible Film Making Your Bathroom Mirror Streaky – And How to See Clearly — Discover why your bathroom mirror always looks streaky, even after cleaning, and learn the pro trick to get a perfectly clear, fog-free ref…
- The Soap Scum Monster on Your Shower Walls? Here's Its Kryptonite — Tired of scrubbing that stubborn soap scum on your shower walls? I've got the real-world tricks to blast it away, leaving your shower spark…
- The Grimy Secret Under Your Microwave — And How to Scrape It Clean — I've seen it a hundred times: homeowners totally overlook the disgusting, grease-caked filters hiding under their microwave. Cleaning 'em i…
- The Grimy Secret Under Your Oven: Why Your Kitchen Never Feels Truly Clean — Your oven and range hood are silent culprits in your kitchen's battle against persistent grease and grime. This guide tackles how to deep c…
- The Grimy Gunk Under Your Washer: Why Your Laundry Still Smells — If your laundry comes out smelling less than fresh, the culprit might be hidden gunk and mildew in your washing machine. I'll show you how…
- The Secret Hairball Fix Plumbers Don't Want You to Know — Tired of standing in ankle-deep water? Most shower clogs are a gnarly mix of hair and soap scum, and you can clear them yourself without ha…
What should this project cost?
Enter your project details for a realistic cost range before you call anyone.
Cost depends heavily on which system turns out to be the source.
- Regional adjustment
- National average
- Labor share (typical)
- ~$1,620
- Quotes to collect
- 3 written estimates
Educational estimate based on national averages — not a binding quote. Always confirm with written local estimates.
Get the print-ready PDF of this guide
A clean, ad-free, printable version you can keep on your phone or pin to the workshop wall. Free with a FixlyGuide account.
- Print-optimized layout
- Tools, materials & every step included
- Saved to your account
Frequently asked questions
How often should I clean my oven door?+
I tell folks to give it a quick wipe-down after every time you roast something greasy, once the oven cools. For a deep clean with the baking soda paste, aim for every 1-3 months, depending on how much you cook. Regular maintenance saves you a lot of grief.
Can I use oven cleaner on my oven door glass?+
While many chemical oven cleaners say they're safe for glass, I'd steer clear if you can. The fumes are nasty, and they can sometimes leave a haze or even damage the oven's finish or door seals over time. The baking soda method is safer and usually just as effective without all the headache.
What if the grease is between the glass panes of my oven door?+
Ah, that's a tricky one! For most DIYers, this is where you might need a pro. Some oven doors can be disassembled to clean between the panes, but it's specific to each model. Check your owner's manual; if it doesn't show you how, don't force it – you could damage the door and then you've got a much bigger problem.
Will baking soda scratch my oven door glass?+
Nope, that's the beauty of it. Baking soda is a very mild abrasive, much softer than glass. It'll lift the grime without leaving scratches, unlike steel wool or aggressive scrub pads. Just be sure to use a plastic scraper if you're scraping, not metal.
Can I use vinegar to clean my oven door?+
Vinegar is great for many cleaning tasks, but for baked-on, polymerized grease on an oven door, it's not usually strong enough on its own. It's acidic, which isn't what you need to break down the fatty residues. Stick to the baking soda and dish soap for this specific job.
How long does the baking soda paste need to sit?+
For best results, let it sit for at least 30 minutes. If you've got really stubborn, years-old crud, I'd say give it a good 60 to 90 minutes. The longer it sits, the more it softens that baked-on gunk, making your job a whole lot easier.
Can I use this method on a self-cleaning oven?+
Absolutely! This method is actually a fantastic alternative to using the self-cleaning cycle, especially for the door. Self-cleaning cycles can be hard on the oven components and often don't get the door perfectly clean anyway. Just make sure the oven is completely cool before you start.
My oven door still has streaks after cleaning. What am I doing wrong?+
Streaks usually mean you've either left some residue from the baking soda paste, or you haven't buffed it dry enough. After wiping away the paste, give it a good rinse with plain water using a clean, damp cloth, then immediately dry and buff it with a separate, clean, dry microfiber cloth. That usually takes care of the streaks.
What's the best way to prevent future buildup?+
The simplest way is prevention. Wipe up spills immediately after the oven cools. Use roasting bags or foil to contain splatters from greasy foods. And if you bake a lot, consider putting a silicone oven liner on the bottom rack – just make sure it doesn't block any vents!
Does this work on stainless steel oven trim?+
While the baking soda paste is safe for the glass, I'd be careful using it on polished stainless steel trim, as it can sometimes leave a residue or mild abrasion if not rinsed thoroughly. For stainless, a dedicated stainless steel cleaner or just warm soapy water and a soft cloth is usually best.

Discussion
Loading comments…